2 project settings – MacroSystem Bogart SE Ver.4 User manual User Manual
Page 25
25
Bogart SE 4 User manual
asked to enter a name for the stored file . Additionally, here you
will see all previously saved files . Confirm with “OK” and insert/
connect (USB key, Firewire hard drive) medium as requested .
Should you choose CD/DVD when there is no appropriate
medium in the drive, you will be requested to insert a writable
medium . If you are using an already burned CD/DVD RW, the
system will first delete the contained data it is not possible
to add data to the disc! Then, the CD/DVD will be burned or
the data will be saved to the USB key or hard-drive . You can
confirm the procedure by pressing “OK” .
When you want to “restore” data, you should insert the data
carrier in the unit or connect the external storage medium . You
should then select a “Source” (CD/DVD, USB key or exter-
nal Firewire hard drive) and decide if you wish to “Overwrite
existing files” (checkmark in the box) . Once you have opted for
a medium and pressed “OK”, you will be requested to insert
the medium or to connect the external medium containing the
archived data to your system . The backup data on the external
medium will then be copied to your system .
Information field
At the bottom left of the menu, there is an information field
with the program version number and the serial number of the
device . Click on the information field to bring up the system
information of your device .
Menu symbol
Clicking on the menu symbol returns you to the Main menu .
Clicking the right trackball button does the same .
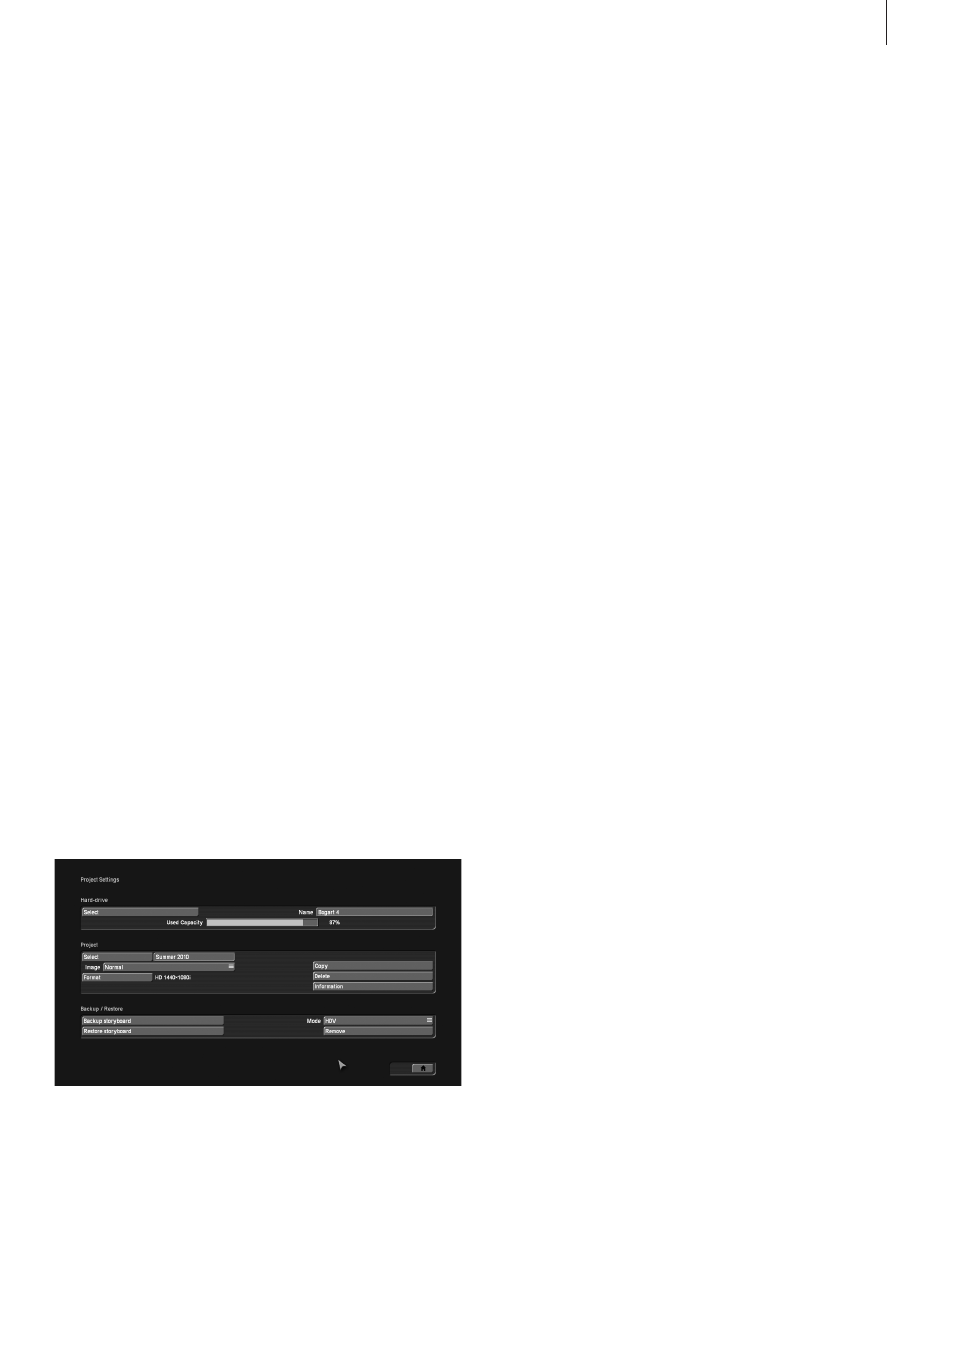
4.2 Project settings
In this menu “Project settings” you make the settings for your
current or next project . This affects, for example, the project
name, image size, and audio settings .
Your HD/AVCHD projects can be optimized for the resolution
of your camera or the output medium you have selected . The
settings of a project come after you have clicked on the For-
mat button . You can define the properties of your project here .
Note: You can only set the format for new or completely empty
projects.
It is now possible to create HD projects in the following resolu-
tions: 1920x1080, 1440x1080 and 1280x720 . In addition to the
resolution, the aspect ratio can also be set . You can choose
between 4:3 and 16:9 . If you have installed the Cinemascope
product, you can also opt for 21:9 .
Once you close the settings by clicking on OK, they will be
displayed as text, to the right of the Format button .
The table on the next page contains an overview of common
resolution and aspect ratio combinations, and when they are
used . You should try to adapt the resolution of a project to the
camera you use the most .
Selection (hard disk): The “Selection” button enables you
to switch to projects on a different hard disk. This function
can only be used if you have the paid add-on product “Store
‘n’ Share” . The function of this menu is explained there . The
hard disk partition used for this can have the following form:
ext2 ext3 and ext4 as well as NTFS .
Name: On the top edge (of the “Hard-drive” section) you
see the “Name” button. Clicking on the name-field brings
up the on-screen keyboard with which you can enter the
desired name for the hard drive. You can also see (on a suit-
able system) which hard drive is currently in the system . This
is otherwise not possible because the label on the hard drive
is not visible when the hard drive has been inserted into the
machine .
“Used capacity”: gives information on the space used on
the hard drive (in dark), and on the total remaining time (in
light). A display for individual projects is not possible because
this display refers to the entire hard drive . Audio and video
are pooled together here . They “dynamically” divide the area
among themselves .
The percentage value also takes into account the usage in the
Media manager and vice-versa . For example, when you export
a storyboard to the movie archive, the used capacity will in-
crease . In order to be able to use this capacity again, you must
erase the exported movie in the Media Manager (and empty its
trashcan) .
Select (Project): Clicking on the “Select” button brings up
the Select Project menu, in which you can select several
different projects. If some projects already contain scenes,
the corresponding projects are marked to the right of the proj-
ect name (with a little dot) .
After you click on “OK”, the project you have selected is
displayed next to the selection button (e .g . “P 1”) . If you want
to rename the project, click on “P 1” (or “P 2”, etc .) . The on-
screen keyboard appears so that you can enter another project
name . The chosen project name is also displayed in the edit