4 archives, 5 media manager – MacroSystem Bogart SE Ver.4 User manual User Manual
Page 28
28 Chapter 4
You can use this to specify the brightness, contrast, and color
of the analog video material before recording . This allows
you to see the footage as it will be digitized . This setting is
not available when using DV or HD footage . It is possible, of
course, to use Image Processing effects to make corrections
to recorded video material after input, but this involves render-
ing time .
The better the material has been recorded, the better the result
will be . Corrections after the fact have their limits . A picture
that is too dark can never be as radiant as a picture digitized
with the correct lighting, even after using brightening effects .
Simply modify the settings until you have attained the desired
levels . When your source material changes, e .g . when bad-
weather pictures appear, then you can simply readjust the
settings .
Note: The settings “Brightness”, “Contrast” and “Saturation”
cannot be changed, if you chose the input “DV”.
Input: Below “Input” the video input can be changed.
You can also add analog material, which is then converted
by Bogart SE to DV data . Digital and analog material can be
combined in the same project . The DV input device is often
automatically recognized and labeled as such . After you have
connected the DV recorder, you see that the input, e .g . is titled
with “DV Sony” . This way you can quickly determine the con-
nection has been made .
If your device is equipped with an HQ audio input (optical in-
put, “High Quality”) you can also use a combination of analog
input and simultaneous HQ audio input .
The video settings menu works with “Overlay”, meaning
that it shows the incoming video signal in the back-
ground of the settings adjustments screen . Should the bar
bother you in its present location, a click on this button will
move it up or down at anytime . The screen pointer will remain
on this symbol, regardless of the location of the bar .
Clicking on this menu symbol takes you to the Record-
ing menu or to the Main menu .
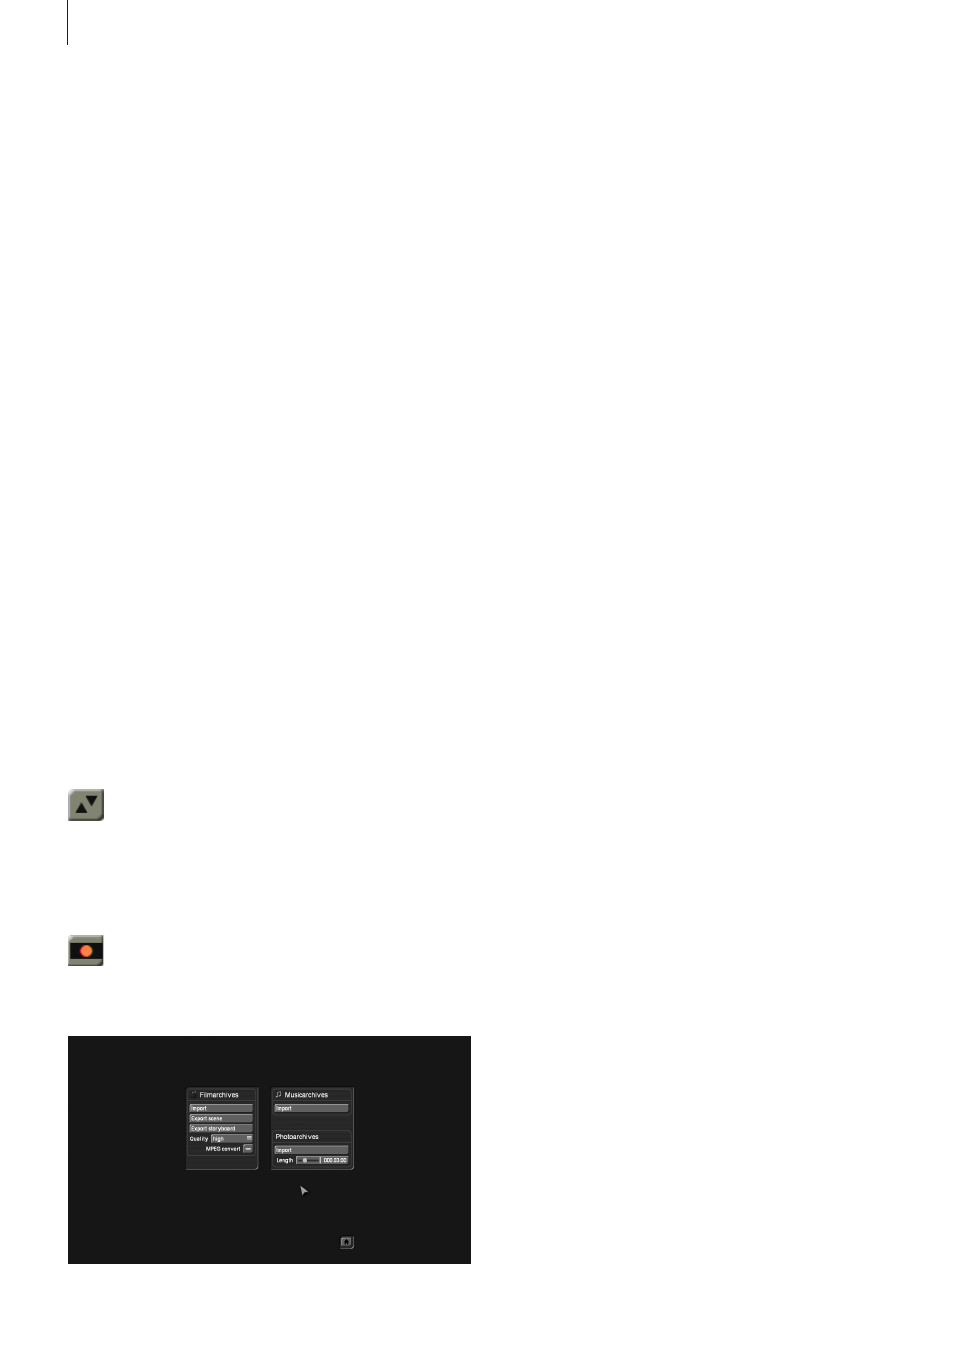
4.4 Archives
These functions allow you to import movies, sound samples
or pictures from the Media Manager in your current project .
Likewise, the storyboard can be exported to the movie archive
of the Media manager to keep it available for presentation .
Film archives - Import film(s): Access the film archive and
import a film to your current Bogart SE project clipboard.
This is done via the Import menu, where you can select a film .
As films in the Media Manager may carry additional informa-
tion, you can enter certain data, such as a genre to filter only
for certain film types . If films have been assigned genres, the
archives can be sorted according to genre, which makes it
possible to narrow down your search for the scene you are
looking for . Use the “>” .button to switch to another level in the
selection . Use “<” to return a level or go up one selection . If
you wish to see all films in one list, select ‘All recordings’ .
Film archives - Export scene: You can select a scene from
the scene bin and export it to the film archive. The scene
bin will be shown as a list in which you can select the desired
scene . Just to be sure, you can play the scene again in this list .
Click on “OK” to place the scene into the archive . From there,
you can either keep, delete or move the scene to another
project . You can use this function if you wish to use the scene
in many future projects .
Film archives - Export storyboard:
If you wish to transfer an entire Storyboard rather than a scene,
use this function . Before exporting, the Storyboard is rendered
and is then stored in the film archive . This way, you can quickly
store different development versions of your storyboard or dif-
ferent versions of your movie in the archives and watch them
from there at any time . Before exporting, you should set the
image quality and possibly an MPEG conversion .
Music archives - Import audio:
If you have stored several sound samples in the music archives
of the Media Manager, you will be able to use “Import audio”
to transfer them to your current project .
This way, audio can be collected in a central archive, making it
possible to access it from any project at any time .
Photo archives: Import photo(s): Just as with the music
archives, you can also store photos in Media Manager and use
them as scenes in your video projects .
Enter a length to gener-
ate a video still scene from the photo .
4.5 Media Manager
The Media Manager is used to organize all your data and to
play finished projects . For more information on this subject,
please refer to the end of the manual (the Media Manager ap-
pendix) or use the Relax Vision manual . Both of them contain
detailed descriptions on this subject .