MacroSystem Bogart SE Ver.4 User manual User Manual
Page 74
74 Chapter 4
taneously only if they have first been created (if necessary by
clicking on Create) . The entire audio visible in the active image
size is generally created together with the active audio sample
(highlighted in blue), even if it lies outside the window . If the
entire storyboard is to be created, launch creation from the
Finish menu .
From the color of the horizontal color control bar between the
original sound track and the storyboard, you can ascertain
whether the overall volume of all audio samples is faultless
(blue) or over-modulated (red) . Correct any over-modulated
passages with the aid of the volume control or the wave form .
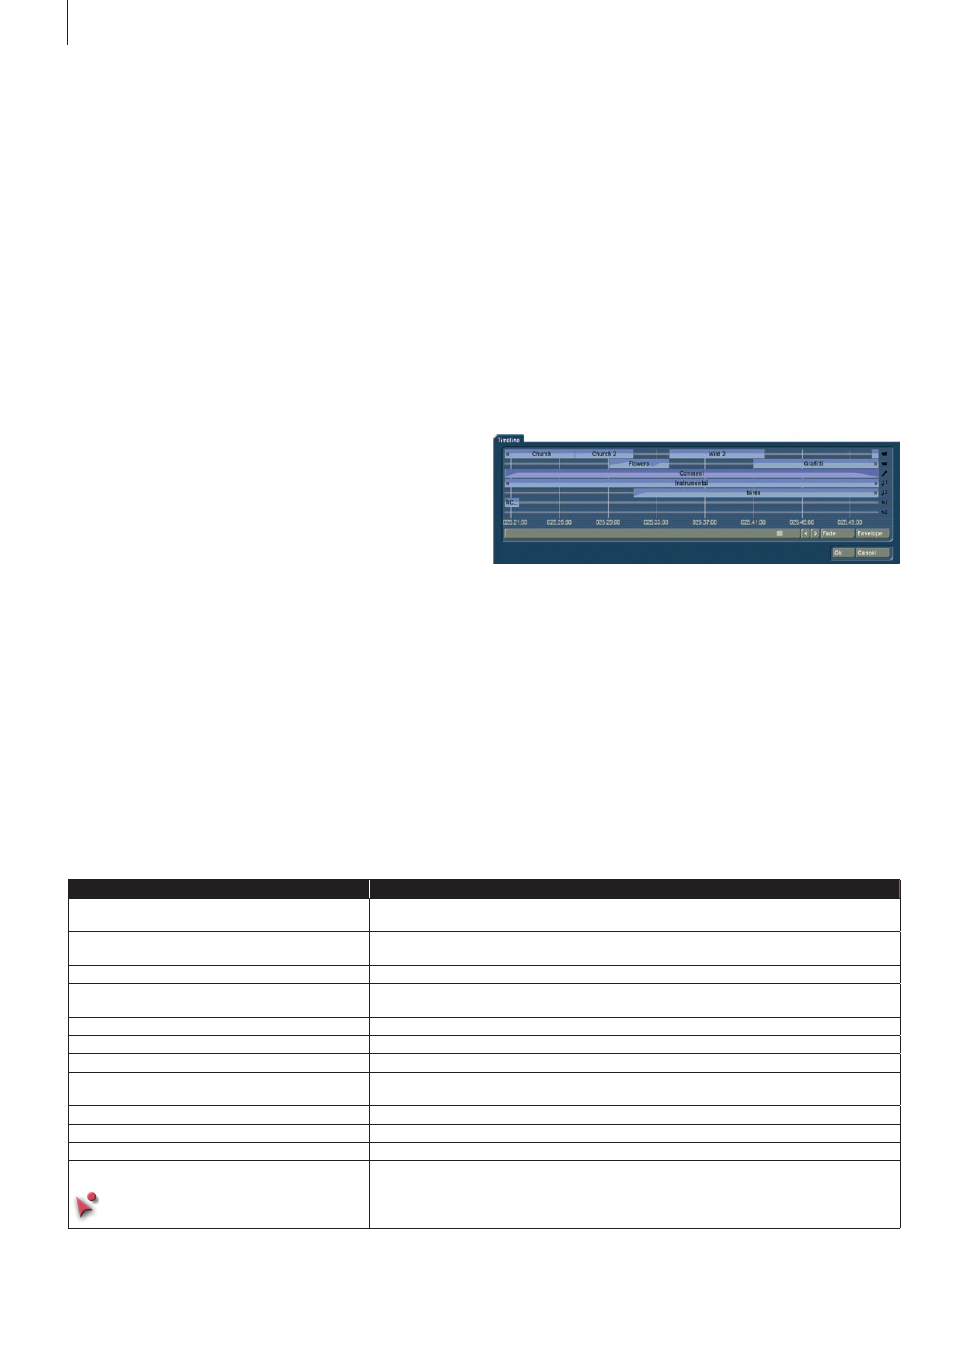
(12) Click on the Timeline button to call up a new window in
which the active audio sample is displayed in full and which
shows the other samples in relation to it .
The active audio sample thus serves as the dimension for the
full width of the new window . This permits a larger (full-screen)
display of very short audio samples (which would otherwise
appear only as a narrow line in the storyboard), whereas the
full length of very long audio samples (which would otherwise
run over the limits of the visible region in the storyboard) is
displayed with all audio samples of adjacent sound tracks . The
timeline thus offers a scaled view by which, for example, the
volume characteristic or any fades can be viewed more easily .
This window displaying the time data serves mainly to pro-
vide a better overview . You can use the scrollbar beneath the
timeline display to move the displayed passage, click to move
the sound track to a different audio sample, and call up the
thus activated . A Trim menu is called up similar to that for the
trimming of video scenes .
Once you have selected Position, you can move the entire
audio sample with the aid of the Start button . Should the audio
sample be too long, you can also shorten it at the beginning
and end . Select the Trim function and then the IN and OUT
buttons in this case . To make it easier to find where the limits
of your sound recording are in the project, you can switch
between different video views . You will either want to see the
full image continuously, while you are moving the IN/OUT or
Start/End, or you will want to see both (reduced) at the same
time . This means that this menu gives you the ability to switch
between Trimming, Moving, Trimming E, Trimming small and
Moving small . While you are trimming the audio, you will be
able to hear the sound at the spot you are trimming . Should
you want to trim with respect to the original sound, you should
activate “Trimming E” . This way, you will be hearing the origi-
nal sound while trimming, which means that you will be able to
precisely position the sample on a specific spot of the original
sound .
The sound characteristic is displayed by the wave form (chap-
ter 3 .2) .
Play back again to check any changes . The new position is
also shown graphically when you return to the Audio-Mix
menu .
If you have not activated a sound recording, when you click on
Range, you will get to see a different menu . You can now move
in the storyboard and look for a specific video position . After
confirming this position, the view of the audio-mix at this point
in time will change, and the selected scene will become active .
(11) Bogart SE is able to play back several audio tracks simul-
Function
Description
Move free
The sound sample is represented by an icon . Move the sample freely within a track, move
it to another track or to another time point .
Trim/move (with panel)
Opens the big menu for trimming and sliding sound samples in the sound track where it is
located .
Volume
Opens a volume control to change the sound volume of the entire sound sample .
Correction
Opens a menu with which you can modify the sound volume of other tracks in function of
this sound sample .
Fade
Opens the menu for fading the sample in or out .
Envelope
Bigger menu and image of the envelope curve with extended functionality .
Effects
Sound effects can be applied to the sample .
Create sample
You can create a new sound piece out of the sound sample and the sound tracks around
it .
Remove
This enables you to remove the sound sample from the audio-mix track .
Play sample only
Only plays the active sound sample, without mixing it with the other sound tracks .
Remove active point
The green dot of the envelope curve is deleted .
Context-Action (mainly for users with a two-button
trackball/mouse)
When context action is activated, the mouse pointer changes and you will now be able to
use the left mouse button to activate the context menu for individual points in the envelo-
pe . Clicking on the right trackball button will stop this context action .