MacroSystem Bogart SE Ver.4 User manual User Manual
Page 47
47
Bogart SE 4 User manual
scene cannot be longer than 5 seconds . For effects where an
insert scene is present, the duration of the insert scene is the
maximum limit . Audio is automatically cross-faded . This means
that the audio of the previous scene becomes quieter and the
audio of the next scene becomes louder . If a scene’s audio is
too quiet or too loud, then you should correct the volume when
dubbing (audio mix) . If an insert scene is involved with the
effect, the audio is not changed because Inserts do not affect
the original audio of the background scene .
(9) The “Preview” button can only be clicked when the inserted
effect is an effect that must be created (indicated with red
outline) . A screen opens in which the last second of the first
scene, the effect, and the first second of the following scene
are displayed, so that you can view the transition and perhaps
make further corrections (concerning color, direction, time,
etc .), before you finally create the transition effect . The dura-
tion of the preview is approximately that of the final version .
The preview may be a little “jittery” because it does not work
at the normal frame rate . This will not occur in the created ef-
fect . For complex effects a certain wait time even for preview
may be necessary . A preview does not require any hard-drive
space .
(10) After you have added a transition effect and perhaps
defined its duration, you can click on the “Full Size” button
and bring up a further preview menu, if your system supports
this function . There you see the middle frame of the transition
effect (e .g . 1 second effect = image 12 or 2 second effect =
image 24) .
The video image is superimposed by an operating panel in
which you can see the effect options (if available) on the right
side . On the left side you see the button “Frame” below the ef-
fect name . You can use this button to specify the point in time
of the transition effect you want to see . In this way you can ob-
serve the applied effect at any point in time of the scene . The
button does not have to be confirmed - you can scroll slowly
through this part of the scene and view it at the same time .
The button “Display” below allows you to select from different
display modes, which can help you to check an effect more
precisely . Depending on the selected effect, it may be useful to
change the display mode . “Original” (shows the just selected
new scene) . The ‘Effect’ setting allows you to see the scene
for the time only relevant to the effect chosen . ‘Orig . + Effect’
splits the scene display vertically and shows one scene half as
the original and the other with the chosen effect . “Compare”
halves the image, with the right screen half showing your new
scene and the left any scene that you can choose using the
“Choose scene” button (below) from the edit bin . The compare
function can therefore be used to adapt the color tone of your
scene to an already present scene .
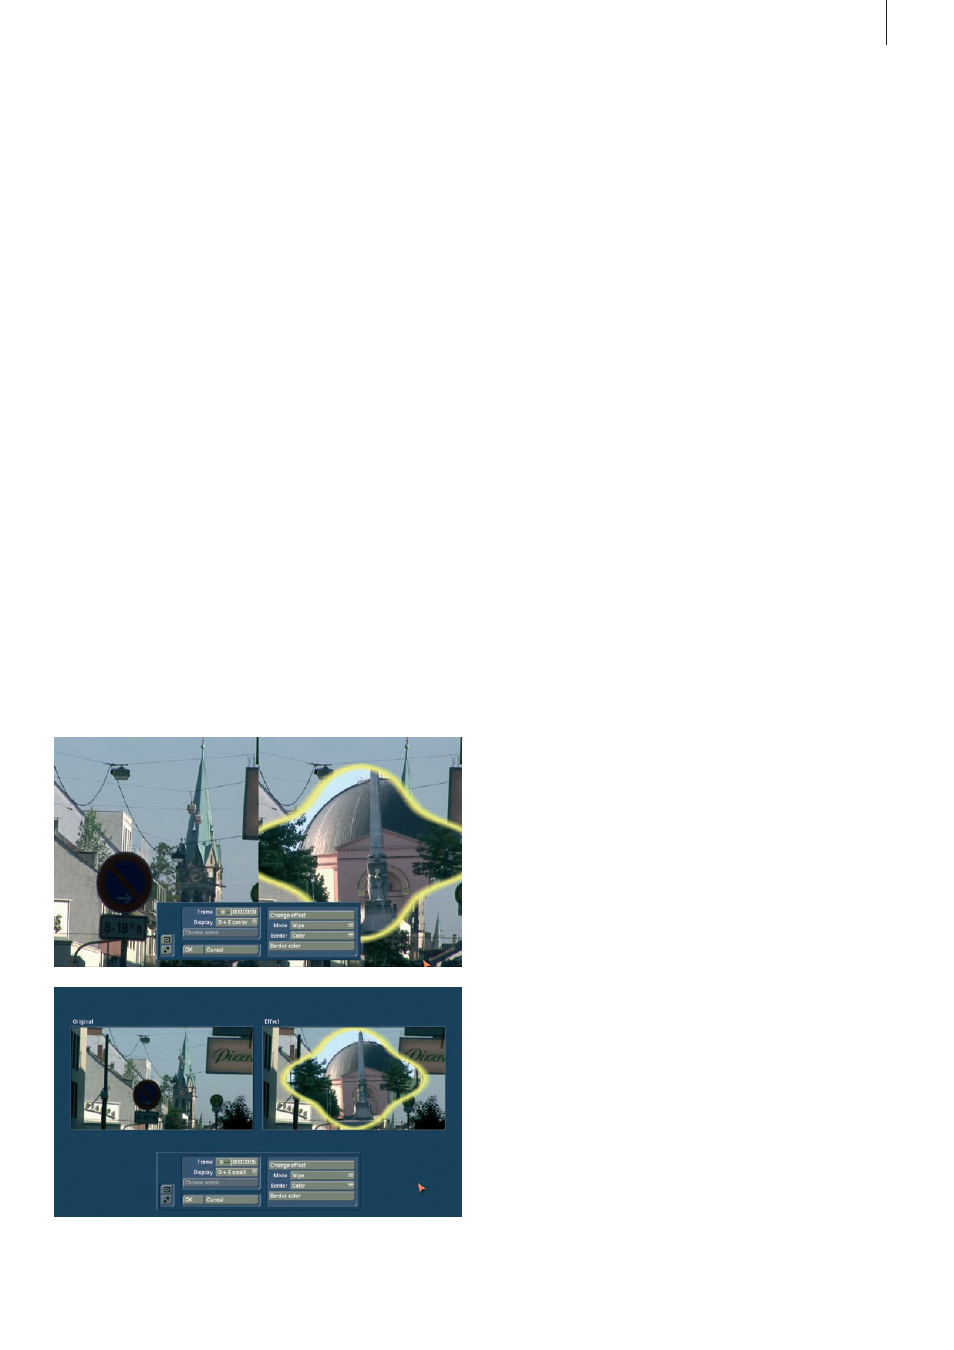
“O+E centre”, unlike “Orig . + Effect”, always compares the
centre part of a scene, on the left the original and on the right
together with the effect . This comparison type is suitable for
effects that appear mostly in the centre of an image .
The “O+E small” display type shows you the complete original
scene (at transitions, the left scene) smaller in the left preview
screen . Next to it, on the right, you can see the same scene,
with the effect . This display type shows you miniature versions
of the scenes . However, remember you can’t see fine details
in this fashion, as opposed to larger effect previews . It can be
very useful for image processing effects, comparing the origi-
nal and the effect scene with each other .
“C centre” has a preview style comparable to “Compare”, but
in this case, the centre part of the scene is focussed on, as the
most important part of the scene is often found in the centre .
For example, if you want to apply an image processing effect
such as Color Correction in order to adapt that scene’s color
tone to other scenes, a comparison in full size is a good solu-
tion .
“C small” = If however, you are fine working with a smaller
preview, you can switch it to small . This simply allows you to
compare the scene with the effect as a whole, yet in smaller
preview screens .
Tip: It is recommended to switch back and forth between the
different modes while working on the effects. This way, you can
experience the scene in its completeness. You can also change
the effect options to directly compare different colors or direc-
tions. Here you’ll also get a real-time preview, too. Therefore
the selection of the sliders does not have to be confirmed.
In the top left corner of the menu you will find a button with