MacroSystem Bogart SE Ver.4 User manual User Manual
Page 43
43
Bogart SE 4 User manual
Exporting scenes: The currently selected scene can be directly
exported as an AVI file . When you click on this button, you
will be able to select the medium to which you want to export
the scene . The medium must be connected and active before
selecting the destination . The scene will then be exported after
you click on OK . It will be stored on the storage medium as
a file, called NameOfScene .avi . This file can be imported or
played in a different area of the system .
Copy image to archive: When you click on this button, you will
be taken to a positioning menu . You can go to any position in
the scene . Once you have confirmed with OK, this frame will
be stored in the picture archive . The Cancel button ends this
menu without generating an image . You will find the images in
the picture archive of the media manager . The images will be
put in a “Bogart SE” folder in the archive . The name of the im-
age is created on the basis of the scene name and the image
position .
Note: Exporting an image from the storyboard is also possible
by means of the Range button in the editing screen.
Another way to adjust your scene bin or the organization of the
storyboard is using the two buttons found at the bottom edge
of the of the screen .
This is where you will find the two buttons ‘Mark’ and ‘Action’ .
Both of these buttons are used in combination . This func-
tion can be used to re-sort the scenes in your scene bin . This
means that, besides the group functionality, you now also have
the ability to sort your scenes within the listing according to
your wishes . In order to do this, you have to select scenes in
your bin which you can then copy/move to a new location of
your scene bin and have them listed together .
Press ‘Mark’ to tag the current scene in the scene bin . The
scene is tagged with a filled square . Should you want to mark
specific scenes, you should select it and then click on the
“Mark” button . It is also possible to use the small left mouse
button if you are using a 4-button trackball . This is a faster way
to mark scenes, since they do not have to be activated to do
this . In that case, you should position the mouse pointer on the
scene and click on the left small trackball button . The scene
will then be tagged with a filled square . Alternatively, you can
also use the Power Key function (an optional add-on product)
to speed up the marking process .
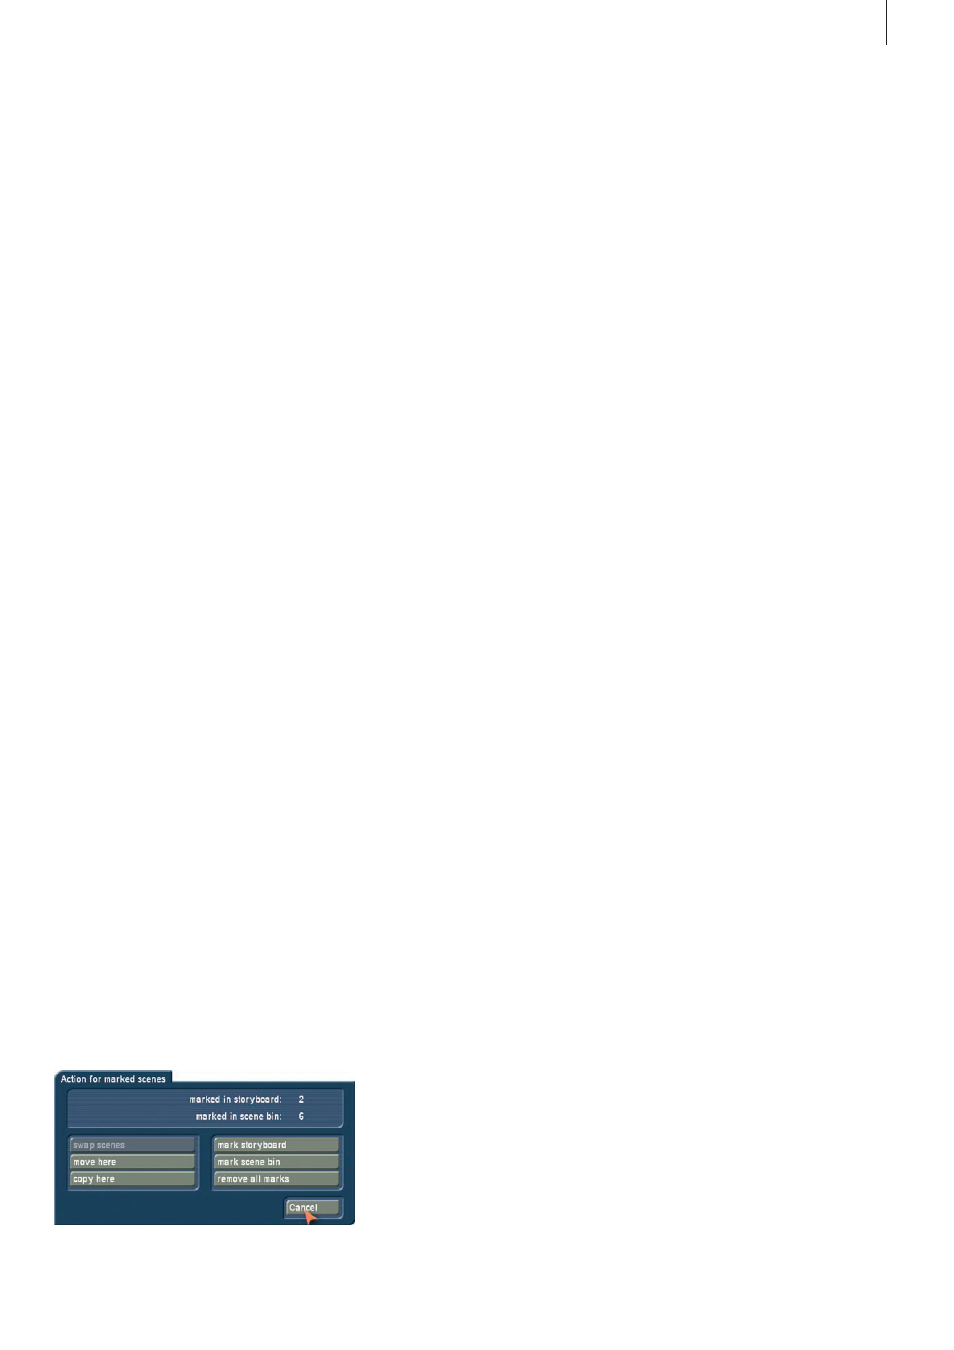
Use the ‘Action’ button to open a menu to select a function for
the scenes you have marked . The menu can also be opened
by clicking on the right small trackball taste . Depending on
the number of scenes you have marked, different actions are
available:
• “Swap scene”: This function swaps around two scenes and
is only available if you have tagged exactly two scenes .
• “Move here”: All marked scenes are moved to the position
after the currently selected scene . This deletes the scenes at
their previous scene positions .
• “Copy here”: All marked scenes are moved to the position
after the currently selected scene . This will place a copy of the
scene in the new location . The original scene remains at its old
position .
• Mark storyboard: This marks all scenes in the Storyboard/
Timeline .
• Mark scene bin: Marks all of the scenes in the scene bin at
once . This is useful if you want to select a large number of
scenes . Since this marks all scenes, individual scenes can then
be unmarked .
• Remove all marks: This removes all marks/tags without any
further action .
• Cancel: This closes the action screen without any further
activity . The scene tags/marks remain .
If you have marked several scenes in the scene bin and you
want to insert these in the storyboard, you should activate the
scene after which the scenes should be inserted . You should
then open the action menu and select “Copy here” in order to
insert the scenes from the scene bin in the order in which they
are listed, behind the active scene in the storyboard . Marked
scenes can also be deleted, if you click on Delete after mark-
ing them . Before the scenes are deleted, you will be asked
whether you want to delete the current scenes or the marked
scenes . If you select “All marked”, the corresponding scenes
will be deleted . Use the Undo button to reverse the dele-
tion . Please note that only the last 10 deleted scenes can be
brought back through Undo . Should you delete more scenes,
they will be lost . Scenes cannot only be marked in the scene
bin, but also in the storyboard . You should mark the relevant
scenes in the same way as in the scene bin .
The actions will then be performed in the storyboard . Please
not that if there is no activated scene in the scene bin when
you want to apply an action in the storyboard as the action
selection would be inactive in that case .
Once you have tagged certain scenes, the marks will remain
until you exit the Edit menu . Once you exit the menu, the tags/
marks will disappear .