9 transition effects – MacroSystem Bogart SE Ver.4 User manual User Manual
Page 45
45
Bogart SE 4 User manual
you should render them first, after you have selected the desired
type of output . If you have edited an HDV project, you will also
have the ability to output your video footage as HDV .
Note: Exporting HD projects to CD/DVD/Blu-ray or USB media
is done from the ‘Project Settings’ menu. Read the section
called ‘Saving the Storyboard’ for more details.
(6) If you would like to control your DV device (camera, deck,
etc .) from your system, click on the button “Recorder Controls” .
You can control your DV device using the control panel now dis-
played .When you are ready click the “Record to VCR” button
located below the control to start recording of your footage on
DV tape . The footage is now being output . This process is not
shown on the monitor . We recommend putting a few seconds
of empty scene at the beginning of the storyboard . The recorder
can then begin recording while the empty scene is being played .
This is also recommended for the end of the storyboard . This
avoids accidental recording of the Bogart SE user interface
(7) The bottom section of the ‘Finish’ menu allows you to add
specific graphics to the film . Should you, for example, want to
put a permanent logo or the recording date on your movie, there
are certain settings available . The options you set remain valid
for the entire movie . It is not possible to make these settings
for part of the movie . You can import and place a graphic (still
image, no animation), or one of the available time formats . You
should use the following settings:
Use graphic: Tag this option to render a graphic image into the
film . This will use the last imported graphic, until you import a
new one . Should there not yet be a graphic on the system, you
will be asked to import a graphic .
Import graphic: If you have an image (Format: png - True Color),
for example on a CD, DVD or a USB key, you should insert the
medium or connect the device . After this, click on the button
for importing a graphic . This will give you a selection menu with
all recognized media . Select your storage location and press
OK . After this, you will be shown the contents of your storage
medium from which you can select and import a graphic .
Place graphic: The last image you have imported can be freely
positioned on the screen . You can also change the size of the
image and therefore optimize the positioning . It is not possible
to store multiple images on the system . These must always be
imported from an external medium .
Casablanca Timecode: This adds the timecode of the film . The
type of timecode display (mmm .ss:ff or hh:mm:ss:ff) depends on
the settings you made in System Settings - Additional Settings .
Original Timecode: The timecode (recording time) of each scene
is shown . This also takes into consideration the type of time-
code display .
Date and time: This adds the original time of the film .
Select font: This allows you to select a font type and size . You
can also import your own fonts and use them for this purpose .
‘Place timecode’: You can position the chosen time format . The
actual size depends on the chosen font size .
(8) This button opens and closes the DVD tray .
(9) Clicking on the menu symbol brings you directly to the Main
menu screen .
DVD Arabesk can be found in the Finish menu . The button is
only visible if your system has the DVD Arabesk product in-
stalled .
Start DVD Arabesk by pressing this button . This part of the
software allows you burn projects (the current one and others)
to DVD and even add menus .
Note: The DVD Arabesk software has its own manual. Make
sure to read about the Arabesk functions there.
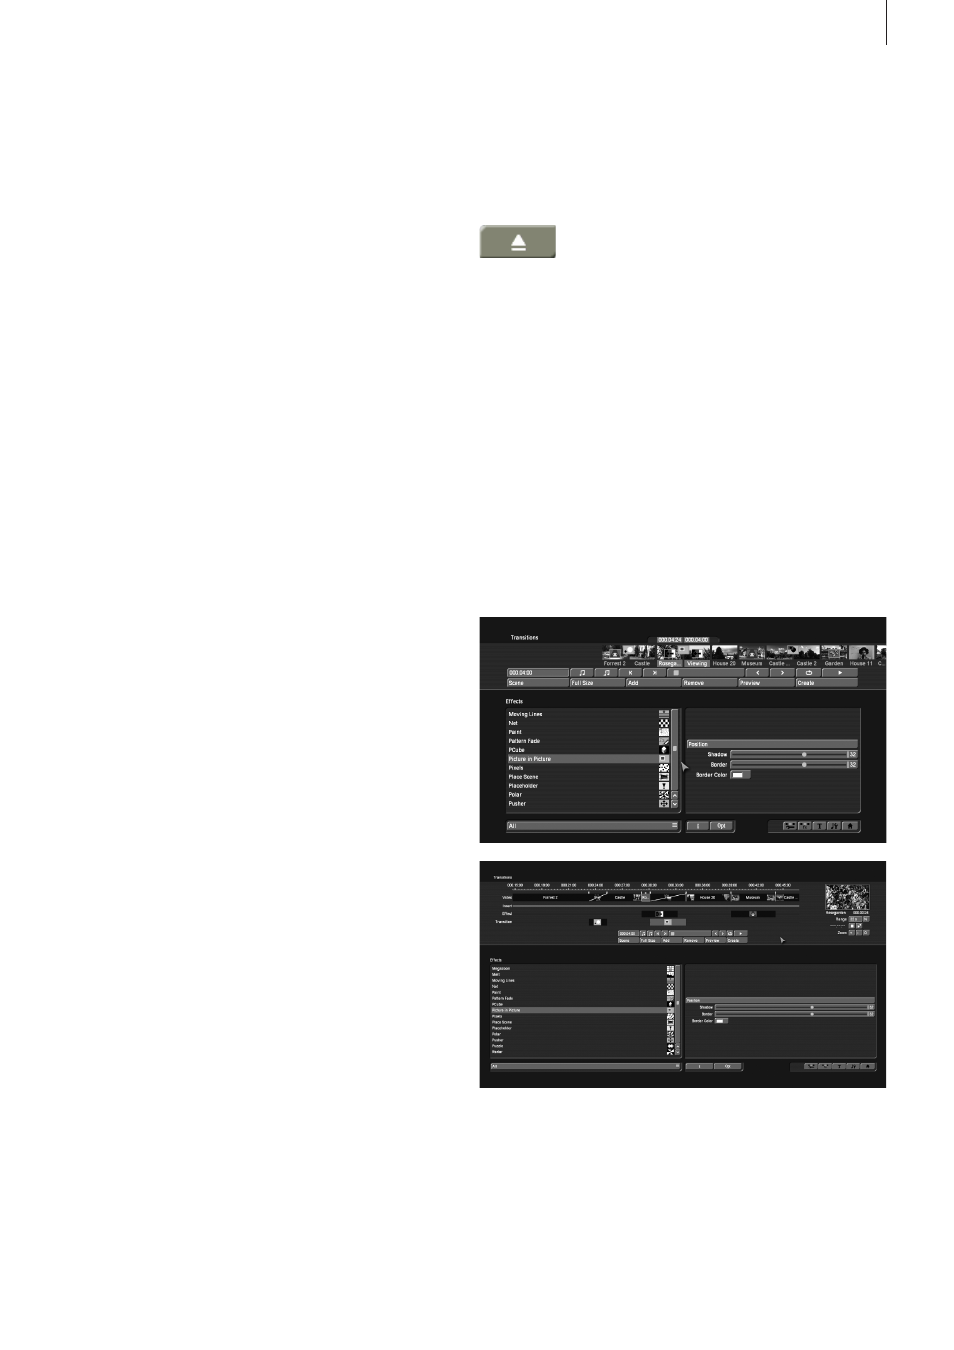
4.9 Transition effects
When your project has been completely arranged in the Edit
screen, and you are pleased with the results (but with hard
cuts between the scenes), then you can apply transition ef-
fects . Transition effects are transformations from one scene
to the next . The transition effects are always inserted between
two scenes in the storyboard .