10 image processing effects – MacroSystem Bogart SE Ver.4 User manual User Manual
Page 52
52 Chapter 4
4.10 Image Processing effects
Apart from transition effects there are also image process-
ing effects . In contrast to transition effects, image processing
effects are applied to entire scenes or segments of the story-
board . You can make a part of your video brighter or invert it,
or convert it into a charcoal drawing or relief and a lot more .
These are sometimes referred to as “filters” in old analog
editing systems . In the same way, for example, as a yellow
filter on a camera lens modifies the color of pictures taken, an
image processing effect is applied to a particular segment of
the storyboard . In the image processing effects screen only
one scene is selected . The selected scene represents the ap-
proximate range for the intended effect . You can process just
one image, or an entire scene, or in the extreme case the entire
storyboard .
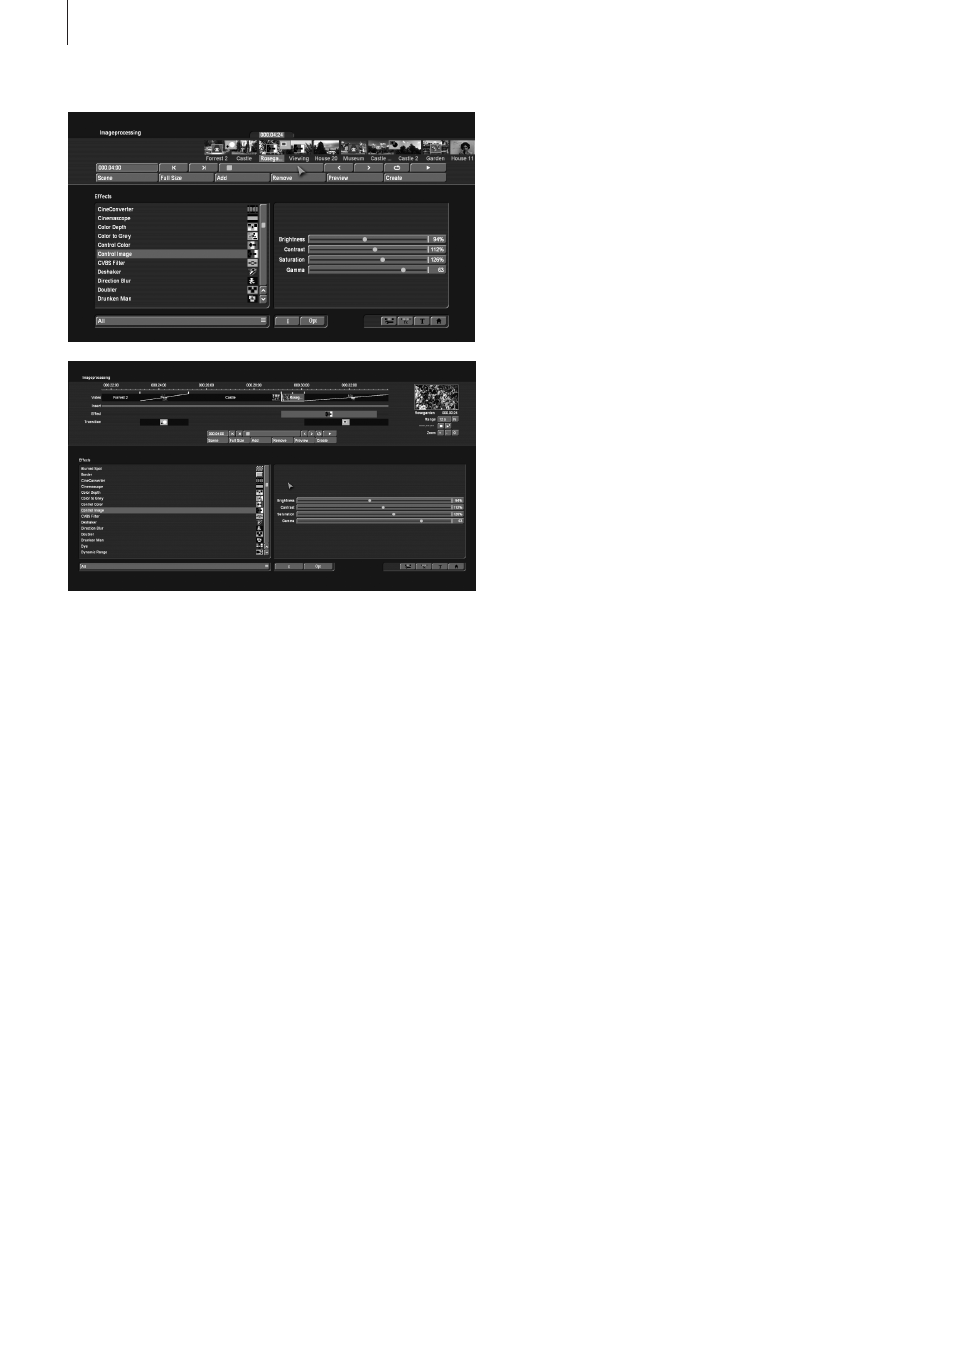
(1) The “Image processing” screen shown above displays the
storyboard you are already familiar with . You should select the
scene to which you want to apply the image processing effect .
A difference to the storyboard from the “Edit” menu is the play
button . In the image processing effects screen the play button
does not play the entire storyboard, but only the active scene .
If an effect has been added, then the length of the entire effect
is played .
(2) You can select an effect in the effect list . Either click on the
effect directly so that it is highlighted by the dark-gray bar, or
use the slider or arrow buttons in order to move the desired
effect to the correct position . If you do use the slider, then after
selecting the effect you must press the left trackball button so
that the light-blue bar again changes to dark-blue .
(3) After you have selected an effect that has further options,
the effect options are displayed in the field to the right of the
effect list . There you can define, for example, the colors and
intensity of the effect .
(4) This button allows you to switch the effect list to single
points . The button offers at least three settings . The func-
tion “All” shows all image processing effects, which are to be
found in the system . “Default” shows the image processing
effects, which are integrated in the system, and “Optional” only
shows the image processing effects, which have been installed
afterwards . If you have installed additional image processing
effects, they are also shown in this list (underneath the three
settings listed above) . Thus it is possible just to see only one
effect type in the list .
(5) Clicking on the “i” button, you’ll get information about the
image processing effect activated in the effect list . If it is an
add-on effect, the window “product information” appears,
which offers a description of the effect . Is the effect a standard
effect, the product information refers to the manual .
(6) Options: With these settings, you have the ability to influ-
ence the course of an effect . By default, an effect is applied
to a scene with uniform speed . Here you have the option of
changing the course of action of an effect by slowing it down
or speeding it up . Use “Slow down” to have the effect slow
down at the end of the effect . Use “Speed up” to have the ef-
fect speed up at the end of the effect .
When you open these options in the title effects, then there is
one more option for text processing, if you have also activated
Title-Studio . Use this function to determine which titler is to be
used to create the title effects you have inserted . If the setting
is set to “Standard”, the next title effects that will be inserted
in the storyboard will be opened with the standard titler . If the
choice is set to Title-Studio, effects that will be inserted in the
future will be opened with the add-on product Title-Studio .
Titles that had already been inserted in the storyboard will be
opened with the titler that was set at that time .
(7) With the “Add” button you can apply the selected and
configured effect to the scene located in the center . The effect
symbol appears in the scene outlined in red . If you select a
new image processing effect even though there is already one
in the scene, the new effect replaces the old, without you hav-
ing to click again on “Add” . The length of the newly inserted
effect corresponds at first to the length of the actual scene, but
can be changed with the button located at the top-left (item(8)) .
(8) A click on the “Remove” button removes the added effect
from the storyboard . If you would like to replace the current
effect with another, then you can simply select the new effect
and it automatically replaces the current effect in the story-
board . In this case you don’t have to click on the “Remove”
button .