MacroSystem Bogart SE Ver.4 User manual User Manual
Page 97
97
Bogart SE 4 User manual
factor in the images, etc . It is therefore not a good idea to fill
up the medium to 99% and instead always keep a little reserve
capacity . When you are done adding films (and if the medium
capacity is not exceeded), press the DVD button to start the
conversion/export process . A progress bar will show you the
time required . If you have chosen ‘Video DVD’ as the output
medium, you will be prompted to determine some additional
settings for the menu:
Video DVD menu creation
In the top part of the screen, you can first press ‘1’ to return
to the ‘Film selection’ menu if you wish to make changes . To
edit the CD/DVD menu, press ‘2’ . This then switches to the
suggested DVD menu: You will see the third chapter (first
image) of the film suggested as the background of the menu .
Each added film has its own stamp image (the second chapter
position of each film) . A maximum of six menu images will be
shown . The menu initially has the title ‘DVD Menu’ . Press the
help button to get an overview of all functions in this screen:
• Open/close disc tray
• Change title/stamp text
To change the given title text of the DVD menu, press the “aA”
button . The next screen then allows you to rename the text
by first deleting the previous text and then entering your own .
When done, press OK and close the screen with the Return
button .
• Reduce saturation:
Press the chapter- button to reduce the saturation on the
background image . Press it multiple times to further reduce the
saturation .
• Increase saturation:
Press the chapter +button to increase the saturation on the
background image . Press it multiple times to further increase
the saturation .
• Reduce contrast:
Press the RW button to reduce the contrast of the background
image . Press it multiple times to further reduce the contrast .
• Increase contrast:
Press the FF button to increase the contrast on the back-
ground image . Press it multiple times to further increase the
contrast .
• Select stamp:
Use the four direction buttons to choose one of the refer-
ence images for the films . If you have only added one film, it
will already be selected . A selected film has a yellow border
around it . Press the OK button to activate the film and use the
direction buttons to move the image . Every time you press a
direction button, the image will move in that direction .
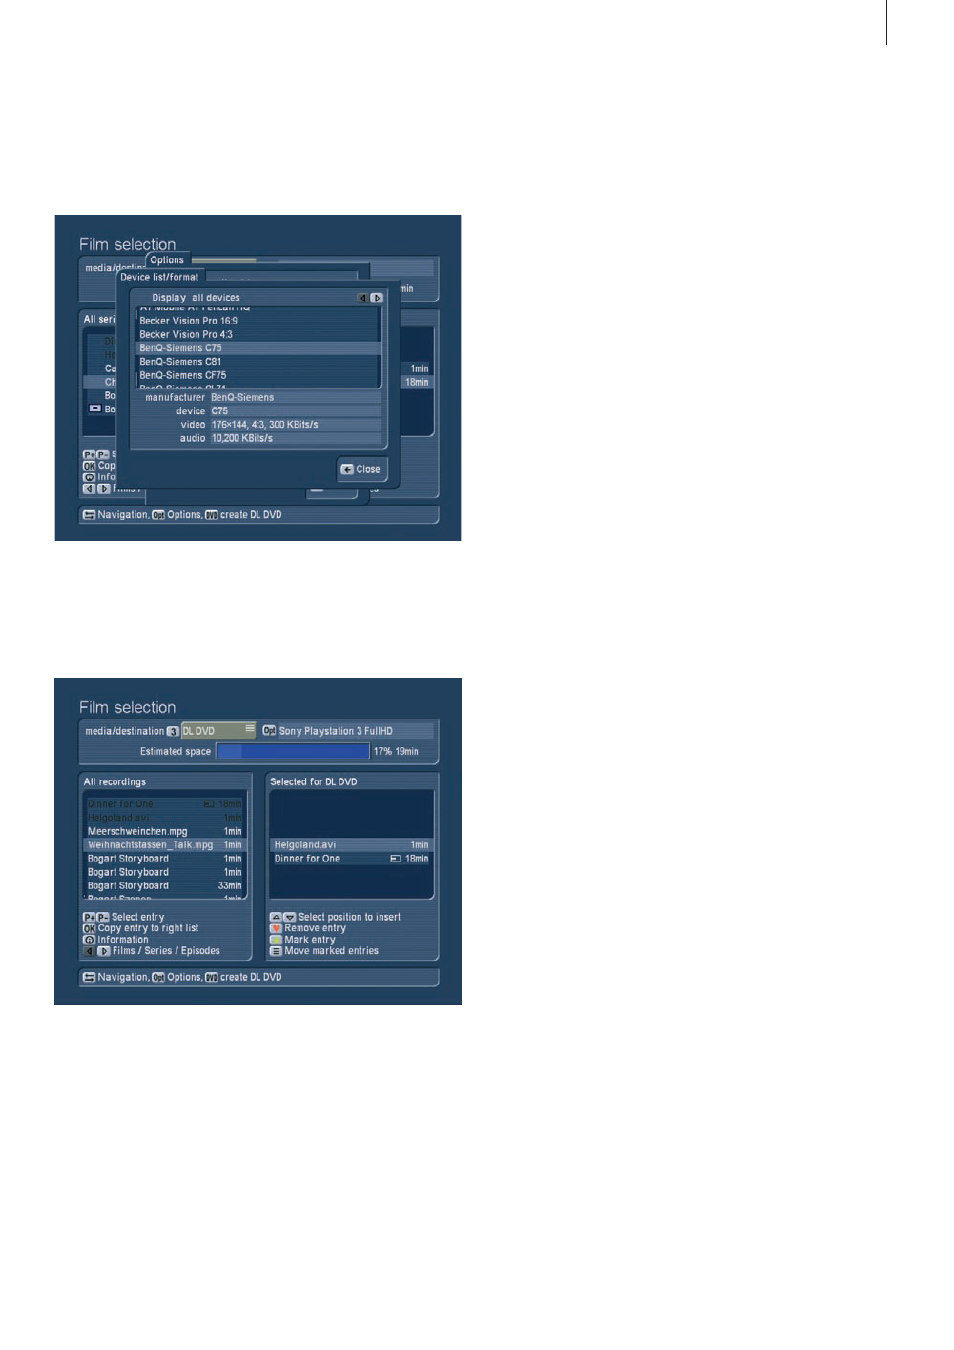
600 possible devices and select one . You can use the scroll
slider to move up and down the list and choose a manufac-
turer . If you press right, you will see all the devices made by
that manufacturer . If you press left, the list will show all of the
devices, sorted according to manufacturer .
Once you have selected an output medium and format, you
will have to select the movies . The left list contains all available
movies, which you can select by left clicking with the trackball
and then add to the list on the right by clicking on the OK but-
ton (for medium - selected) .
The information button gives you some important information
about the selected film in the left list . By pressing left and right,
you can switch between the three display modes: ‘all record-
ings’, ‘all series’ and series/film folders . In this menu you can
also use the ‘Navigation’ button to navigate the lists faster and
the ‘yellow star’ and ‘red heart’ buttons to organize the added
items in the right list . The top part of the screen shows you the
expected capacity of the medium/destination in percent with
a capacity bar . Note that this capacity is only an approximate
value (except for the internal format) . The real capacity may
vary depending on details in the footage, movement, noise