MacroSystem Bogart SE Ver.4 User manual User Manual
Page 61
61
Bogart SE 4 User manual
top, middle or bottom of the text box .
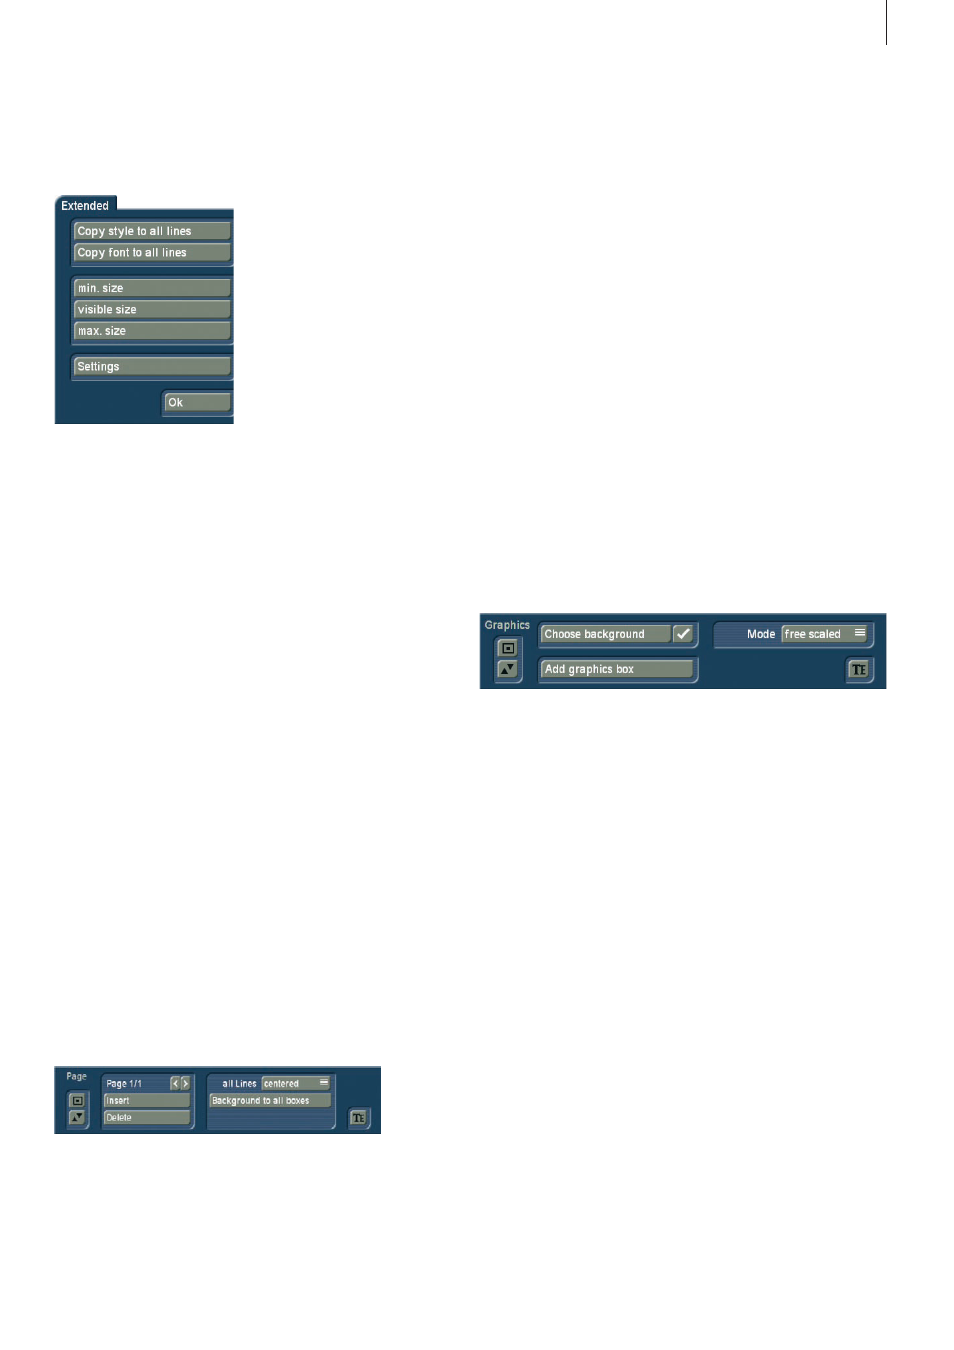
• Clicking on the button “Extended” calls up a display in which
you have several options:
-The function “Copy style to all lines” offers the possibility to
copy the settings made in the window “Style” from one single
line to all other lines on this page . Before you call up the win-
dow “Extended” again, mark the line (place the cursor in this
line) which contains the style you want to copy .
After selecting “Style for all lines”, the settings will be copied .
Similarly to the function mentioned above, you can copy the
font of one line to the other lines by clicking on “Copy font to
all lines” . Mark the line which contains the desired font and
choose the function “Copy font to all lines” . Selecting the “min .
Size” button reduces the text panel to a minimum, meaning
that a narrow border encloses the text inside .
Clicking on the “Visible Size” button sets the text panel to a
size visible on a television set . If you click on the button “max .
size” the active box increases beyond the screen edge . This
function is helpful, for example, if you would like to fill the box
background with a transparent color or pattern . Clicking on the
button “Settings” causes a display to appear in which you can
set “Grid” and “Border” . The “Grid” slider allows you to set the
size of the invisible grid . The box edges are aligned with this
grid so that positioning is easier .
With the “Border” slider you set the distance of the text box to
the screen edge . It is also possible to move the text box using
the cursor keys of an external keyboard .
(4) After clicking on the “Pages” button, a new toolbar appears
in which you can create and edit pages .
• There you see at the above left (according to the effect) the
label “Page 1/1” . After you have added a page (see below)
you see the label “Page 1/2” . After an additionally added page
“Page 1/3” appears, etc . With the help of the right arrow you
can move forward through the pages . The left arrow displays
the previous page .
• By pressing the “Insert” button, you can insert a new text
page . Inserting a new page prompts Bogart SE to ask if the
page is to be inserted before or after the current (first) page .
All subsequent pages will automatically be added after the
currently selected page . A page can only be inserted (added) if
the current page contains text .
• Pressing “Delete” deletes the current page and you will see
the next available page on the screen . If you have deleted the
last available page, the previous page will be seen .
• The selection button “All lines” offers three possibilities:
“Top”, “Centered” and “Bottom” . With these options, you can
select the vertical position of the text lines of all text panels on
the current page .
• The button “Background to all boxes” copies the back-
ground of the current box to all other panels on this page . The
button has no effect if you are working with just one box .
(5) Clicking on the button “Graphics” causes an additional
toolbar to appear .
• At first you can decide whether your text box should be
provided with a background . Next to the function “Choose
background” there is a checkbox . If you see a checkmark in
the checkbox then the background for the active text box is
transparent . If you activate the checkbox so that a checkmark
appears, then the active text box is filled with a background .
• In order to specify the box background, click on the button
“Choose background” . This opens the image pool . There you
can specify the desired pattern or color - also with transpar-
ency percentage .
• A click on the button “Add graphics box” opens the image
pool, in which you can select a graphic (Product: Bogart SE,
Type: Images) . After clicking on “OK” you can position the box
in the desired size on the screen .
• The selection button “Mode” provides you with several
possibilities to render the box background and the graphic in
the text box . The option “free scaled” means that the pattern/
graphic is adjusted to the size of the text box . Under some
conditions the proportions may be distorted .
The option “fix scaled” uses the original proportions of the
pattern/graphic, meaning that adjustment is made in reference
to one edge of the box . This may result in black streaks at the
edge of the text box . In addition, it is not possible to enlarge/