MacroSystem Bogart SE Ver.4 User manual User Manual
Page 70

70 Chapter 4
Should you decide not to insert the sample, simply click the
right trackball button once .
Freely moving audio samples
In addition to the existing possibility to move sound samples
inside a sound track (Range button), it is now also possible to
move them around freely .
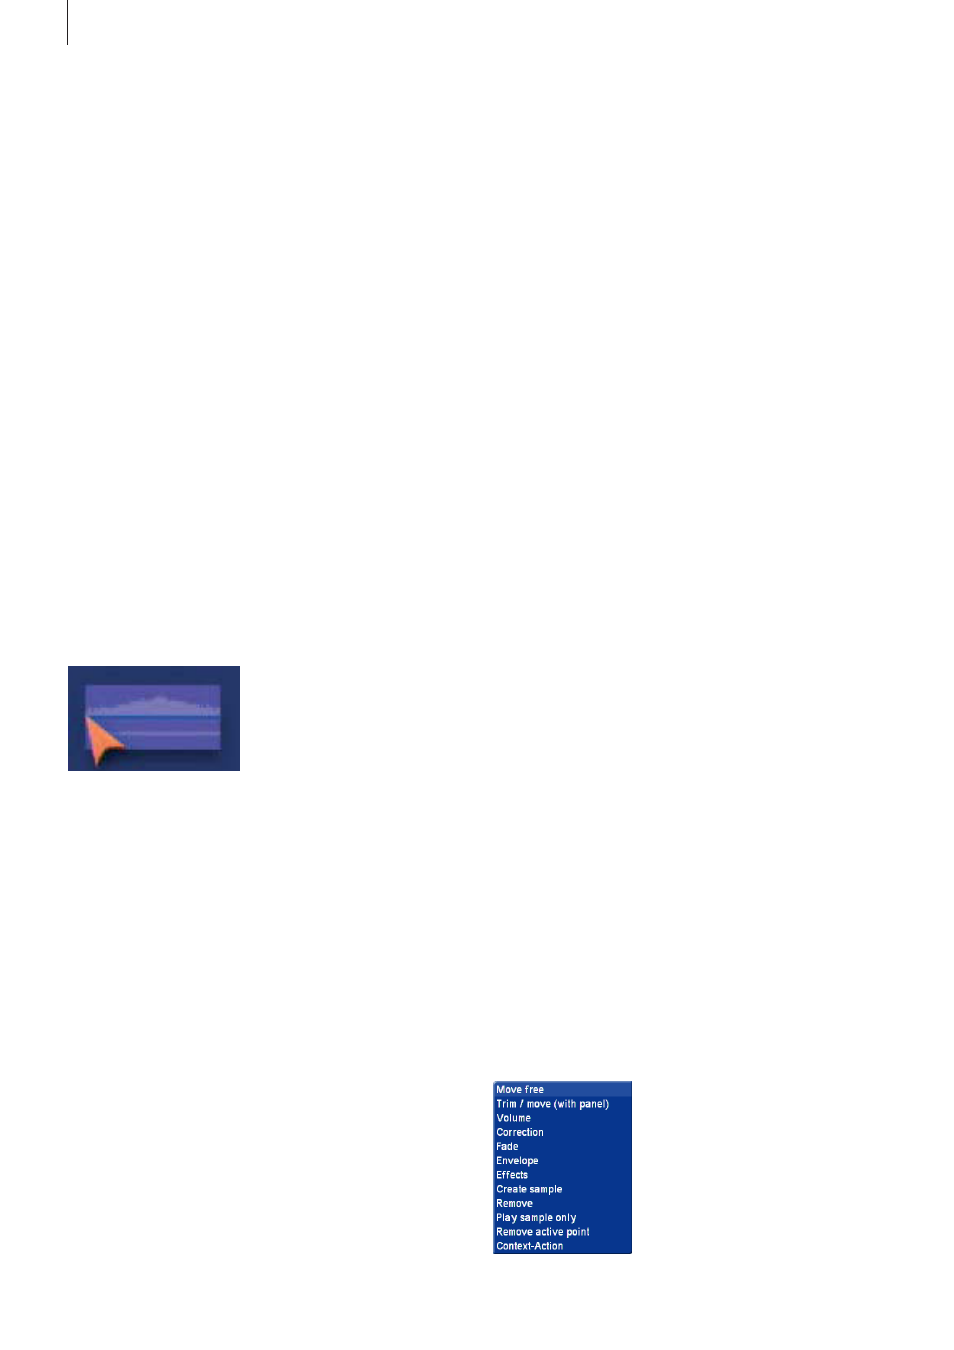
In order to do this, you should click on the little button at the
center on top of the sample you want to move . This will open a
menu in which you can select what you want to do, the sample
menu . Select the first option “move free” (we’ll talk about the
other options later) . The sample is the removed from the track
and you get a different pointer, the one that was described
previously when we were talking about inserting new samples .
It will also behave the same way as described previously . You
can now move the pointer and insert the sample somewhere
else .
Click on the right button to cancel this procedure - the sample
will now return to the location where it was before . Samples
that have been trimmed, do not change when they are being
moved around . Should you want to lengthen a sample that had
previously been shortened (automatically), you should use the
Range function .
Audio samples
The upper half of the view contains the sound curve of the
recording or the sound sample . The lower half displays the
sound envelope of the samples . This is where the changes are
carried out, by setting points .
Note: These new type of sound view is only available in the
timeline view.
Audio that has been inserted, usually no longer has to be
calculated . When played, it is played the way it sounds when it
is mixed with the other sound tracks . Only when sound effects
such as tone control and surround are used must the affected
parts still be calculated . The sound must also be calculated for
export via Firewire or for DVD burning, since only one sound
track can be used with these media .
Sample menus
You can see a menu icon in the middle of the active (clicked
upon) sample . Use this to access additional sound editing
functions . You should click on the sound sample you want to
work with . This will call up the corresponding menu .
increases the display of the others and makes it easier to work
with them . It is therefore advisable to deactivate unused tracks
or tracks on which you are currently not working . Hidden
tracks remain active and will be taken into account when you
play or finalize your work .
8. The upper part of this output field contains information
about the active sample . In addition to the name and the
length of the sample, the sound volume is also displayed, if it
has been changed .
The lower part of the field contains also several bits of informa-
tion . This is where you will see the time code during playback,
the position of a sound sample while you are moving it and
when you change the sound envelope, it will contain its level
and position .
Inserting sound samples
Use the “Insert” button to insert new samples from the bin
(music, comments, noise) in one of the sound tracks .
Click on this button to open the bin . Select a sound sample
and confirm by clicking on OK . The window closes and you get
a different pointer . You now no longer only move the red arrow
over the screen, but also a stylized sound sample . (The length
and the look do not correspond to those of the selected sound
sample) .
When you move the pointer over one of the sound tracks, it will
automatically be activated . When you leave the sound track
area, left or right, the timeline will automatically scroll in the
corresponding direction .
The sound sample can only be inserted in a free spot if you go
to that location and click on the left button . The current inser-
tion position (left side, arrowhead) is indicated right in the info
field . At the top right of the preview image, there is an indica-
tor that shows the current image position of where the sound
sample currently is .
When you insert a sample, its start will stop against the end
of other sound samples or the yellow guide line . This way, it
becomes a lot easier to accurately position the sample . When
you drop a sound sample on top of another one, it will be posi-
tioned directly behind it, as long as there is room . This makes
it a lot easier to put several samples behind one another .
When a sample is dropped in a free spot which is shorter than
the sample, the sample will automatically be trimmed at the
end .