7 editing – MacroSystem Bogart SE Ver.4 User manual User Manual
Page 31
31
Bogart SE 4 User manual
control the connected DV device through the i-Link interface .
You should be aware that most devices are compatible, but
some are not . If this is the case, the DV/HDV device can be
started manually and should then input correctly . Seen from
left to right, the buttons are used to: stop the recorder, play,
pause, rewind, and fast forward . Rewind and fast forward have
three different effects . Fast rewind and fast forward are
achieved while the DV source is in stop mode, viewable slow
rewind and slow forward in play back mode, and frame-by-
frame backward and forward in pause mode .
The four menu symbols bring you
directly to the Edit, Record/Edit, Video
settings, and to the Main menu screens .
4.7 Editing
This screen is used for most of your editing work, and for se-
quencing of trimmed scenes . This is the most important menu .
The view of the scene bin can also be modified or defined in
the menu under Settings-Storyboard, Timeline .
The menu can be displayed in different ways . The display de-
pends on the screen resolution and also depends on whether
you are using the Timeline or the Storyboard modes . Resolu-
tions higher than 1024x768 pixels (1280x720 for a 16:9 project)
will result in a slightly different edit bin screen section . All but-
tons described here are present in both view types .
(1) The Storyboard is displayed in the top third of the Edit
menu . This is a tool that has been used since movies were
invented . The idea is to clearly lay out all the scenes of a pro-
duction in order to more easily implement editing principles . A
single frame, (the first pictures of a scene), are used as sym-
bols (“thumbnails”) to represent the scene . A glimpse at the
storyboard allows you to grasp the whole story without having
to review all of the material . Traditionally, the storyboard was
a large board composed of hand-drawn pictures . Your system
uses an electronic storyboard .
Scenes are selected from the scene bin and put into order on
the storyboard, located in the upper section of the screen . In
the storyboard the selected scene is in the center . The se-
lected scene length (duration) is displayed above the scene
to highlight it . Clicking on a scene in the storyboard causes it
to be moved to the center (often referred to as the “selected”
or “active” scene) . Depending on the chosen resolution (see
chapter 5: VGA mode), at least seven complete scenes will fit
into a visible part of the Storyboard . But there is no limit to the
number of scenes that may actually be present on the story-
board . The storyboard can be scrolled to the left or right . The
starting point is to the left, and scenes are played sequentially
from left to right .
To scroll up or down, you can use the scrollbar on the right
or the arrow button below . It is even faster when you move
through the scene bin using the left/right/up/down arrow keys
(cursor) on a Power Key keyboard .
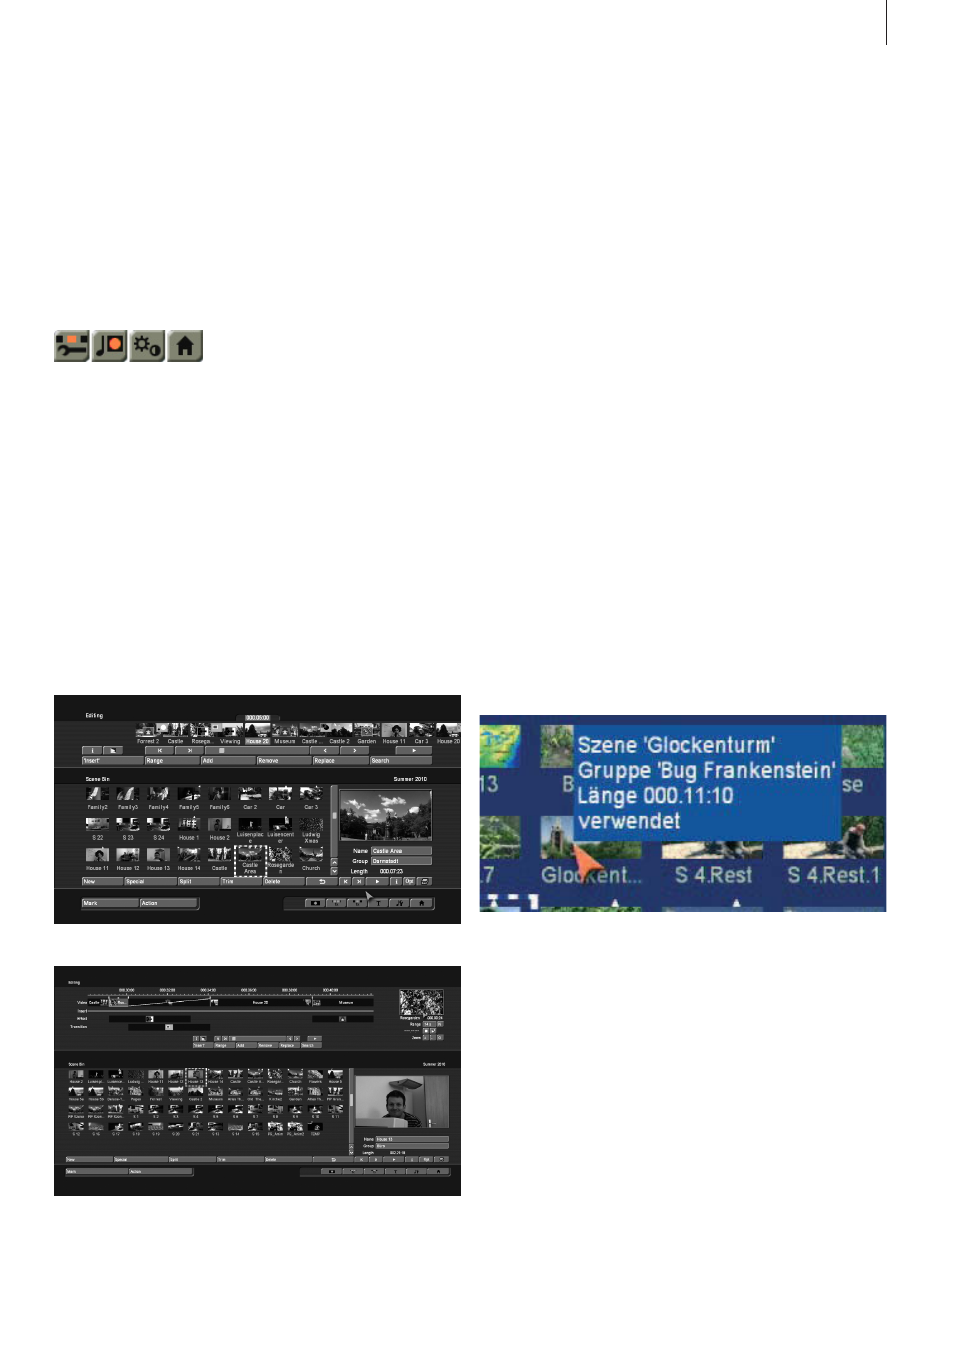
Go with the mouse pointer to a scene in the bin or the sto-
ryboard and let it stay there for a second . Information will be
displayed with respect to this scene or the effect that has been
applied to it . In the storyboard, you will see the name of the
scene and its length, in the scene bin you will also see if the
scene has been shortened (and the shortened and original
length) and if it has already been used .
Note: This function assumes that the option “Display bubble
help” has been activated in the settings. Otherwise, nothing is
displayed.