Map inputs – RLE FMS V.1.13 User Manual
Page 116
116
FMS User Guide
800.518.1519
3
Web Interface Configuration
1
To upload an image click the Browse button.
2
Locate and select the map file (.jpg) that you have previously created and saved. Click the
Open button. The path and name of the map file displays in the field to the left of the
Browse button.
3
Click the Upload button.
The Upload button displays a Please Wait message while the file uploads. The upload
should take about seven seconds. Once the image of the map has uploaded, the FMS
displays a message confirming that it has uploaded the new file.
Figure 3.54
Map Image Upload Message
If you receive the following error message, the file did not upload:
Figure 3.55
Map Image Upload Error Message
Verify your file’s size and type, and repeat the upload process.
4
Once the file has uploaded, click Return to exit to the Map File Configuration Menu.
5
Return to the FMS home page. Click the Floor Map link at the top right side of the page to
view your uploaded map image and ensure it has uploaded correctly.
Map Inputs
Once the map image has been uploaded, you’re ready to designate inputs on the map.
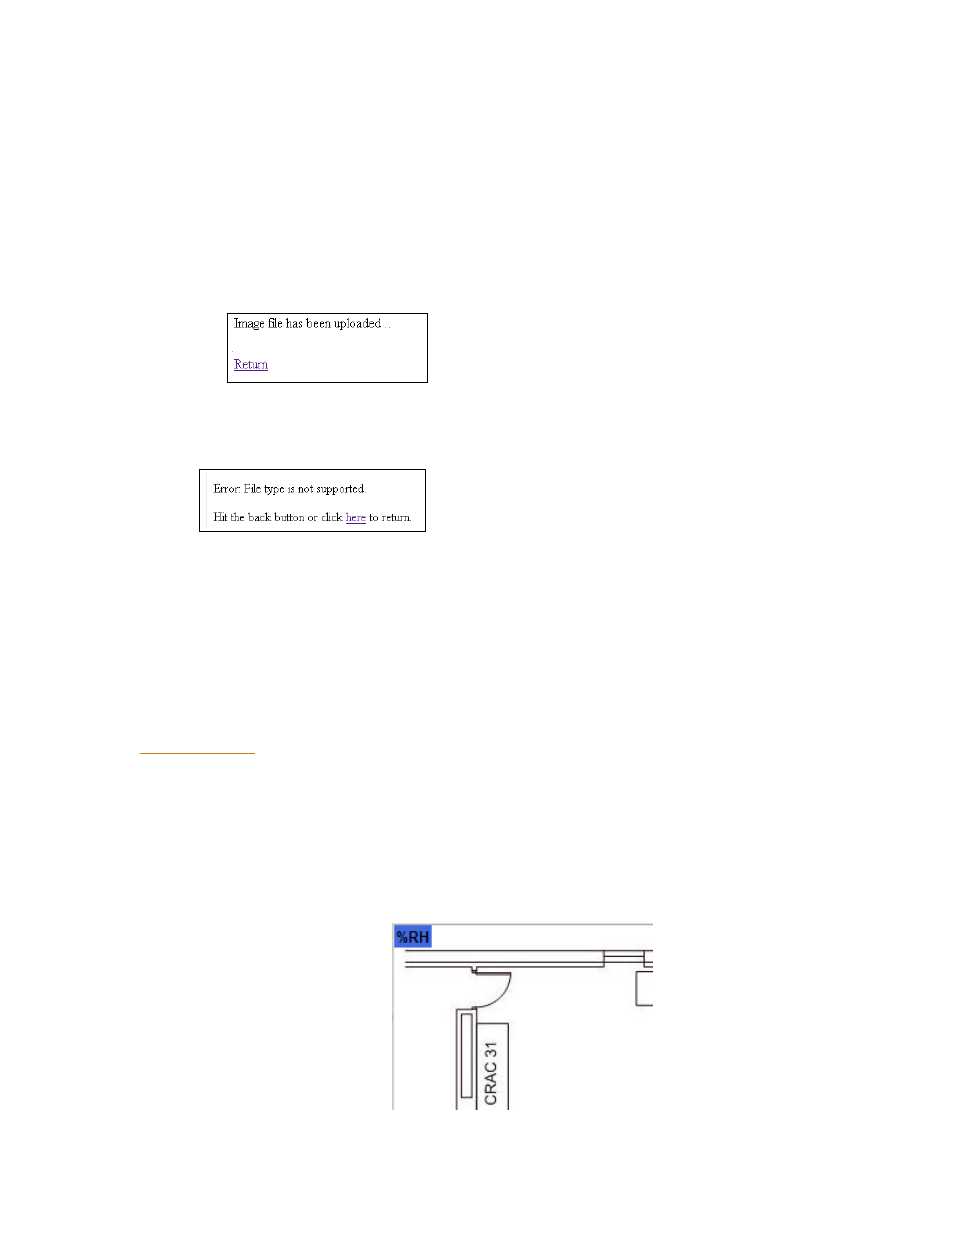
Throughout the mapping process, you will use a blue box to designate the location of your
mapped inputs. This blue box represents the location of the point you are mapping, and its blue
color indicates you are in mapping configuration mode. Initially, you will find it in the upper
left corner of your screen. Use your mouse to drag and drop it where you’d like it to appear on
your map.
Figure 3.56
FMS Drag and Drop Mapping - Configuration Mode