Aux analog input setup, Equipment needed – Super Systems 9130 Series User Manual
Page 46
Series 9130 Operations Manual Rev -
45
Integral Preset
This is the integral preset value. This field provides an offset for the starting point for PID control, also
referred to as “Load Line” or “Manual Reset”. The range is –32768 to 32767.
High Limit
This is the high limit value. The range is –32768 to 32767.
Low Limit
This is the low limit value. The range is –32768 to 32767.
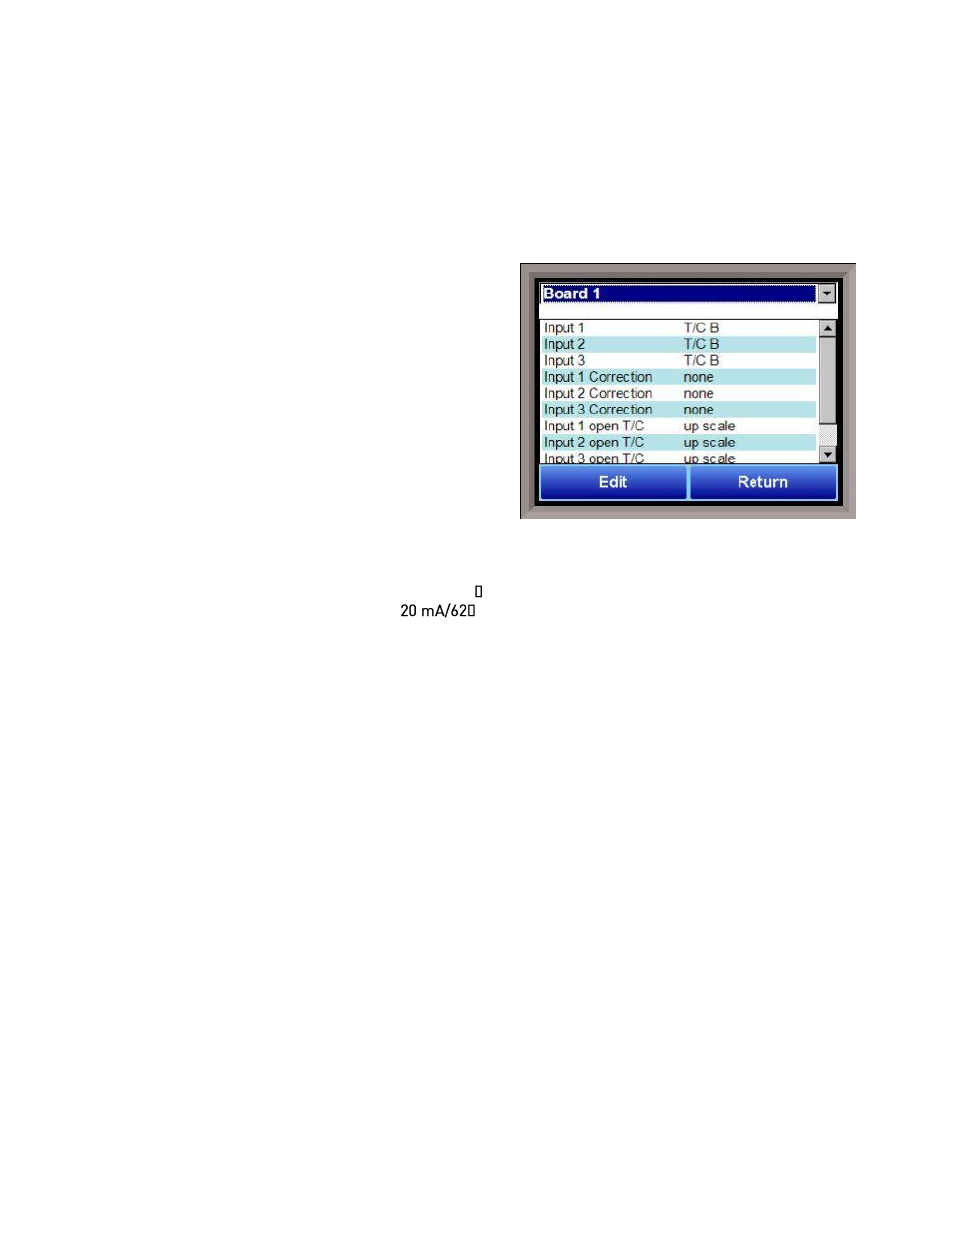
Aux Analog Input Setup
The Auxiliary Analog Input Setup menu option allows the
user an input selection of three inputs per board, three
input corrections per board, and three input open T/Cs
per board. There are eight (8) boards available. It is
configurable for voltage of T/C (universal input), and it is
typically used for Load T/Cs and Auxiliary Flow Meters.
Input 1 – Input 3
This will select the input types for the board. The options
are:
B
NNM
160 mV
C
R
80 mV
E
S
40 mV
J
T
20 mV
K
2.5 volts
4-20 mA/124
N
1.25 volts
4-
Input 1 Correction – Input 3 Correction
This option will set a correction curve for the input. The options for the input corrections are: not used,
Curve 1 – Curve 3.
Input 1 Open T/C – Input 3 Open T/C
This option will allow the user to set the direction of the open T/C for each input. The options are: Up Scale
or Down Scale.
Calibration
This option will allow the user to calibrate the auxiliary input board once the settings have been confirmed.
Equipment needed
A certified calibrator(s) with the ability to input and read millivolts, milliamps and thermocouples is
required. The appropriate connection leads are also required. A 24VDC 75-watt power supply is required.
To calibrate an auxiliary input, select the “Cold Junction” option or the “Zero/Span” option.
Note – Even
though the “Cold Junction” option is listed first, the inputs and outputs should have the zero and span
calibration performed BEFORE performing a cold junction calibration
. No calibration can be performed
from the initial screen that is displayed when the “Calibration” menu option is selected.