Timer setup – Super Systems 9130 Series User Manual
Page 57
Series 9130 Operations Manual Rev -
56
The “Limited Relay” option will allow the user to limit the output value while the controller is controlling the
furnace. Normal operation will typically use 100 % output. When the limited relay option is selected, the
“Tuning Delta” button will be displayed. When the Relay option is selected, the “Tuning Delta” button will
be hidden. The “Tuning Delta” value will be the amount to limit the controller by. Pressing the “Tuning
Delta” button will display the numeric keypad, which will allow the user to enter the limiting value.
The “Conservative” option will allow the user to minimize, if not remove, the possibility for an overshoot of
the setpoint. If a small overshoot is acceptable, leave the “Conservative” checkbox unchecked. If, however,
no overshoot is desired, then checking the “Conservative” checkbox will accomplish this.
The current PV value, along with the setpoint, is listed above the PID settings list.
Pressing the Start button will begin the auto tune process.
Note: The process may take a few seconds to
start
. The “Idle” line will change to display the calibration process for the auto tune. The line will display a
pointer value.
Note: The Start button will be disabled while the calibration is running
. Pressing the Abort button will abort
the process. If the Cancel button is pressed while a calibration is running, a message box will be displayed
confirming the action.
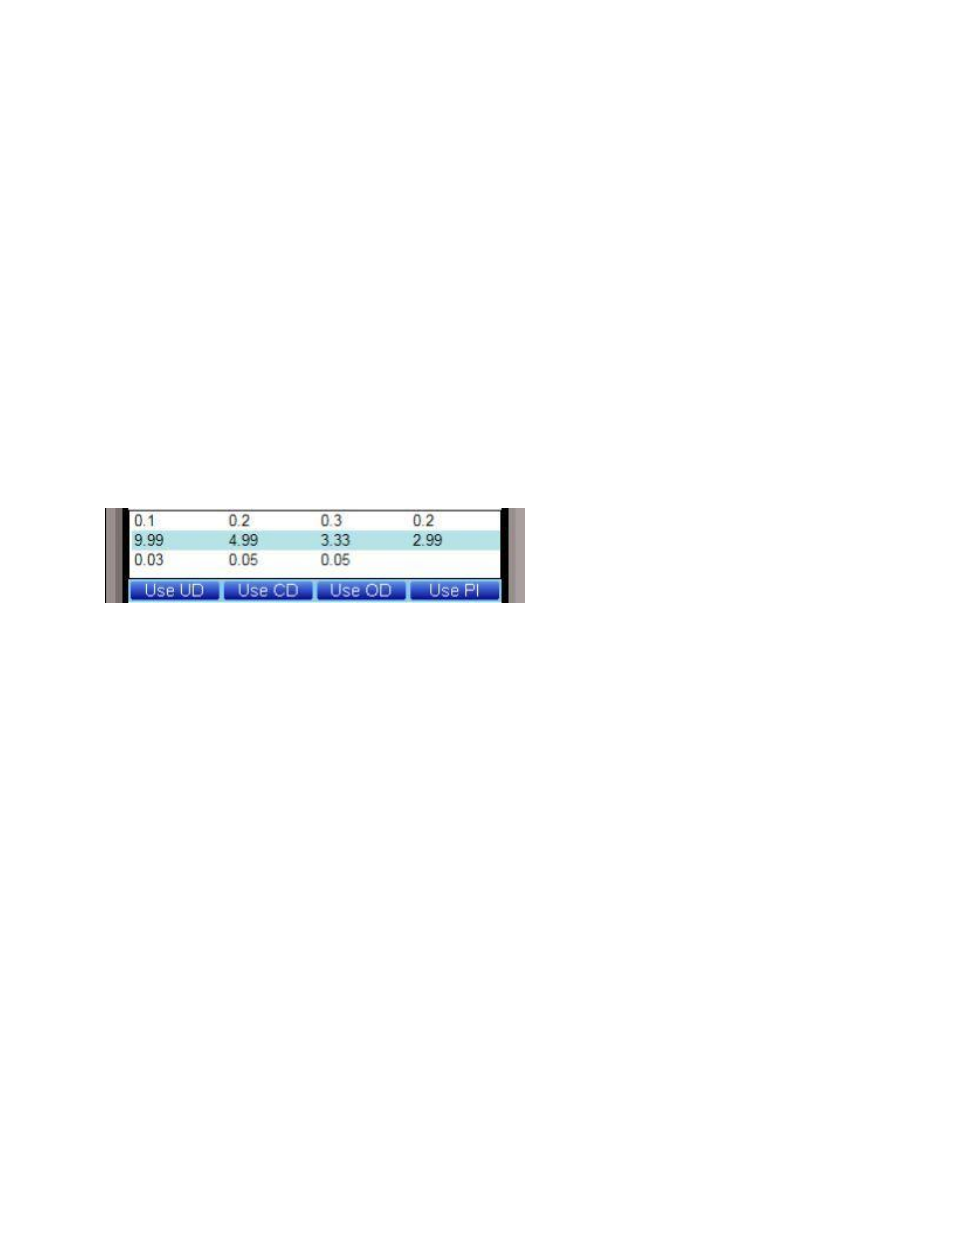
When the calibration is finished, the PID settings list will be populated with suggested values and the four
buttons underneath will be enabled. The line above the PID settings list will read “Idle” again as well.
The user has the option to select only one of
these sets of values: either the Under
Damped set, the Critically Damped set, the
Over Damped set, or the PI set. To select
the set of values, press the corresponding
button. For example, to select the Critically
Damped set of values, press the Use CD button.
The under damped values will reach the setpoint faster, but there will be more overshoot involved.
The over damped values will work to minimize the overshoot, but it will be slower than the under damped
values.
The critically damped values are considered the “optimum” values because they are a balance between the
under damped and over damped values with regards to time and overshoot.
The PI values are the proportional band and the reset value (the
P
and the
I
from
PID
).
Once a set of values has been accepted, the user can press the Return button to exit the screen. The
accepted values can be viewed on the
PID Loop Setup
menu option
. Note: Once the screen is closed out,
the PID settings values will be lost
. To populate these values again, another calibration routine will need to
be run.
Timer Setup
This option will allow the user to setup and start the Timer on the 9130 controller.
Timer
This option will determine the status of the timer. The timer can either be Enabled or Disabled. If it is
disabled, it cannot be used.
Start Mode
This option will determine how the timer is started. The options are: Start on Enable, Deviation, and Band.
Start Control
This option will determine how the control of the timer is handled. The options are: No Change, Control to
Auto, Control Auto, Standby SP, and Control Manual, Idle Output.