Editing event memory timelines, Basic operations – Panasonic AV-UHS500 12G-SDI/HDMI UHD 4K Compact Live Switcher User Manual
Page 73

73
Basic operations
Editing event memory timelines
Insertion or modification of the events can be edited on the
timelines.
w
Timeline
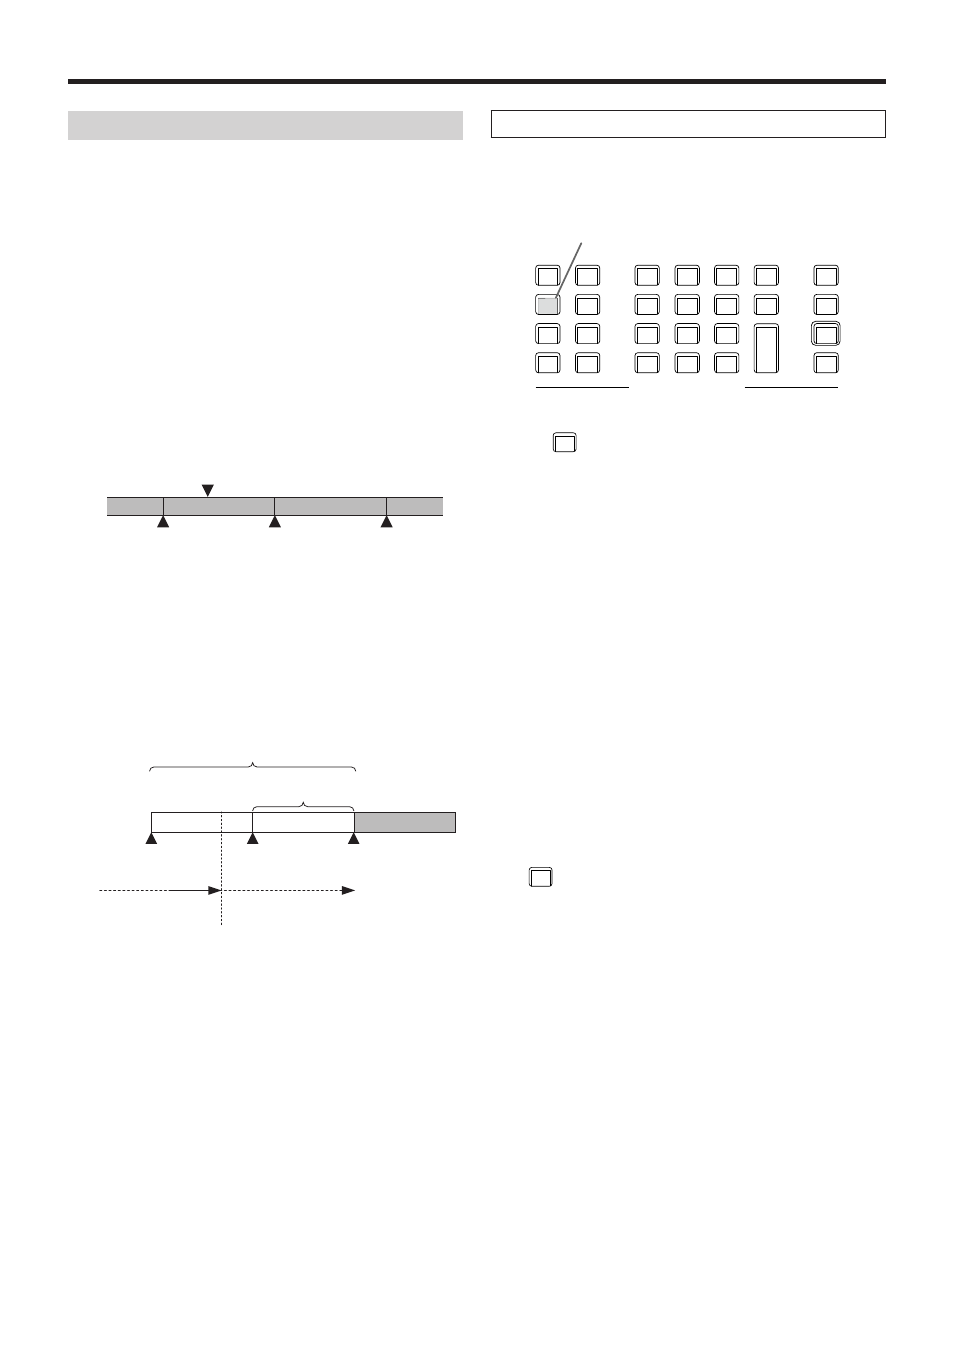
A timeline is a succession of events in the event memories
which have been joined together on the time axis.
w
Event points and edit points
On a timeline, the position where an event has been
registered is called the event point, and the event currently
being edited is called the current event memory.
When there is an edit point between one event point and
another, the event point before the edit point serves as the
current event memory.
(Event “n” in the figure below)
<Event points and edit points>
Edit point
Event
“n”
Event
“n”+1
Event
“n”+2
w
Event duration and total duration
The length of time as far as the next event is called the event
duration.
The total of all the event durations is called the total duration.
The present point in time on the timeline is called the current
time.
<How times are referred to>
1s00f
1s00f
1s00f
Event duration
The event stops.
The event progresses
in this direction.
Current time
Total duration
Event
1
Event
2
Event
3
Timeline editing flow
w
Modifying registered event memories
1
Press the [EVENT MEM] button and light its indicator.
STORE
DEL
VMEM
MACRO
EDIT
SHOT
MEM
BKGD
PATT
XPT
DSBL
TAKE
ENTER
7
NEW
8
COPY
9
PASTE
4
INS
5
DEL
6
MOD
1
<
2
>
3
REV
0/10
<<
.
>>
C
UNDO
CAM
PMEM
CAM
CONT
EVENT
MEM
KEY
PATT
-/+
PAGE
RE
CALL
MENU
MEMORY / WIPE PATTERN / 10 KEY
STILL 1
STILL 2
TRIM IN
REC
CLIP 1
CLIP 2
TRIM OUT
<
>
REV
<<
>>
TRIM OFF
PLAY
STOP
DISPLAY
[EVENT MEM] button
2
Press the [RECALL] button to light its indicator, and use
the
-/+
PAGE
button and number keys (1 to 10) to select the
event memory to be modified.
Refer to “Recalling the operations stored in the
memory (Recall)”.
3
Press the [EDIT] button to establish the editing mode.
(At this point, the timeline of the selected event memory
is copied into the work area.)
The timeline appears on the built-in display, and events
can be inserted or modified.
4
Edit the timeline, and check what has been edited.
Refer to the operations described later.
5
Register the event memory which has been modified.
Refer to “Storing the settings in the memory (Store)”.
w
Creating a new timeline
When this operation is performed, the timeline currently in the
work area is deleted.
If it is required, register it in the event memory.
1
Press the [EVENT MEM] button and light its indicator.
2
Press the [EDIT] button to light its indicator, and press
7
NEW
.
3
Create the new timeline.
Refer to the operations described later.
4
Register the event memory which has just been created.
Refer to “Storing the settings in the memory (Store)”.
The timeline is edited in the work area.
After editing is completed, be absolutely sure to register
which has been edited.