Saving images in flash memory, Basic operations – Panasonic AV-UHS500 12G-SDI/HDMI UHD 4K Compact Live Switcher User Manual
Page 83
83
Basic operations
Use [F4] to set the maximum recording time using the
Limit item.
Use [F1] to display the Video Memory1 sub menu.
Use [F1] to display the Play Mode2 sub menu.
>
Use [F4] to set the sound to be recorded with the Audio
item.
As soon as [F3] (Rec) is pressed, the recording of the
moving images starts.
When [F5] (Stop) is pressed, the recording of the
moving images is stopped.
p
If the [VMEM] button on the right of the number keys
is pressed and the video memory operation mode has
been established, the operation of this button is linked
with the
-/+
PAGE
button among the number keys.
p
Thumbnails of moving images are displayed on the
thumbnail screen.
While the thumbnails are displayed, the following
information is also displayed on the thumbnail screen.
Current playback position (time), IN point position,
OUT point position
p
With the moving images on which the key signals
are recorded, a white “
” mark is displayed for the
thumbnail icons.
p
The recording time is displayed in the Total Time item
of the Video Memory3 sub menu. However, if trimming
has been performed, the time from the IN point to the
OUT point after trimming is displayed.
Also, “On” is displayed for the Key item when the key
signals have been recorded.
Saving Images in Flash Memory
Data for images stored in the video memory can be retained
even when the power is turned off, by saving them in the flash
memory area.
Whether to automatically save the image data stored in the
video memory when the data is transferred from the AUX bus
or to manually save them must be set.
p
p
If power to the unit is turned off when the saving of
data has not finished, video memory data will be lost.
p
p
Video memory data that has been saved is always
restored when the power is turned on.
p
p
If the unit is initialized, video memory that has been
saved to flash memory will be lost.
Notes
1
Press the
VMEM
MACRO
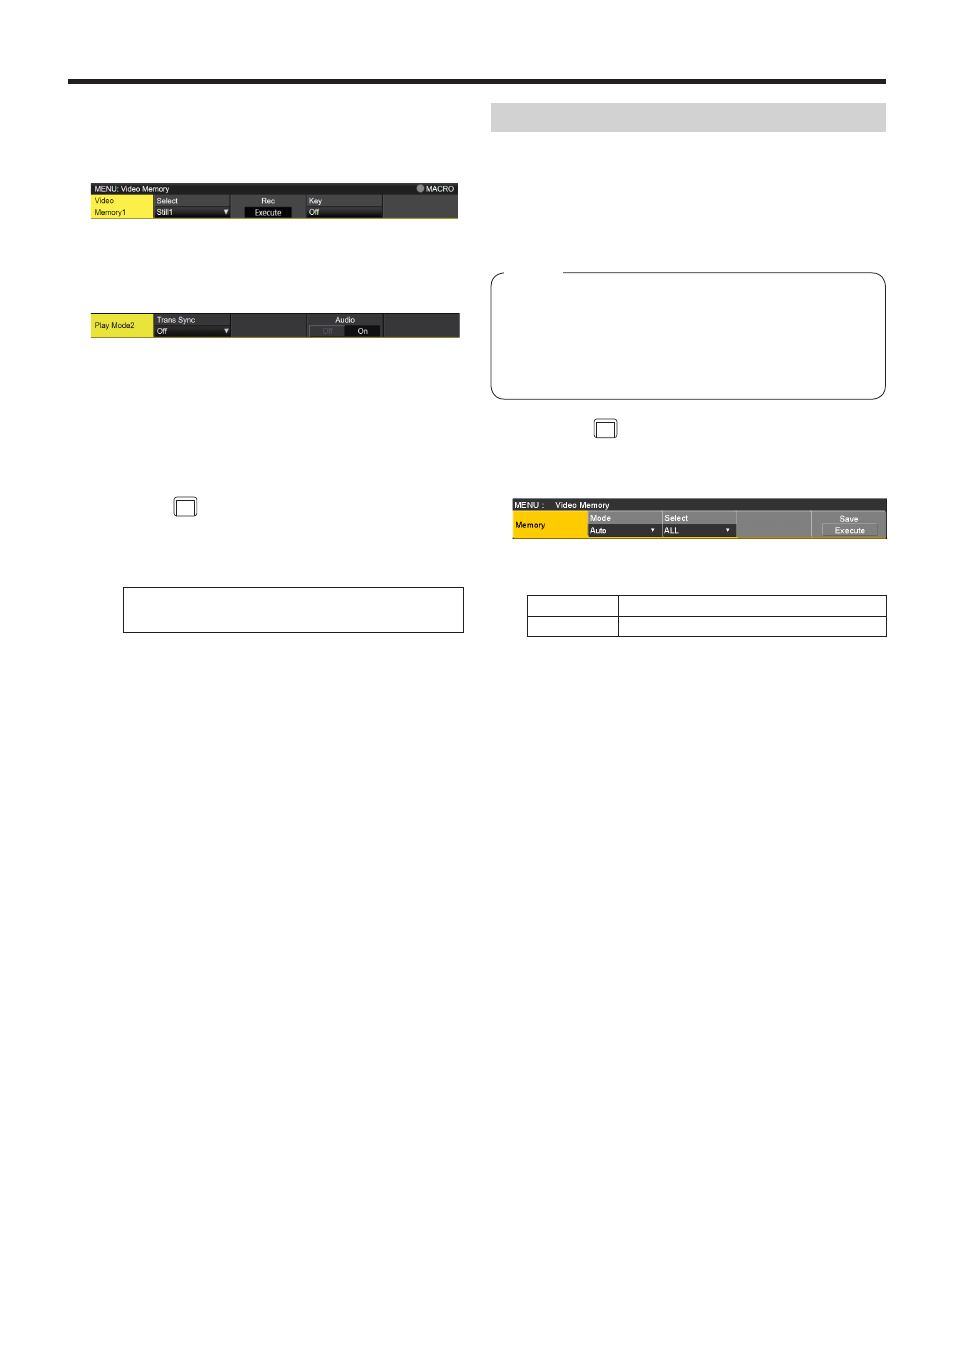
button to light its indicator, and display
the Video Memory menu.
2
Use [F1] to display the Memory sub menu.
3
Use [F2] to select the saving method using the Mode
item.
Auto
Automatic saving
Manual
Manual saving
4
Use [F3] to select the video memory for saving data in
the flash memory area using the Select item.
If “All” is selected, all video memory will be saved.
Video memory that has finished being recorded is saved
to the flash memory area.
5
Press the [F5] (Save) to save data in the flash memory
area.
p
[F3] (Select) and [F5] (Save) are enabled when
“Manual” is selected for the Mode item.
p
When “Auto” is selected for the Mode item, if video
memory recording is stopped, the video memory is
saved to the flash memory area immediately after
recording stops.
However, if the power is cut off during recording,
the video memories will not be saved in the flash
memory area.