View the results, View the results -26 – Altera DisplayPort MegaCore Function User Manual
Page 87
Note: To find <USB cable number>, use the
jtagconfig
command.
Note: Refer to the Nios II Software Build Tools Reference chapter in the Nios II Software Developer’s
Handbook for a description of the commands in these scripts.
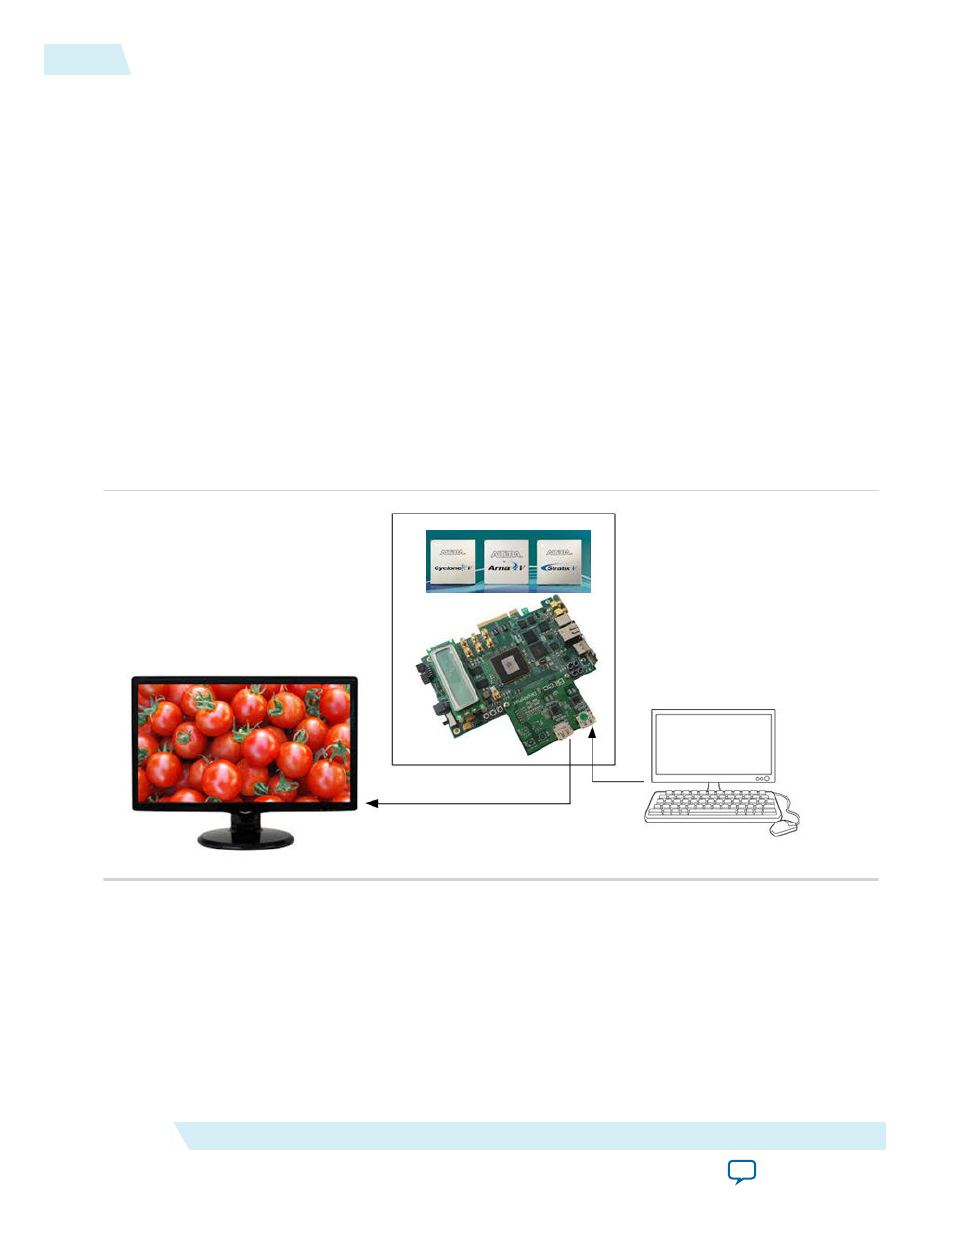
View the Results
In this step you view the results of the hardware demonstration in the Nios II command shell and on the
DisplayPort monitor.
1. Power-up the connected DisplayPort monitor.
2. Connect the free end of the Display Port cable that you connected to your PC to the DisplayPort RX
on the Bitec HSMC daughter card. The PC now has the DisplayPort monitor available as a second
monitor. The hardware demonstration loops through and displays the graphic card output as received
by the sink core.
Note: Some PC drivers and graphic card adapters do not enable the DisplayPort hardware automati‐
cally upon hot plug detection. You may need to start the adapter’s control utility (e.g., Catalist
Control Center, nVidia Control Panel, etc.) and manually enable the DisplayPort display.
Figure 6-11: Loop-through Hardware Demonstration
3. You can use your graphic card control panel to adjust the resolution of the DisplayPort monitor,
which typically results in link training, related AUX channel traffic, and a corresponding new image
size on the monitor.
Note: If you do not see visible output on the monitor, press push button (
CPU_RESETN
) to generate a
reset, causing the DisplayPort TX core to re-train the link.
Press push button 0 (
USER_PB[0]
) to retrieve MSA statistics from the source and sink connections.
The Nios II Command Shell displays the AUX channel traffic during link training with the monitor.
6-26
View the Results
UG-01131
2015.05.04
Altera Corporation
DisplayPort IP Core Hardware Demonstration