Adding a voice-over to your sequence, Connection and setup, 720x480 formats – Matrox MXO2 PCIe Host Adapter User Manual
Page 112

88
Chapter 8, Using Matrox MXO2 with Adobe Premiere Pro
Exporting an NTSC or 486p sequence to
Adobe Premiere Pro 720x480 formats
When you choose
File > Export > Media
to export a sequence, Adobe
Premiere Pro provides the MPEG2-DVD export format in the
Export Settings
dialog box, which lets you export your sequence to a DVD-compliant MPEG-2
file suitable for use with most DVD authoring programs, such as Adobe Encore.
To export an NTSC or 486p sequence that has a Matrox codec editing mode to a
720 × 480 MPEG2-DVD format or any other Adobe Premiere Pro 720 × 480
format, you must select
Scale to Fill
from the
Source Scaling
menu on the
Output
panel of the
Export Settings
dialog box. For details on how to export to
MPEG2-DVD and other Adobe Premiere Pro 720× 480 formats, see your Adobe
Premiere Pro documentation.
Adding a voice-over to your sequence
Matrox MXO2 supports voice-over, which allows you to record audio tracks as
.wav
files directly in the
Timeline
panel to add commentary to video clips, such
as newsreels and documentaries.
¦
Note
Matrox voice-over supports recording to standard, mono, and adaptive
audio tracks only.
Connection and setup
1
Connect the microphone to the audio input on your source device and
connect the audio output (analog or AES/EBU) from the source device to the
corresponding audio input on your MXO2 hardware.
2
Choose
Edit > Preferences > Audio Hardware
.
3
From the
Adobe Desktop Audio
list (CC) or the
Default Device
list
(CS6), select
Matrox ASIO Driver for Adobe Premiere Pro
, then click
ASIO Settings
.
4
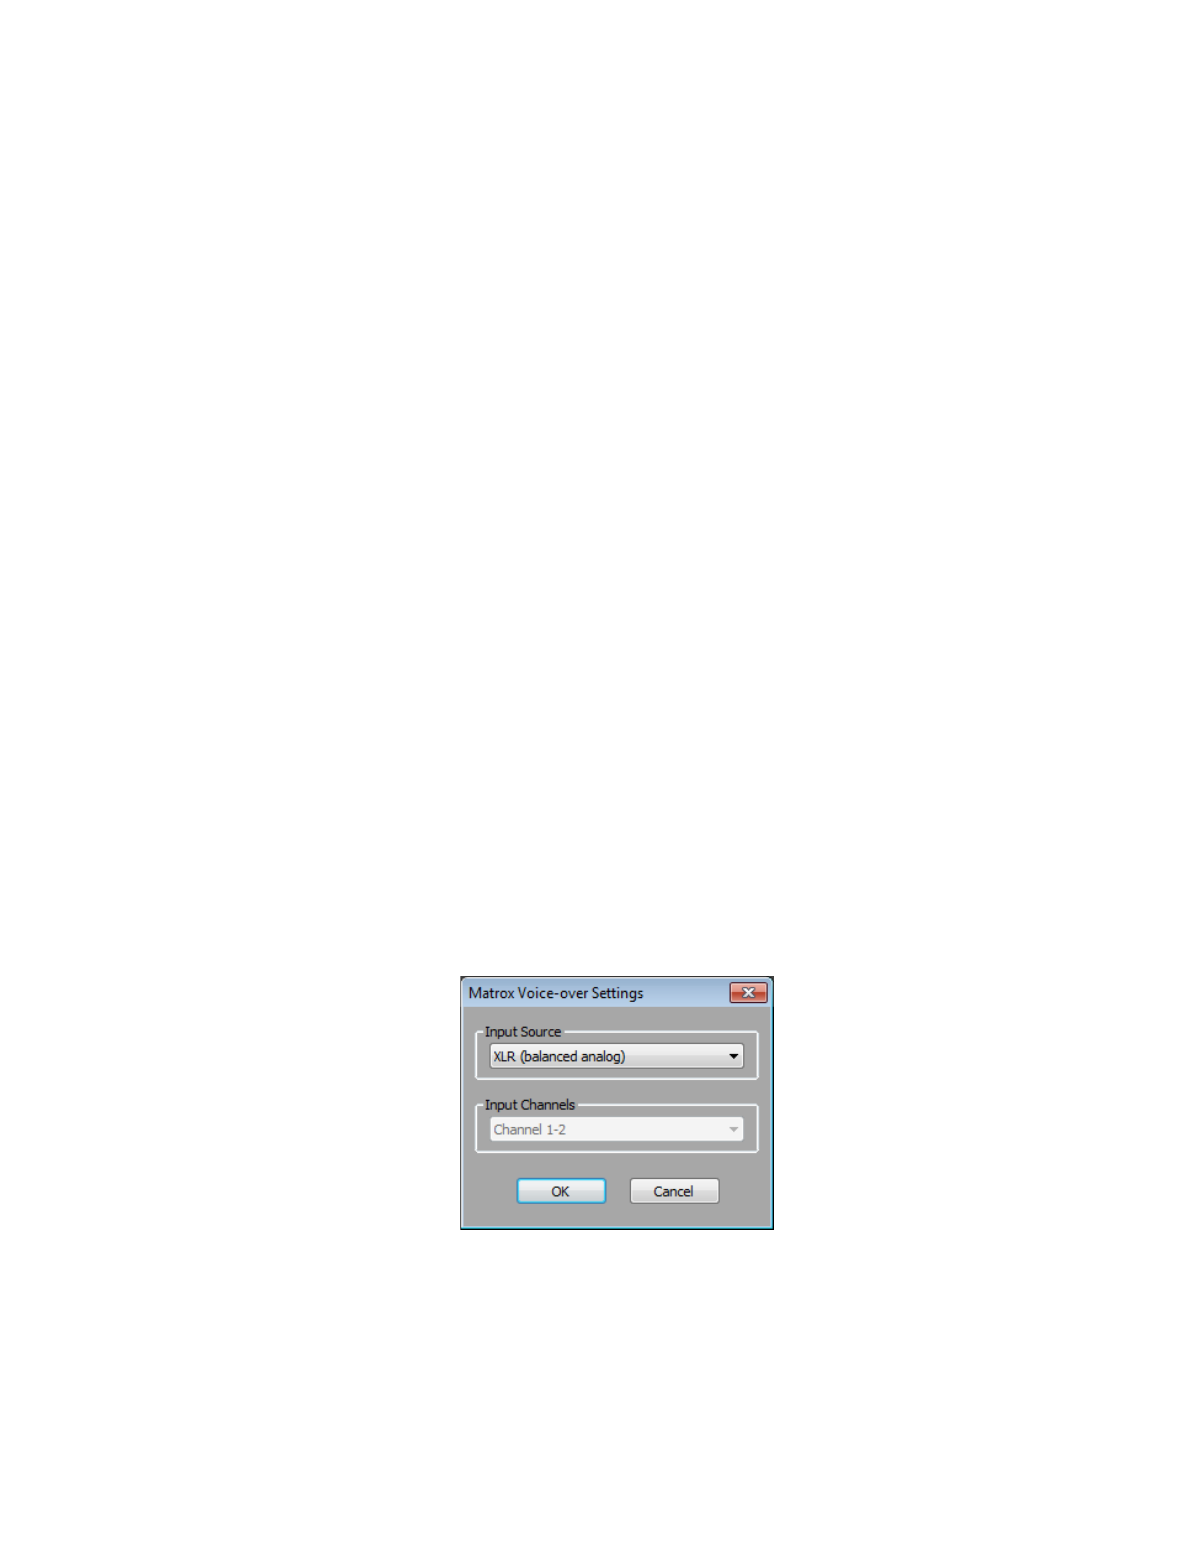
From the
Input Source
list, select the audio source type corresponding to
the device to which the microphone is connected.