Defining your a/v tools options, Defining your, A/v tools options – Matrox MXO2 PCIe Host Adapter User Manual
Page 200
176
Chapter 12, Using Matrox A/V Tools
Changing the time code display
A value in a time code field can be displayed as a time code or a specific number
of frames. The first time you run A/V Tools, the fields display time codes. To
toggle between the two formats, press
CTRL+SHIFT
while the insertion point
(flashing vertical bar) is in any time code field.
For example, when working with NTSC clips, you could change a value of 24:04
(24 seconds, 4 frames) to 724 frames by pressing
CTRL+SHIFT
, and then switch
back to time codes again by pressing
CTRL+SHIFT
.
The time code format of your tape is indicated by the separator between the
seconds and frames digits in the time code fields as follows:
• A colon (
:
) indicates non-drop frame.
• A semicolon (
;
) indicates drop frame.
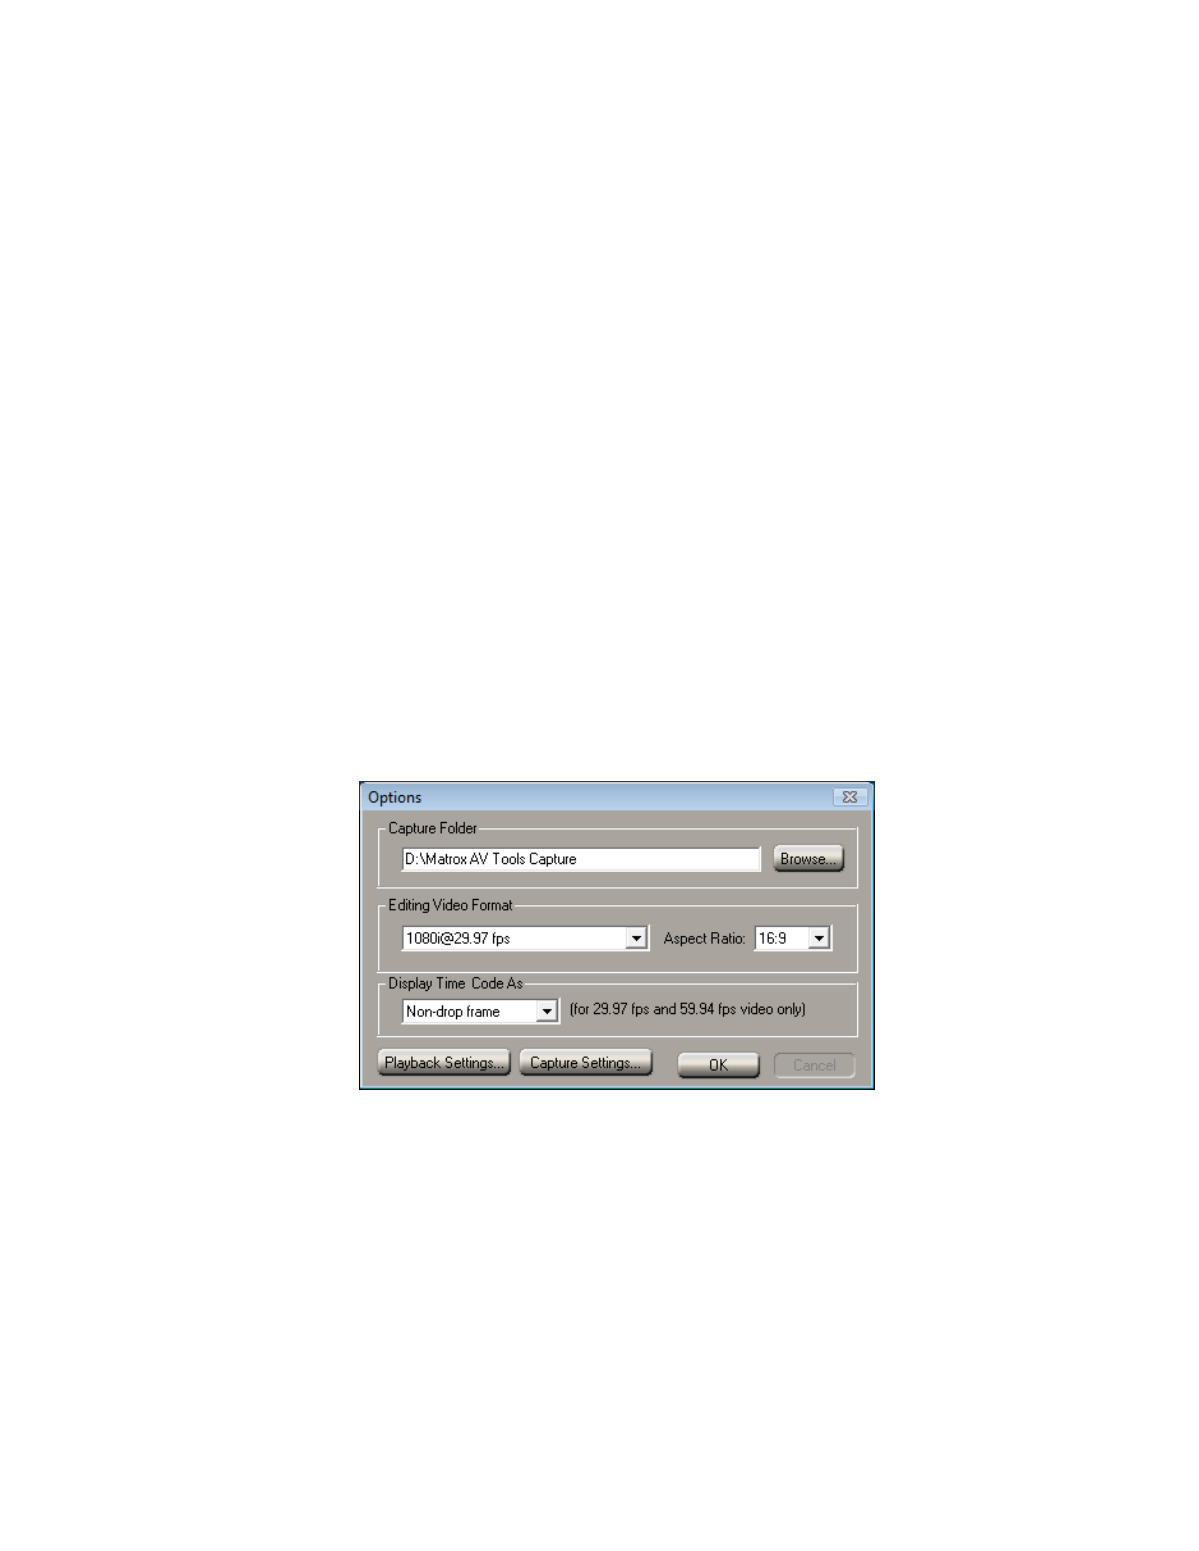
Defining your A/V Tools options
Before capturing or playing back clips with A/V Tools, you need to specify
various options, such as your editing video format and your capture and playback
settings.
°
To define your options for A/V Tools:
1
Click the
Options
button.
¦
Note
The
Options
dialog box automatically pops up every time A/V Tools
starts.
2
Under
Capture Folder
, specify the folder where you want to store your
captured clips. For more information, see
“Selecting your capture folder”
.