Selecting your capture folder, Defining your playback settings – Matrox MXO2 PCIe Host Adapter User Manual
Page 202
178
Chapter 12, Using Matrox A/V Tools
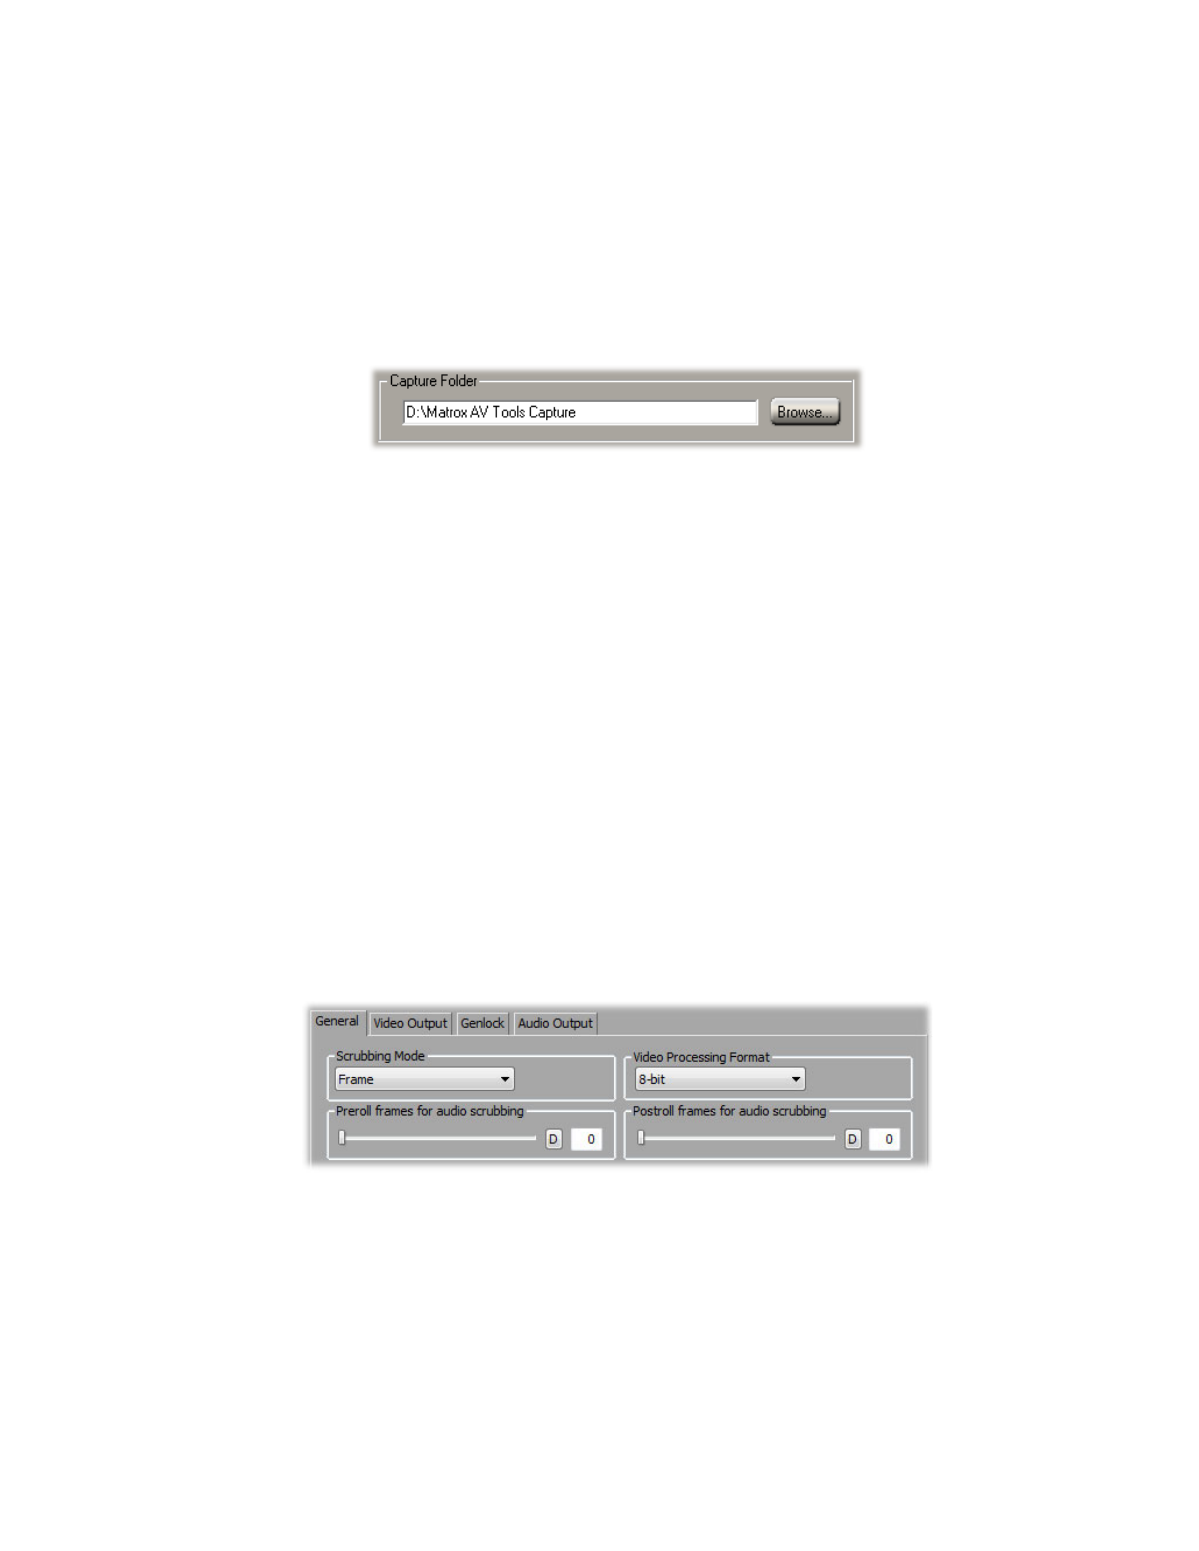
Selecting your capture folder
You can select the folder where you want A/V Tools to store your captured clips
by typing the drive and folder name directly into the
Capture Folder
box, or by
using the
Browse
button.
To ensure the best capture and playback performance of your clips, save them on
one of your A/V drives.
A/V Tools will save your video and audio clips in a subfolder with the same
name as the
Tape ID
. For example, if you selected
D:\Matrox AV Tools
Capture
as your capture folder, all video and audio clips from tape “MyTape” will be
saved in
D:\Matrox AV Tools Capture\MyTape
.
Defining your playback settings
The
Matrox Playback Settings
dialog box has several pages that you can use to
specify various settings for working with A/V Tools. When you select your
editing video format in the
Options
dialog box, many settings are optimized for
you.
Specifying your general settings
To specify your general settings for playback in A/V Tools:
1
Click the
Options
button in the
Matrox
A/V Tools
dialog box.
2
Click the
Playback Settings
button. This displays the
Matrox Playback
Settings
dialog box.
¦
Note
You can also access the
Matrox Playback Settings
dialog box by
right-clicking the clip list and selecting
Playback Settings
.
3
Click the
General
tab.
4
Under
Scrubbing Mode
, select
Frame
,
1st Field
, or
2nd Field
to indicate
whether you want to display frames or only one field when you scrub your
clips in the clip list using the transport controls. For example, you may want
to scrub the first or second field to eliminate the flickering that can be seen in