3 ethernet ftp upload procedure – Comtech EF Data CDD-562L User Manual
Page 74
CDD-562L/564 Demodulator with IP Module
Revision 2
Updating Firmware
MN/CDD564L.IOM
5–4
5.3
Ethernet FTP Upload Procedure
5.3.1
Getting Started: Preparing for the Firmware Download
Step
Task
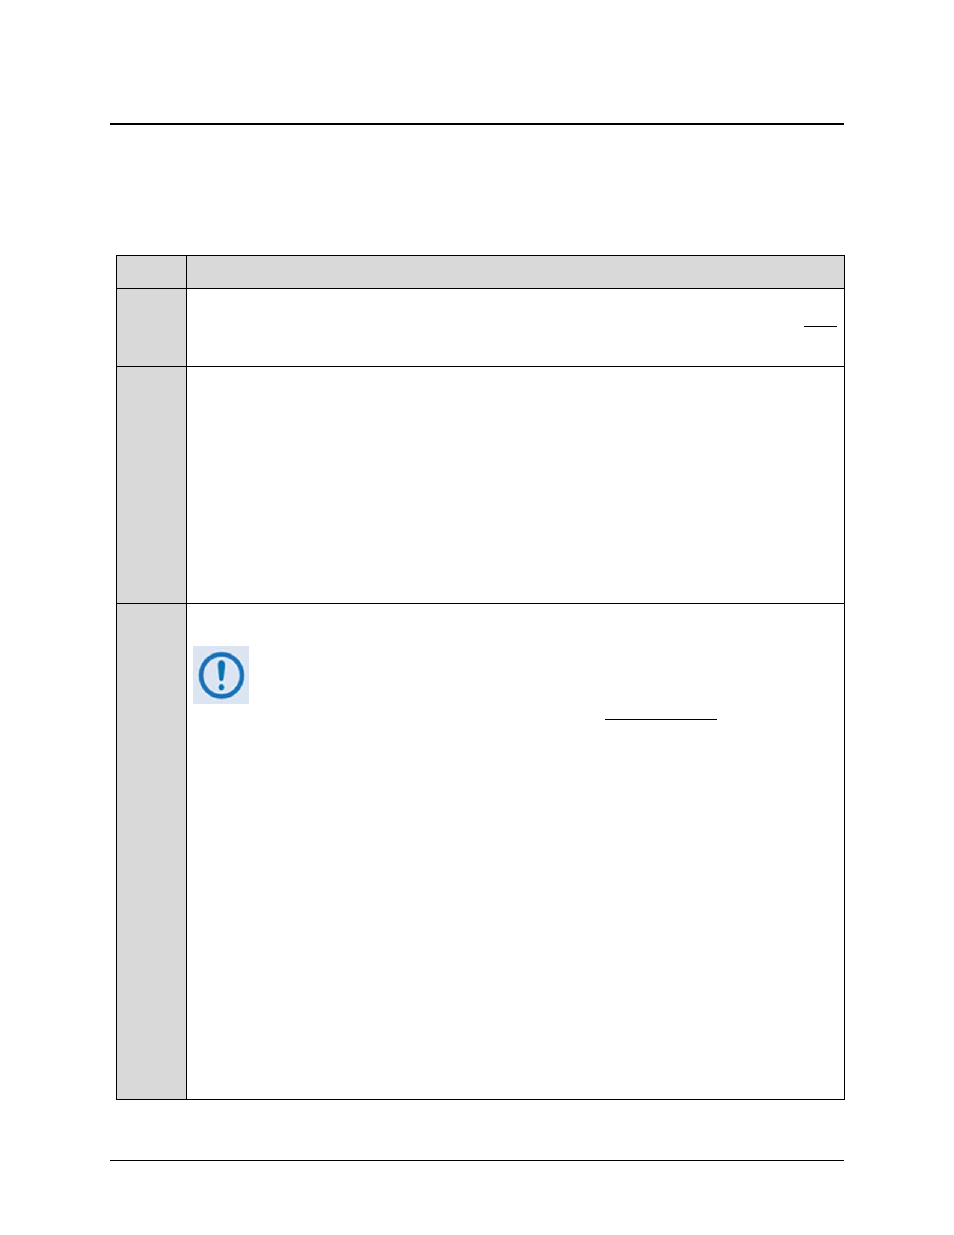
1
Connect the user PC to the CDD-56X 10/100 Ethernet port either via a hub or a switch or
with a direct Ethernet cable connection, and connect the CDD-56X Console port (do NOT
use the Remote Control port) to a serial port on the user PC using an adapter cable. See
Figure 4-1.
2
Identify the product in use, its firmware number for download, and its version number.
The current product M&C version and/or firmware number can be viewed as follows:
• Using the 10/100 Ethernet port, via HTTP and the IP Module Web Server Interface –
first click the Maint (Maintenance) tab, and then select the Unit Info hyperlink. For
more information, see Chapter 6. WEB SERVER (HTTP) INTERFACE.
• Using the 10/100 Ethernet port, via Telnet and the IP Module Command Line Interface
(CLI) – first type ‘O’ (for Operations and Maintenance) on the main page, and then
type‘I’ (for Unit Information). For more information, see Chapter 7. IP MODULE – CLI
AND TELNET OPERATION.
3
Create a temporary folder (subdirectory) on the user PC for the firmware archive download.
• Drive letter “c:” is used in these examples. Any valid, writable drive
letter can be used.
• Typical for all tasks: Type the command without quotes, and then press
Enter to execute.
There are several ways the user may create a temporary folder on a Windows-based PC:
A. Use the Windows Desktop to create and rename the temporary folder.
• Right-click anywhere on the Windows Desktop to open the popup submenu, and then
select New > Folder to create the temporary folder. The “New Folder” will be created
on the desktop.
• Right-click on the “New Folder” and then select ‘Rename’ from the popup submenu.
Rename this folder to "temp" or some other convenient, unused name.
B. Use Windows Explorer to create and rename the temporary folder.
• Select
File > New > Folder to create the temporary folder. The new folder will be
created in the active folder.
•
Right-click the “New Folder” folder name, and then rename this folder to "temp" or
some other convenient, unused name.