Layer settings 2 (pad edit - layer edit2) – Roland SPD-SX PRO Sampling Pad with 32GB Internal Memory User Manual
Page 44
Customizing a kit (KIT EDIT 1)
44
Button
Explanation
[F2] (PRELOAD)
When the check box is selected, all samples are shown including preload samples.
When the check box is deselected, the preload samples are not shown.
[F3] (WAVE EDIT)
The WAVE EDIT screen appears.
)(P.82)
[F4] (FILTER)
The TAG FILTER window appears.
Filtering Wave Lists by Tags (FILTER)
(P.85)
[F5] (PREVIEW)
Previews the selected sample.
[F6] (EXIT)
Closes the WAVE SELECT window.
3.
Press the [F6] (EXIT) button to close the WAVE SELECT window.
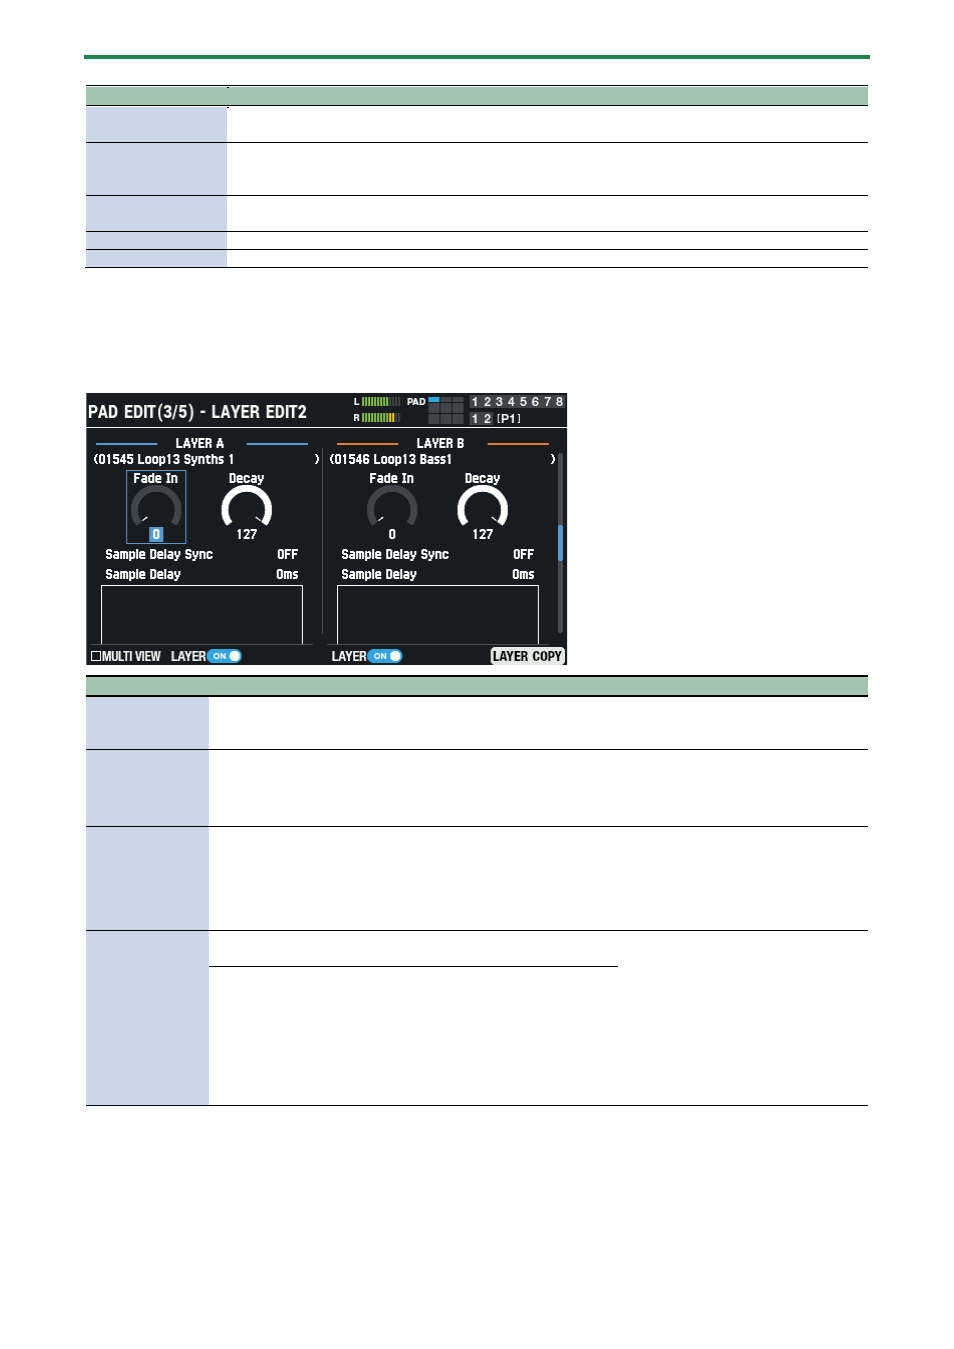
Layer settings 2 (PAD EDIT - LAYER EDIT2)
Parameter
Value
Explanation
Fade In
0–127
Adjusts the time it takes for the original
peak value (volume) to be reached once
the wave starts playing.
Decay
0–127
Adjusts the wave decay time.
*
This is only enabled for layers in
which “Loop” is set to “OFF”.
Sample Delay Sync
OFF, TEMPO SYNC
You can add a delay that occurs before
the sound actually plays after you strike
a pad.
When this is set to TEMPO SYNC, you
can synchronize the Sample Delay
length with the kit’s tempo.
Sample Delay
0–5000 ms
(When Sample Delay Sync is off)
Sets how much time it takes for the
sound to be heard (the delay time) after
you strike the pad.
When Sample Delay Sync is OFF, set the
time.
When Sample Delay Sync is set to
“TEMPO SYNC”, set this as a note length.
For instance, you can make layer B play
after layer A, creating a time-delayed
sound.
1/64T(
ŗ
), 1/64(
ō
), 1/32T(
Ŗ
), 1/32(
Ō
), 1/16T(
ŕ
), 1/32.(
ŋ
), 1/16(
Ŋ
),
1/8T(
Ŕ
), 1/16.(
ʼn
), 1/8(
ň
), 1/4T(
œ
), 1/8.(
Ň
), 1/4(
ņ
), 1/2T(
Œ
), 1/4.(
Ņ
),
1/2(
ń
), 1/1T(
ő
), 1/2.(
Ń
), 1/1(
ł
), 2/1T(
Ő
), 1/1.(
Ł
), 2/1(
ŀ
)
(when Sample Delay Sync is “TEMPO SYNC”)