Record on/off – NewTek 3Play 4800 User Manual
Page 149
Page | 133
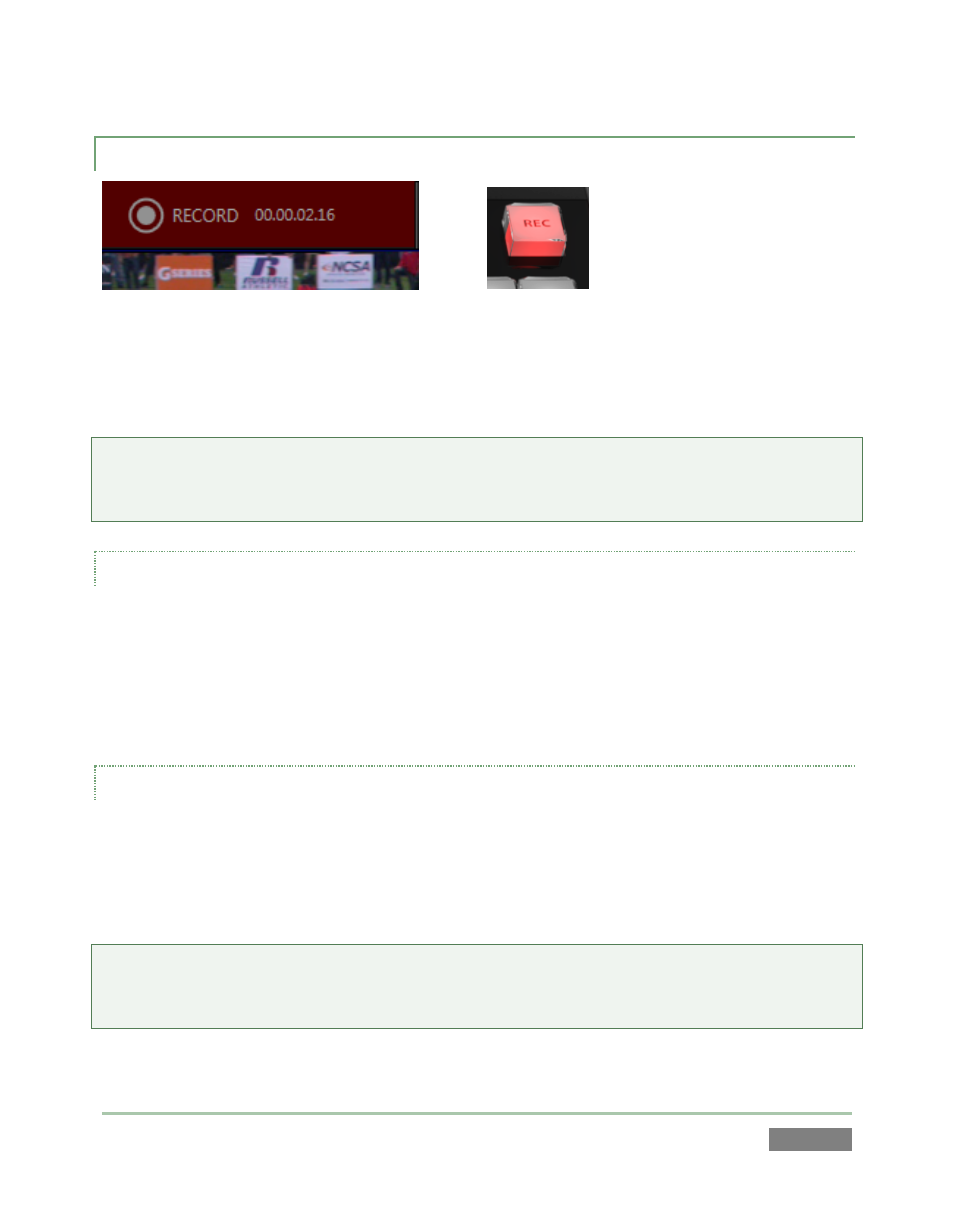
10.3.1 RECORD ON/OFF
Figure 115
Figure 116
Both the Replay Desktop (Figure 115) and Control Surface (Figure 116) provide Record buttons.
As you’d expect, these controls do the same thing – that is, they toggle recording of audio-visual
data on and off (hold down SHIFT when pushing RECORD on the Control Surface to end capture).
Note: For any single session, recording stops and restarts automatically after 24 hours, to create
a new sequential file. A few frames may be dropped during the interval between ending and
resumption of capture. (Timecode dropouts can also result in a break in the recorded files.)
INFORMATION DISPLAYS
The Replay Desktop version of the Record button is accompanied by two useful data displays,
Time Recorded and Left On Disk. The former keeps track of the duration of all material recorded
for the current session. The latter shows an estimate of remaining storage space on the ‘most
full’ volume currently assigned to capture (this display takes a moment or two to initialize when
recording is started.)
AUTOMATIC RECORDING
Normally, you would manually enable Record when your production begins. In the event you
overlook doing so for any reason, however, certain operations will automatically enable
recording – for example, pressing the (mark) IN or OUT buttons enables Record when necessary
(see Section 8.10).
Reminder: Previously recorded data can be sent to 3Play™ outputs even with Record off. For live
sources, of course, operations such as STOP, or speed changes can only be applied when
recording is active (this permits the system to automatically switch to Delayed playback mode).