Forwarding received data manually -69, Forwarding received data manually, Facsimile► fax reception – Sharp MX-6070N User Manual
Page 472
4-69
Settings for saving received faxes to the hard disk
FORWARDING RECEIVED DATA MANUALLY
Received faxes can be forwarded manually after receipt.
This function is available when [System Settings] → [Image Send Settings] → [Common Settings] → [Condition Settings]
→ [Preview Setting] → [Received Data Image Check Setting] is enabled* in "Settings (administrator)".
* The factory default setting is disabled.
When data is received,
is shown at the top of the screen.
1
In "Settings (administrator)", click [System Settings]
→ [Image Send Settings] → [Inbound Routing (Forwarding/Storing) Settings]
→ [Inbound Routing (Storage) Settings] (administrator rights are required).
• Data that can be saved are received faxes and received Internet faxes. Confidential reception and polling reception
faxes cannot be saved.
• Depending on the setting, received faxes that cannot be saved because of the file number limit or other reason are
either printed or saved in the inbound routing error box.
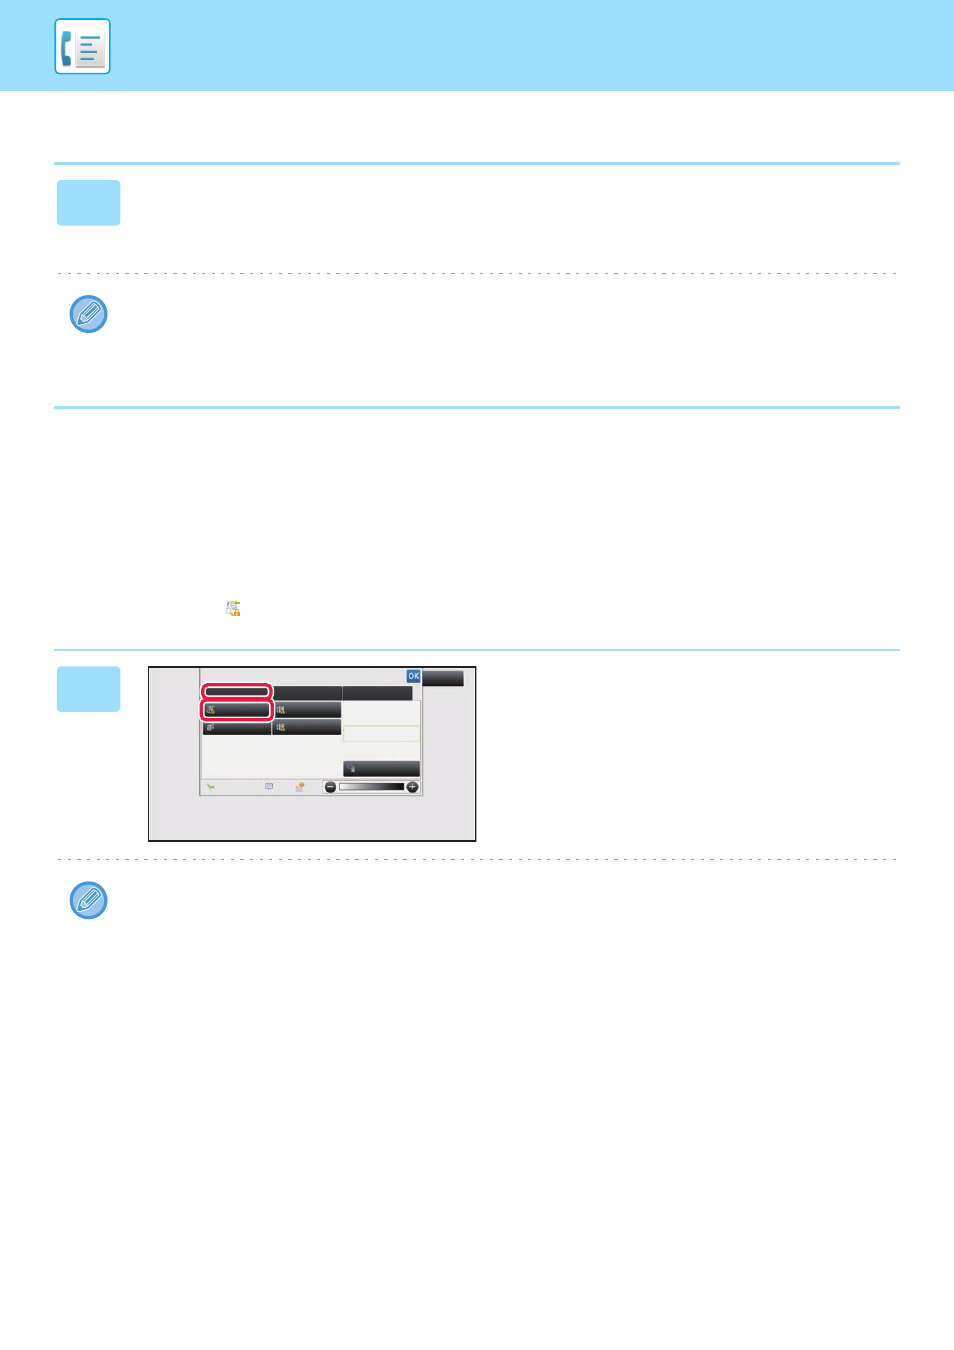
1
In the System Information, tap the
[Event Information] tab and tap the
[Check Fax Reception Image] key.
The received data is listed.
You can also display the received data list by tapping the job status display and tapping [Check Received Data] on the
action panel of Job Status screen.
System Information
Check Fax
Reception Image
Check Confidential
Received Data
Check Error Box
Release Held
Received Data
Terminate
Remote Operation
Fax Receive
Event Information
Maintenance Information
Toner Remaining
Select External Application
Exit