Sending a fax in internet fax mode -33, Sending a fax in internet fax mode – Sharp MX-6070N User Manual
Page 562
5-33
SCANNER/INTERNET FAX►TRANSMITTING AN IMAGE
SENDING A FAX IN INTERNET FAX MODE
Transmits a fax in Internet Fax mode. This procedure can also be used to perform a direct transmission by Direct SMTP.
• If the memory becomes full while the originals are being scanned, a message will appear and scanning will stop.
• When all originals have been scanned, the message "Job stored." will be displayed together with a job control number. If
necessary, use this number to locate the job in the Transaction Report or in the Image Sending Activity Report.
If the job is a broadcast transmission, this number will also appear in the key of the job in the job status screen. For this
reason, it is advisable to make a note of the number so that you can check the result easily.
• Mail Footer Registration: The specified text is automatically appended to the end of the body text of e-mail. This is
convenient when you wish to append pre-set text such as a corporate policy. To enter the text to append, select [System
Settings] → [Image Send Settings] → [Scan Settings] → [Administration Settings] → [Mail Footer Registration] in "Settings
(administrator)". (Administrator rights are required.)
Enter up to 900 characters. (The appended text is not included in the maximum number of characters that can be entered
in the e-mail body.)
To specify whether or not to append text, select [System Settings] → [Image Send Settings] → [Scan Settings] →
[Administration Settings] → [Add a Footer Automatically to the Mail Message Body] in "Settings".
If a default address has been configured using "Settings" →[System Settings] → [Image Send Settings] → [Scan Settings] →
[Default Address] → [Default Address Setting], the mode cannot be changed, or the destination cannot be changed or added.
To switch to Internet fax mode, tap the [Cancel] key in the touch panel and then perform the transmission procedure.
1
Place the original.
Place the original in the document feeder tray of the automatic document feeder, or on the document glass.
► AUTOMATIC DOCUMENT FEEDER (page 1-80)
► DOCUMENT GLASS (page 1-82)
Do not place any objects under the original size detector. Closing the automatic document feeder with an object
underneath may damage the original size detector plate and prevent correct detection of the document size.
• Place the original of the A5 (5-1/2" x 8-1/2") size in the portrait orientation (
).
If placed in landscape orientation (
), an incorrect size will be detected.
For an A5R (5-1/2" x 8-1/2"R) size original, enter the original size manually.
► SPECIFYING THE ORIGINAL SCAN SIZE IN PAPER SIZE (page 5-47)
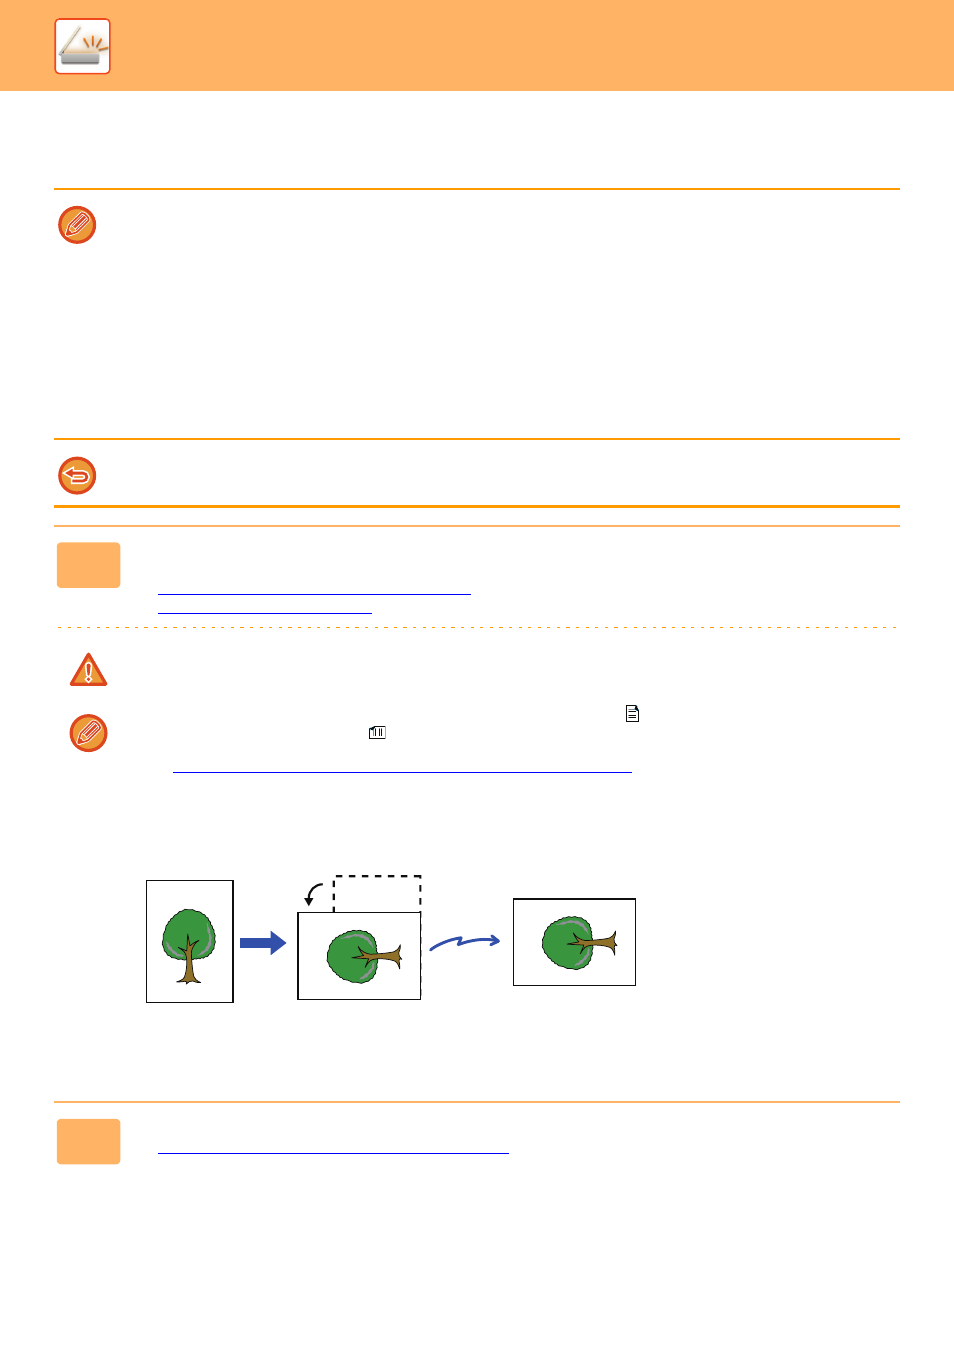
• Rotation sending
A4, B5R and A5R (8-1/2" x 11" and 5-1/2" x 8-1/2R") originals are rotated 90 degrees, and respectively sent in the
A4R, B5 and A5 (8-1/2" x 11"R and 5-1/2" x 8-1/2") orientations.
(Rotation sending is not available for originals with A4R, B5, or A5 (8-1/2" x 11"R or 5-1/2" x 8-1/2") size.)
2
Tap the mode display to switch to the initial screen of Internet Fax mode.
► SELECTING NETWORK SCANNER MODE (page 5-9)
A4 (8-1/2" x 11")
Rotated to A4R
(8-1/2" x 11"R)
orientation
A4R (8-1/2" x 11"R)
image is transmitted.
Send