Scanner/internet fax ►entering destinations – Sharp MX-6070N User Manual
Page 546
5-17
SCANNER/INTERNET FAX►ENTERING DESTINATIONS
2
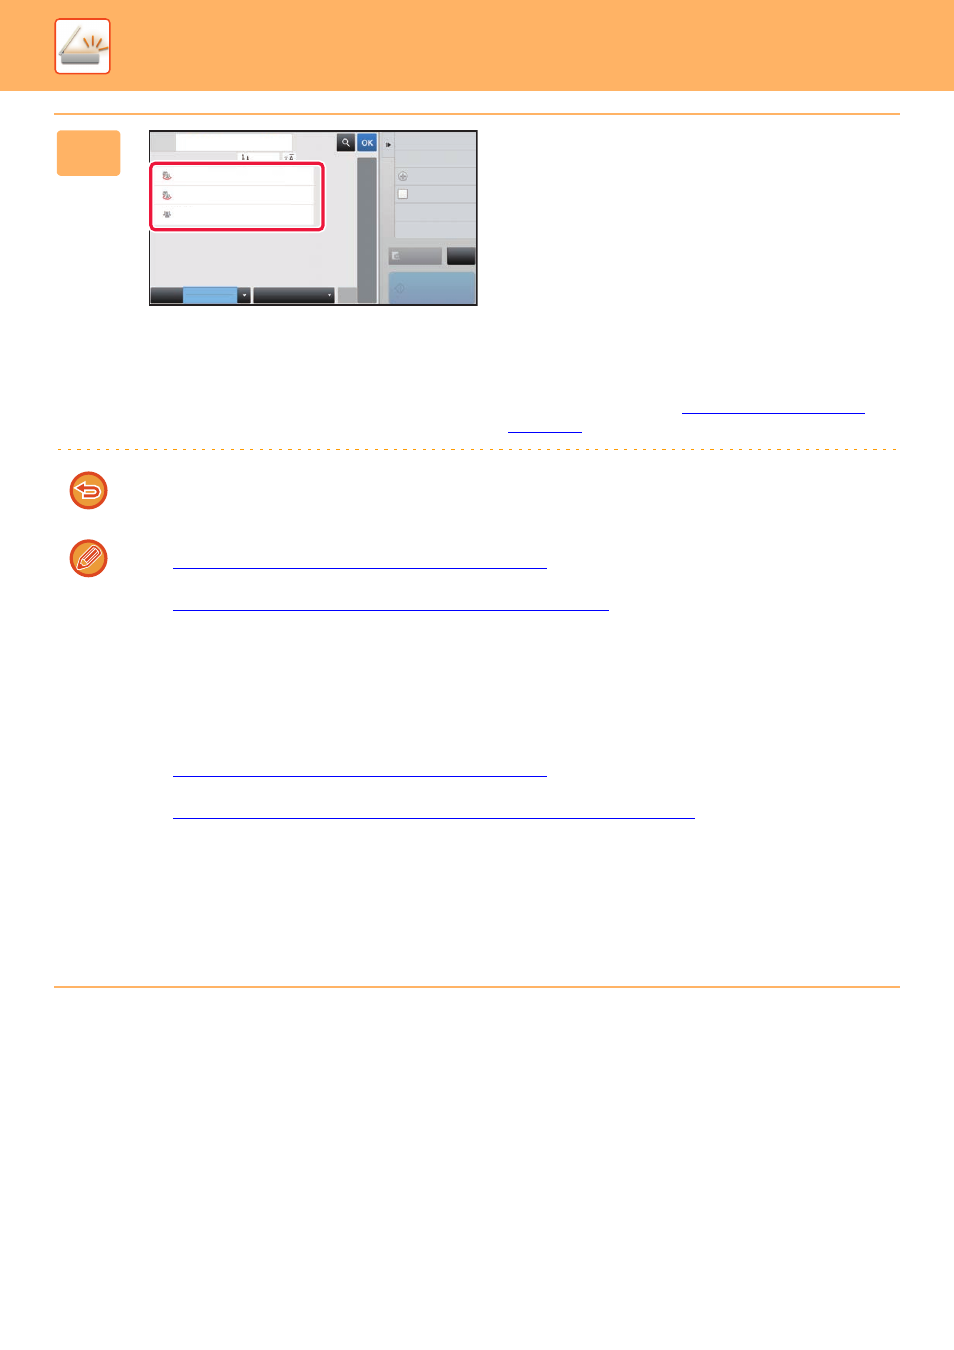
Tap the one-touch key of contact or
group that has a destination.
• The destinations displayed on the list can be narrowed
with categories, frequent use, indexes, and keywords. (In
normal mode you can narrow down by job type.)
• Tapping the [Sort] key allows you to change the order of
destinations displayed in the list.
• When adding a destination, tap another one-touch key.
• If two or more destinations are selected or specified, the
total number of addresses appears next to address.
• Even if only a single destination is selected, the number of
addresses appears when the destination is a contact or
group in which multiple addresses are stored.
For more information, see "
".
If you select an incorrect destination:
Tap the key again to cancel the selection.
• To select a destination from the transmission log, tap the [Sending History] key.
► USING A TRANSMISSION LOG TO RESEND (page 5-25)
• To check the entered destinations, tap the [Address Review] key.
► VIEWING A LIST OF THE SELECTED DESTINATIONS (page 5-19)
• The destination for transmission can be selected by tapping a stored destination.
• If an address that you do not have permission to use is included in the addresses, a message will appear when you
press the [Start] key. To send only to the permitted addresses, press the [OK] key and then the [Enter for send] key.
In Normal mode
• Tap the one-touch key, and then tap [Display Registered Information] on the action panel to display the detailed
information screen.
• To retrieve a destination by using a search number, tap [Call Search Number] on the action panel.
► USING A TRANSMISSION LOG TO RESEND (page 5-25)
• To retrieve a destination from a global address book, tap [Global Address Search] on the action panel.
► RETRIEVING A DESTINATION FROM A GLOBAL ADDRESS BOOK (page 5-23)
To cancel a specified destination:
Select the address you want to cancel in the address list screen, and tap the [Delete] key.
To enable transmission to addresses of modes other than the current mode:
Remove the checkmark from [System Settings] → [Image Send Settings] → [Common Settings] → [Condition Settings]
→ [Address Book Default Selection] → [Apply Addresses of Sending Modes Only] in "Settings (administrator)".
Frequent
Use
Address
Narrow Down
All
Category
ABC
A
D
G
J
M
P
T
W
Sort
Sending History
Call Search Number
Print Individual List
Add New
Send Same Image
as Fax Address
AAA
BBB
CCC
Preview
Start
CA