Grass Valley EDIUS Neo 3 User Manual
Page 610
608
EDIUS NEO — User Reference Guide
Section 6 — Effects and Titles
Note
By default, these buttons are not on the Timeline. To add them, see Button
Settings
.
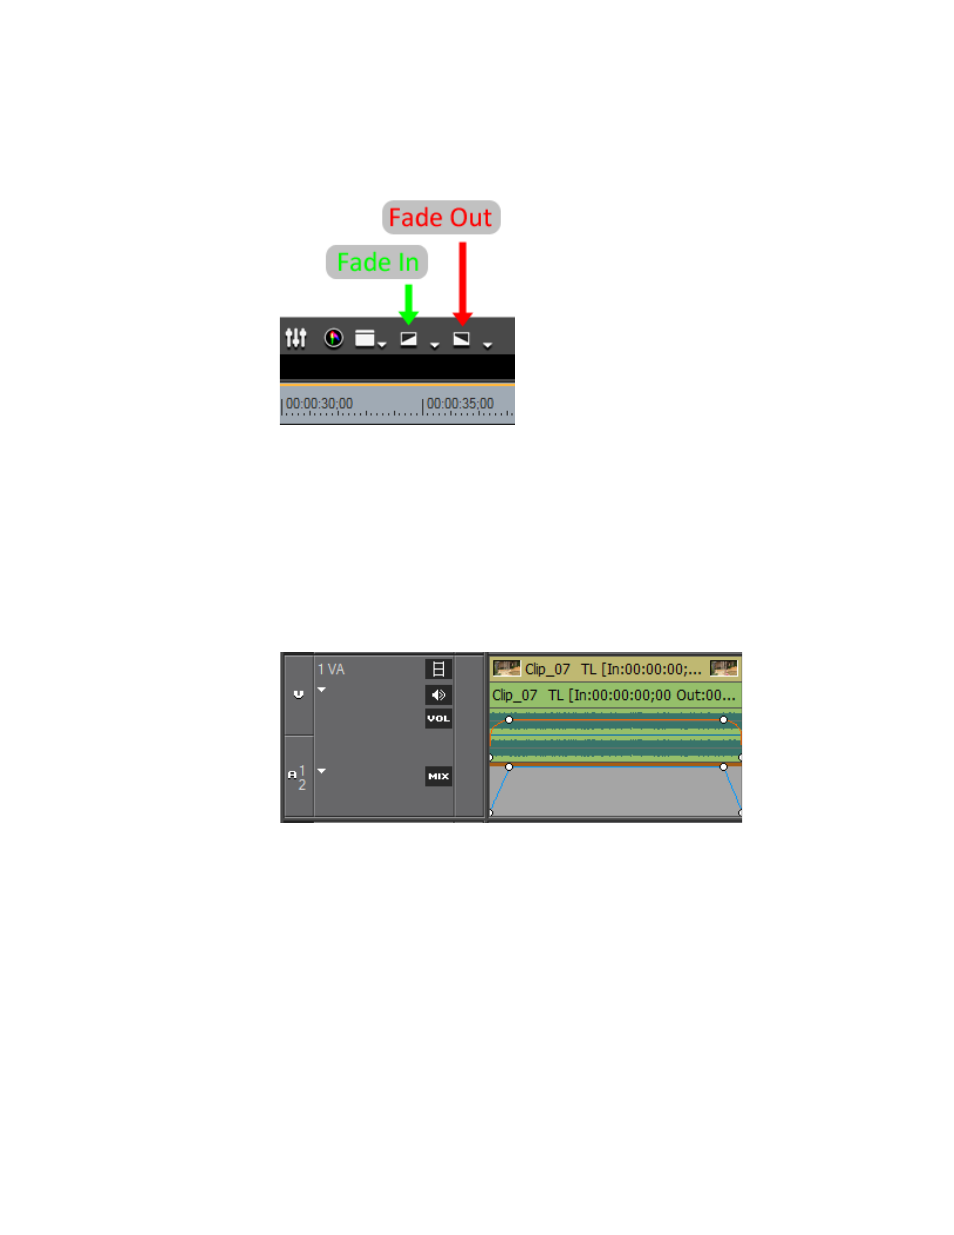
Figure 723. Timeline Fade-In and Fade-Out Buttons
Note
A brown line appears at the top of the mixer area the clip with a fade-in and/
or a fade-out effect applied.
Fade-In and Fade-Out settings are visible in the audio waveform and mixer
areas of the tracks illustrated in
. Click the Expand1 and Expand2
buttons to expand the track if these elements are not already visible. A key
frame point is added where a fade-in ends and a fade out begins.
Figure 724. Timeline Fade-In and Fade-Out Key Frames
Related Operations:
To delete a fade-in or fade-out effect, delete the audio and video parts sep-
arately by doing the following:
•
To delete the audio fade-in/fade-out, Right-click the clip and select
Delete Parts>Audio RubberBand>Volume from the menu.
Note
An alternative method is to press the [SHIFT]+[ALT]+[H] keys on the key-
board.
•
To delete the video fade-in/fade-out, right-click the clip and select
Delete Parts>Mixer>Transparency from the menu.