Optional) configuring the backup of local users, 2 (optional) configuring the backup of local users – TP-Link Omada ER8411 VPN Router User Manual
Page 202
Configuring Authentication
Local Authentication Configuration
User Guide 193
Username /
Password
Specify the username and password of the user account. The username cannot be
the same as any existing one.
Authentication
Timeout
Specify the free duration of the account. The default value is 30 minutes.
Maximum Users
Specify the maximum number of users that are allowed to use this username and
password to authenticate.
Upstream
Bandwidth /
Downstream
Bandwidth
(Optional) Specify the upstream/downstream bandwidth for the user. 0 means no
limit.
Status
Check the box to enable this account.
2.2.2 (Optional) Configuring the Backup of Local Users
Choose the menu
Authentication
>
User Management
>
Configuration Backup
to load
the following page.
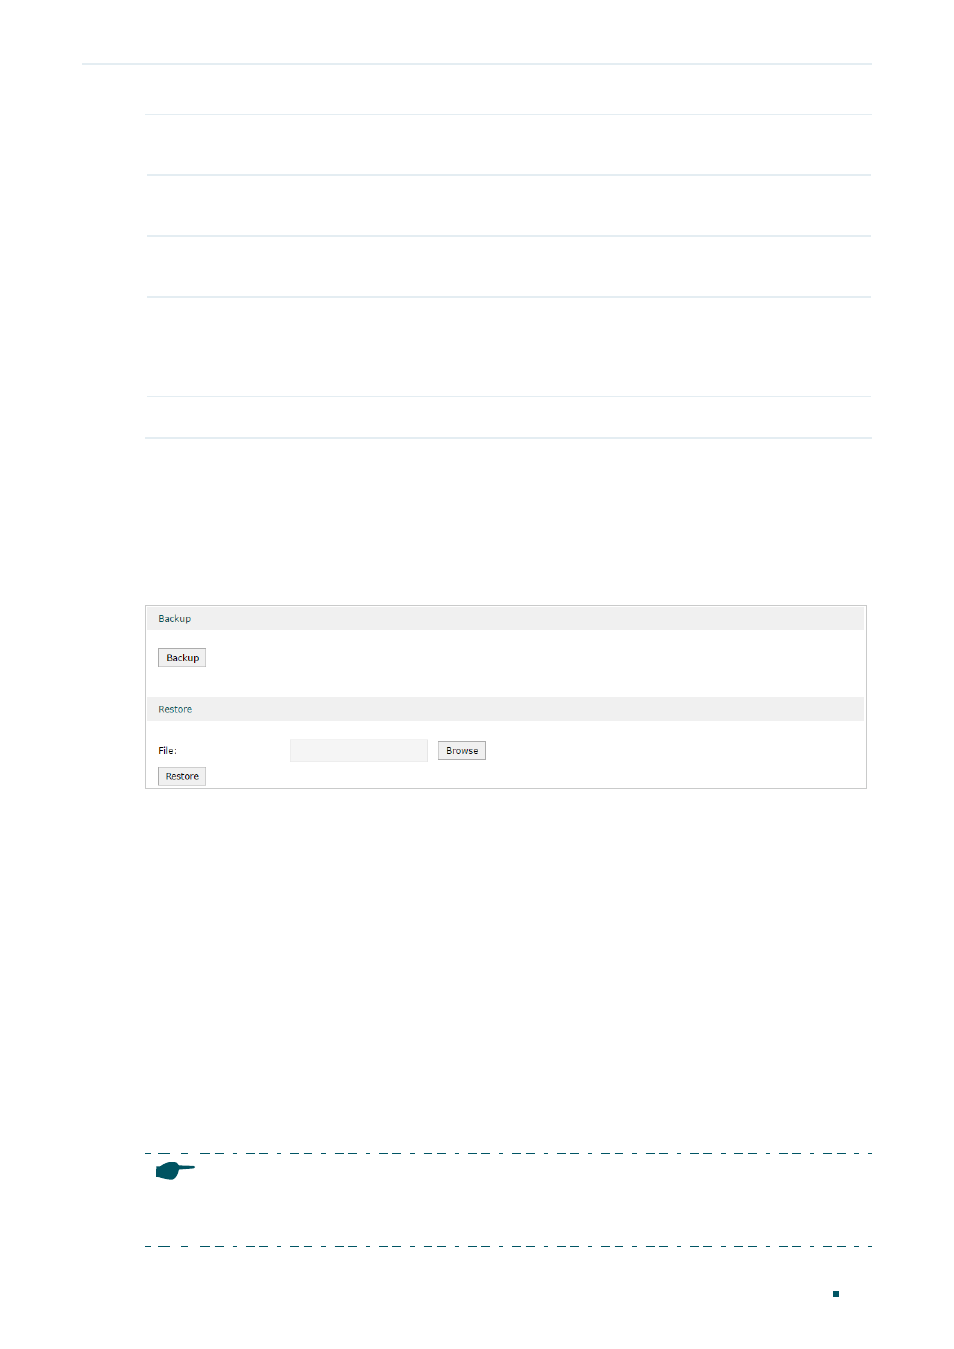
Figure 2-4
Configuring the Formal User
■
To backup local users’ accounts
Click
Backup
button to backup all the local users accounts as a CSV file in ANSI coding
format.
■
To restore local users’ accounts
You can import the accounts to the router if you have backups. Click
Browse
to select the
file path (the backup must be a CSV file), then click
Restore
to restore the accounts.
You can also manually add multiple local user accounts at a time:
1) Create an Excel file and add the local user accounts to it, then save the Excel file as a
CSV file with ANSI coding format. You can click
Backup
to obtain a CSV file to view the
correct format.
2) Click
Browse
to select the file path, then click
Restore
to restore the file.
Note:
Using Excel to open the CSV file may cause some numerical format changes, and the number may be
displayed incorrectly. If you use Excel to edit the CSV file, please set the cell format as text.