Video operations – Roland VR-120HD Direct Streaming AV Mixer User Manual
Page 30
30
Video Operations
Saving a Still Image to a SD Card or USB Flash Drive
Here’s how a still image captured from the input/output video (p. 28) can be saved to a storage (SD card or USB flash drive).
* The still image is saved to the “Roland/VR-120HD/still” folder.
* You can’t export still images that were created while HDCP (p. 18) was set to “ON”.
NOTE
¹
When using a SD card or USB flash drive for the first time, you
must format it using the VR-120HD (p. 13).
¹
Never turn off the power or remove the SD card or USB flash drive
while the message “Processing...” is shown.
¹
Depending on the SD card or USB flash drive, it may take some
time to be recognized.
1 .
Insert the SD card into the SDXC card slot.
* When using a USB flash drive, connect the USB flash drive to the USB
HOST port.
2 .
[MENU] button
Ó
“Still Image”
Ó
“Save To Storage”
Ó
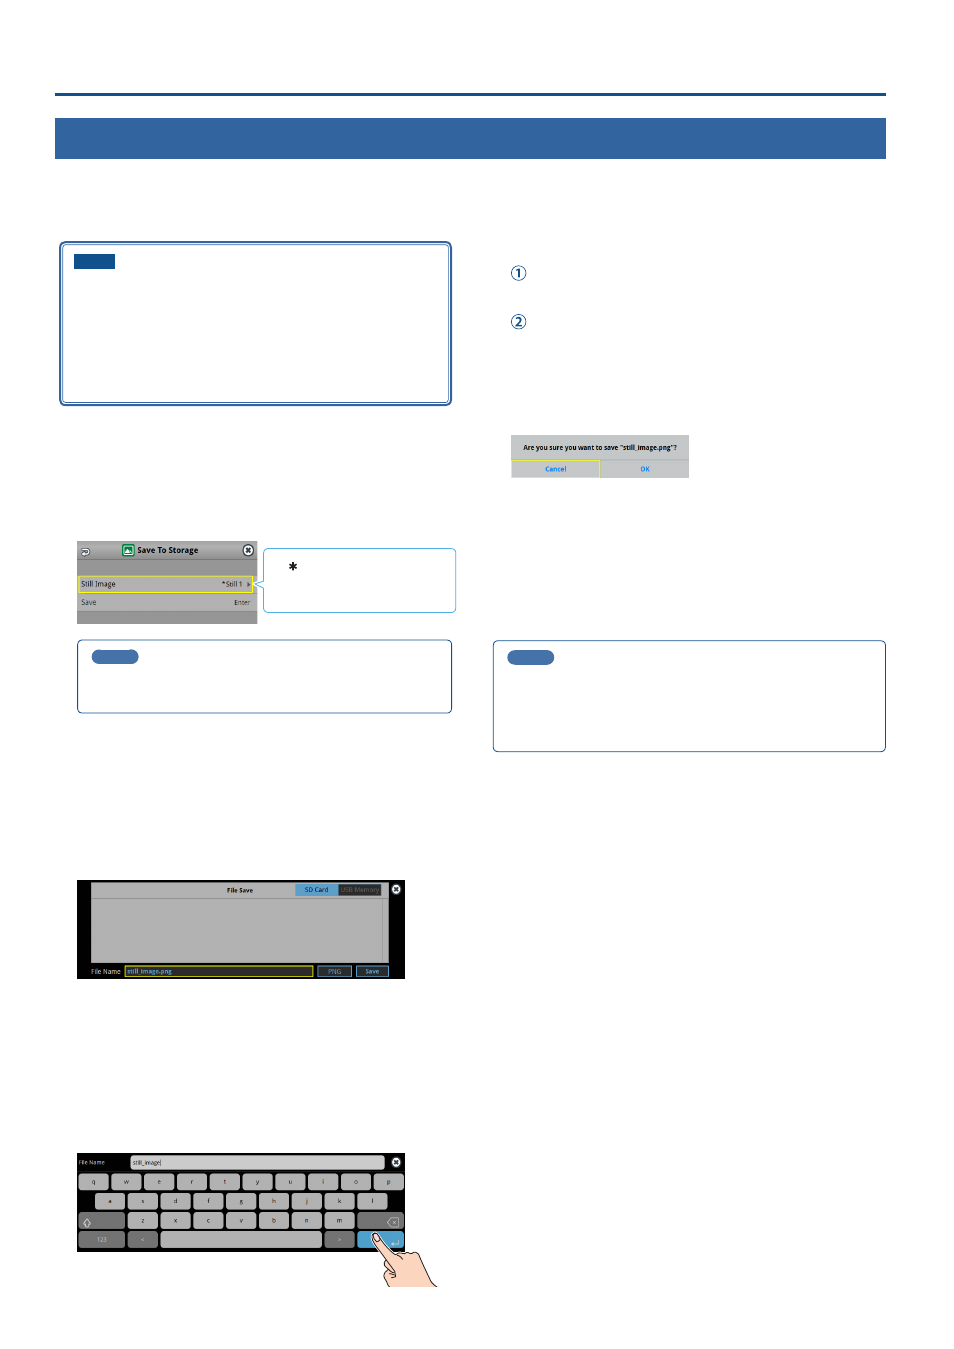
select “Still Image”, and press the [VALUE] knob.
A “ ” symbol is displayed for
memory where a still image is
already saved.
3 .
MEMO
“(HDCP)” is indicated for still images that were created when
HDCP was on.
4 .
Use the [VALUE] knob to select the still image (Still 1–16)
you want to save, and press the [VALUE] knob.
5 .
Press the [EXIT] button to return to the previous screen.
6 .
Use the [VALUE] knob to select “Save”, and press the [VALUE]
knob.
The still images on the storage media (in the “Still” folder) are shown
as a list.
* Use the “SD Card” or “USB Memory” selector at the top right-hand
corner of the screen to switch between the storage media to save.
7 .
Select “File Name” and press the [VALUE] knob.
This brings up the software keyboard for input.
8 .
Enter a file name.
* You can input up to 32 characters.
9 .
Touch <Enter> in software keyboard.
10 .
Select the file type
Use the [VALUE] knob to select “File Type”, and press the
[VALUE] knob.
Use the [VALUE] knob to select “BITMAP”, “PNG”, or “JPEG”,
and press the [VALUE] knob.
11.
Use the [VALUE] knob to select “Save”, and press the [VALUE]
knob.
A confirmation message appears.
* If you decide to cancel, press the [EXIT] button.
12.
Use the [VALUE] knob to select “OK”, and press the [VALUE]
knob.
The still image is written to the storage.
13.
Press the [MENU] button to close the menu.
MEMO
Overwriting a still image
When you touch a filename for an existing still image on the screen
in step 5, the filename in the filename list is used. You can overwrite
the name.