Panasonic TH-86EQ2W 85.6" 4K Digital Signage Display User Manual
Page 78
78
English
■
[DIGITAL LINK menu]
Displays the setting menu of Digital Interface Box.
Select [DIGITAL LINK menu] with and press
<ENTER>.
Note
●
This function can only be selected when the
Panasonic device that supports DIGITAL LINK output
(ET-YFB100G, ET-YFB200G) is connected to a
DIGITAL LINK IN terminal of DIGITAL LINK Terminal
Board and its power is on.
●
For details, refer to the manuals of the devices that
support DIGITAL LINK output.
■
[Extron XTP]
Set to [On] when connecting XTP Transmitter made by
Extron to DIGITAL LINK IN terminal of DIGITAL LINK
Terminal Board.
●
For more details on Extron, visit the following web
site.
http://www.extron.com
Note
●
When this item is set to [On], [Administrator account
settings] needs to be set.
■
[Auto display name]
Sets whether to change the display name automatically.
[Off]:
The display name is not changed automatically.
[On]:
Changes the display name automatically in
accordance with the set point of the display ID.
■
[Display name]
The name of the Display that is shown on the network
can be changed.
Note
●
The name can be changed only when [Auto display
name] is set to [Off].
●
Display ID is not reset to default with [Network
settings] - [Reset].
■
[USB memory network settings]
Sets whether to permit the network setting using the
USB memory device. (see page 162)
[Permit]:
Permits USB memory network settings.
[Prohibit]:
Prohibits USB memory network settings.
Note
●
This function is set to [Permit] as factory default.
●
Once the network setting is done with USB memory
device, this function is set to [Prohibit].
■
[LAN control protocol]
Select the LAN control protocol.
[Protocol 1]:
Control with the Panasonic Display sequence.
[Protocol 2]:
Control with the sequence that is compatible with
Panasonic Projector.
Note
●
For PJLink and WEB browser control, the operation is
possible regardless of the setting.
●
When operating the “Multi Monitoring & Control
Software”, select [Protocol 2].
■
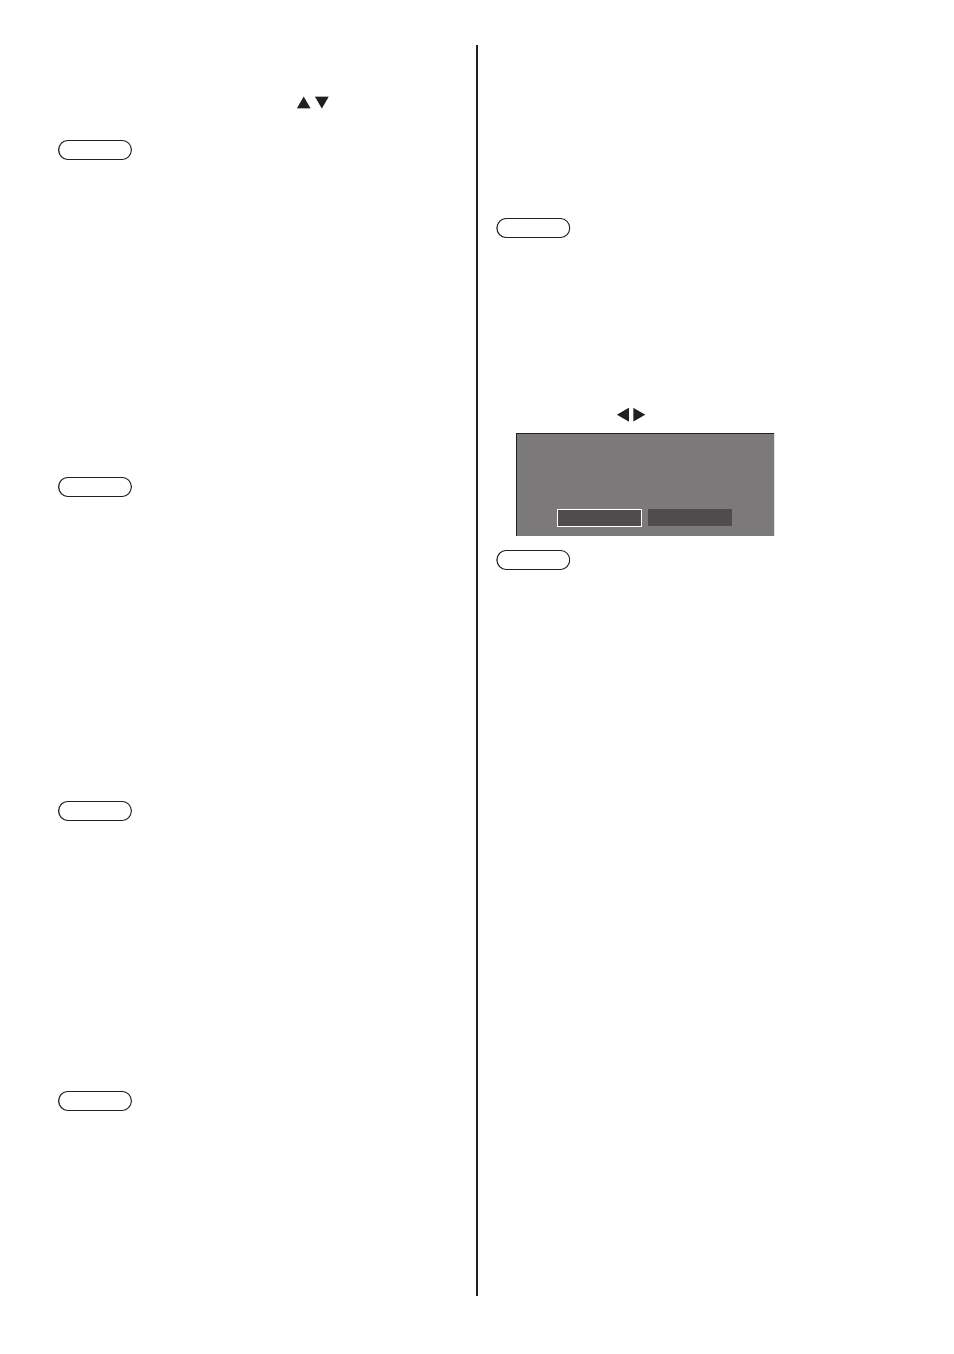
[Reset]
You can reset the network setting to the factory default
of the Display.
Select [Yes] with and press <ENTER>.
Network settings
Reset
Yes
No
Note
●
The settings for [NTP synchronization], NTP server
and [Time zone] will be reset to the factory default.
●
When [Security password] - [Security password] is set
to [On], it is necessary to input the password when
commanding [Reset].