Click [submit – Panasonic TH-86EQ2W 85.6" 4K Digital Signage Display User Manual
Page 99
99
English
[DIGITAL CERTIFICATE]
Register the electronic certificate (extension: PFX)
for authentication.
[CA CERTIFICATE]
Register the CA certificate (extension: CER) for
authentication.
Note
●
When [EAP] is [EAP-TLS], date and time need to be
set on the adjust clock page (see page 99).
4
Click [Submit].
The settings will be registered.
Note
●
Changing the setting of LAN while connected with
LAN might disconnect the connection.
■
Adjust clock page
Sets the clock-related items of this unit.
Click [Detailed set up
] → [
Adjust clock].
Time zone selection field
Time zone setting refresh button
Display synchronization selection field
Parent/Child selection field for display
synchronization
Display synchronization setting refresh button
NTP synchronization selection field
NTP server input field
(When setting date and time with NTP
synchronization, enter the IP address or server
name. To enter the server name, setting the DNS
server is required.)
Date entry field
Time entry field
NTP synchronization setting and date setting refresh
button
Note
●
Date and time is displayed as [- -] when they are not
set.
●
When [Network control] is set to [On] and it is in
standby mode, date and time display will be blank
and they cannot be set. [Time zone], [Synchronize
display] and [NTP synchronization] cannot be set as
well.
●
When [SYNCHRONIZE DISPLAY] is set to
[ON] / [CHILD], it is not possible to set [NTP
SYNCHRONIZATION], [Date] or [Time].
●
When [NTP SYNCHRONIZATION] is set to [ON] , it is
not possible to set [Date] or [Time].
●
If the time becomes incorrect immediately after
setting the correct time, contact the dealer where you
bought the Display.
●
[NTP synchronization] operates only in power-on
state or in schedule standby state.
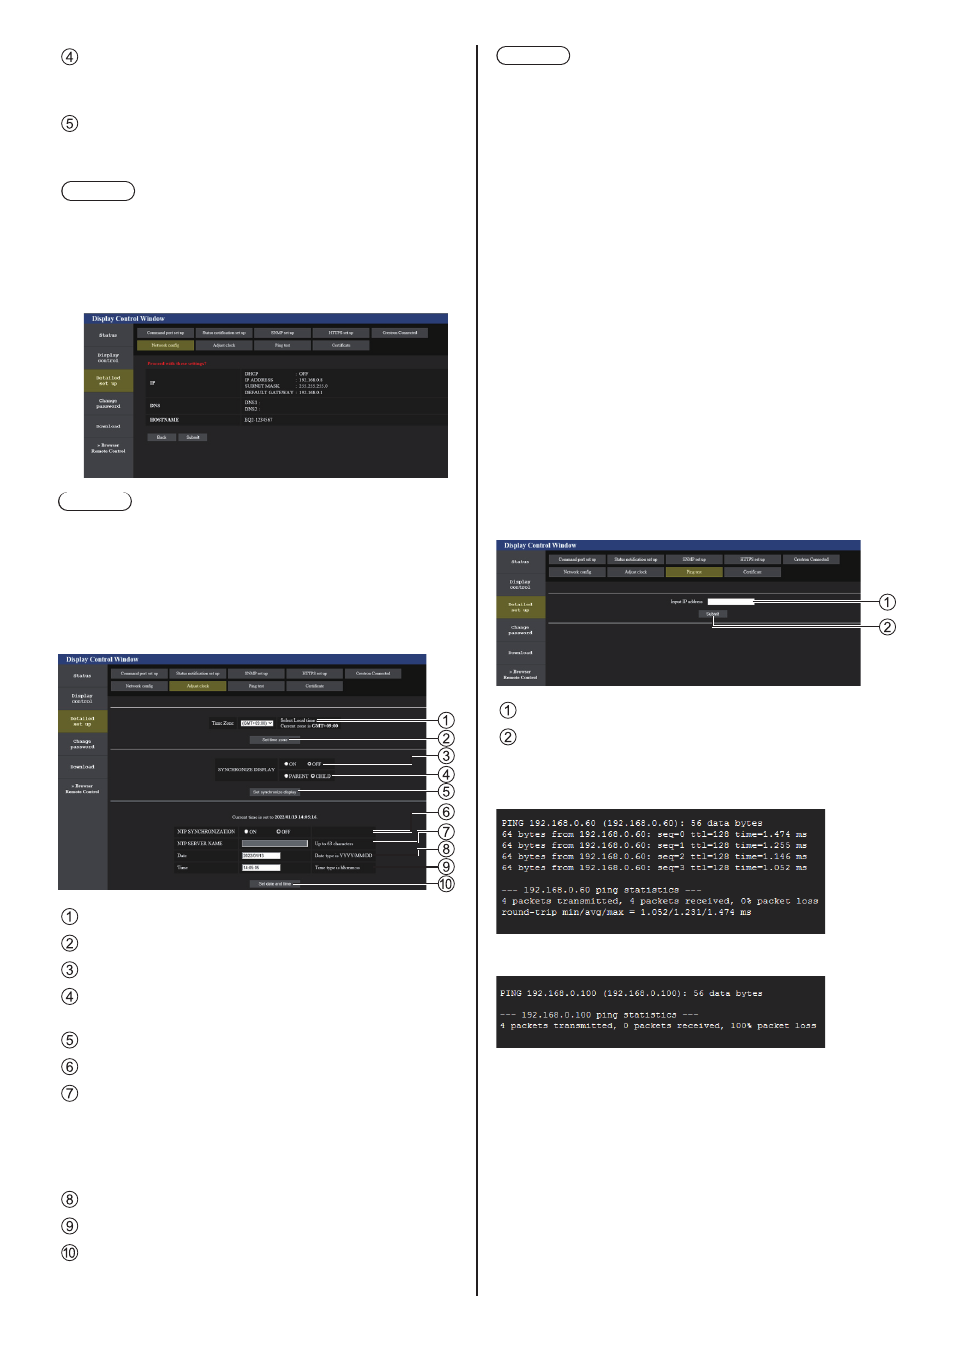
■
Ping test page
This page makes it possible to check whether the
network is connected to the DNS server, etc.
Click [Detailed set up
] → [
Ping test].
Enter the IP address of the server to be tested.
Button for conducting the test
Display which appears when the connection was
successful.
Display which appears when the connection failed.