Configuration procedure – H3C Technologies H3C S3100 Series Switches User Manual
Page 986
1-16
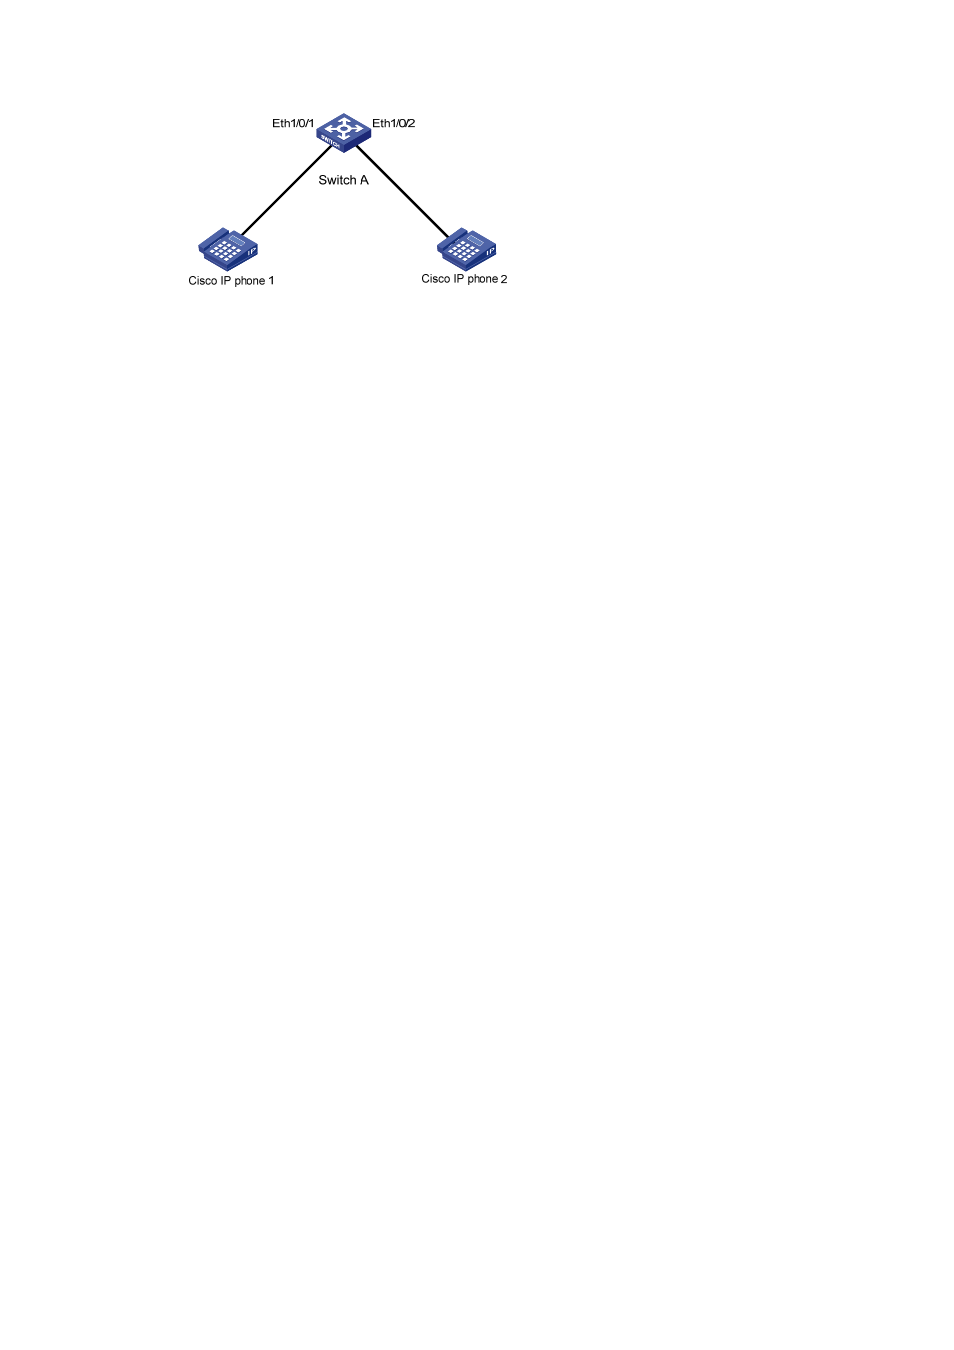
Figure 1-5 Network diagram for CDP-compatible LLDP configuration
Configuration procedure
1) Configure a voice VLAN on Switch A
# Create VLAN 2.
<SwitchA> system-view
[SwitchA] vlan 2
[SwitchA-vlan2] quit
# Set the link type of Ethernet 1/0/1 and Ethernet 1/0/2 to trunk and enable voice VLAN on them.
[SwitchA] interface ethernet 1/0/1
[SwitchA-Ethernet1/0/1] port link-type trunk
[SwitchA-Ethernet1/0/1] voice vlan 2 enable
[SwitchA-Ethernet1/0/1] quit
[SwitchA] interface ethernet 1/0/2
[SwitchA-Ethernet1/0/2] port link-type trunk
[SwitchA-Ethernet1/0/2] voice vlan 2 enable
[SwitchA-Ethernet1/0/2] quit
2) Configure CDP-compatible LLDP on Switch A.
# Enable LLDP globally and enable LLDP to be compatible with CDP globally.
[SwitchA] lldp enable
[SwitchA] lldp compliance cdp
# Enable LLDP (you can skip this step because LLDP is enabled on ports by default), configure LLDP to
operate in TxRx mode, and configure CDP-compatible LLDP to operate in TxRx mode on Ethernet 1/0/1
and Ethernet 1/0/2.
[SwitchA] interface ethernet 1/0/1
[SwitchA-Ethernet1/0/1] lldp enable
[SwitchA-Ethernet1/0/1] lldp admin-status txrx
[SwitchA-Ethernet1/0/1] lldp compliance admin-status cdp txrx
[SwitchA-Ethernet1/0/1] quit
[SwitchA] interface ethernet 1/0/2
[SwitchA-Ethernet1/0/2] lldp enable
[SwitchA-Ethernet1/0/2] lldp admin-status txrx
[SwitchA-Ethernet1/0/2] lldp compliance admin-status cdp txrx
[SwitchA-Ethernet1/0/2] quit
3) Verify the configuration
# Display the neighbor information on Switch A.