Applying silicon dielectric compound, Connecting the smartsensor 6-conductor cable – Wavetronix SmartSensor Advance Extended Range (SS-200E) - User Guide User Manual
Page 25
24
CHAPTER 1 • INSTALLING THE SMARTSENSOR ADVANCE
6 Tighten down the pan and tilt bolts, then tighten down the four bolts on the backplate.
If you are using the sensor on a curved road, you can aim the sensor so that it bisects the
curve of the road and still hits your nearest and farthest ranges of interest. If the sensor is
mounted near the outside edge of the curved road, you may be able to bisect the curve with
little or no roll. If the road curves dramatically, you may need to reduce the down tilt of the
sensor so that the beam fans out more at the far ranges.
Applying Silicon Dielectric Compound
1 Tear the tab off the tube of silicon dielectric compound.
2 Squeeze about 25% of the silicon into the connector at the base of the SmartSensor
Advance (see Figure 1.17).
3 Wipe off any excess compound.
Figure 1.17 – Connector Receptacle (left) and Grounding Lug (right)
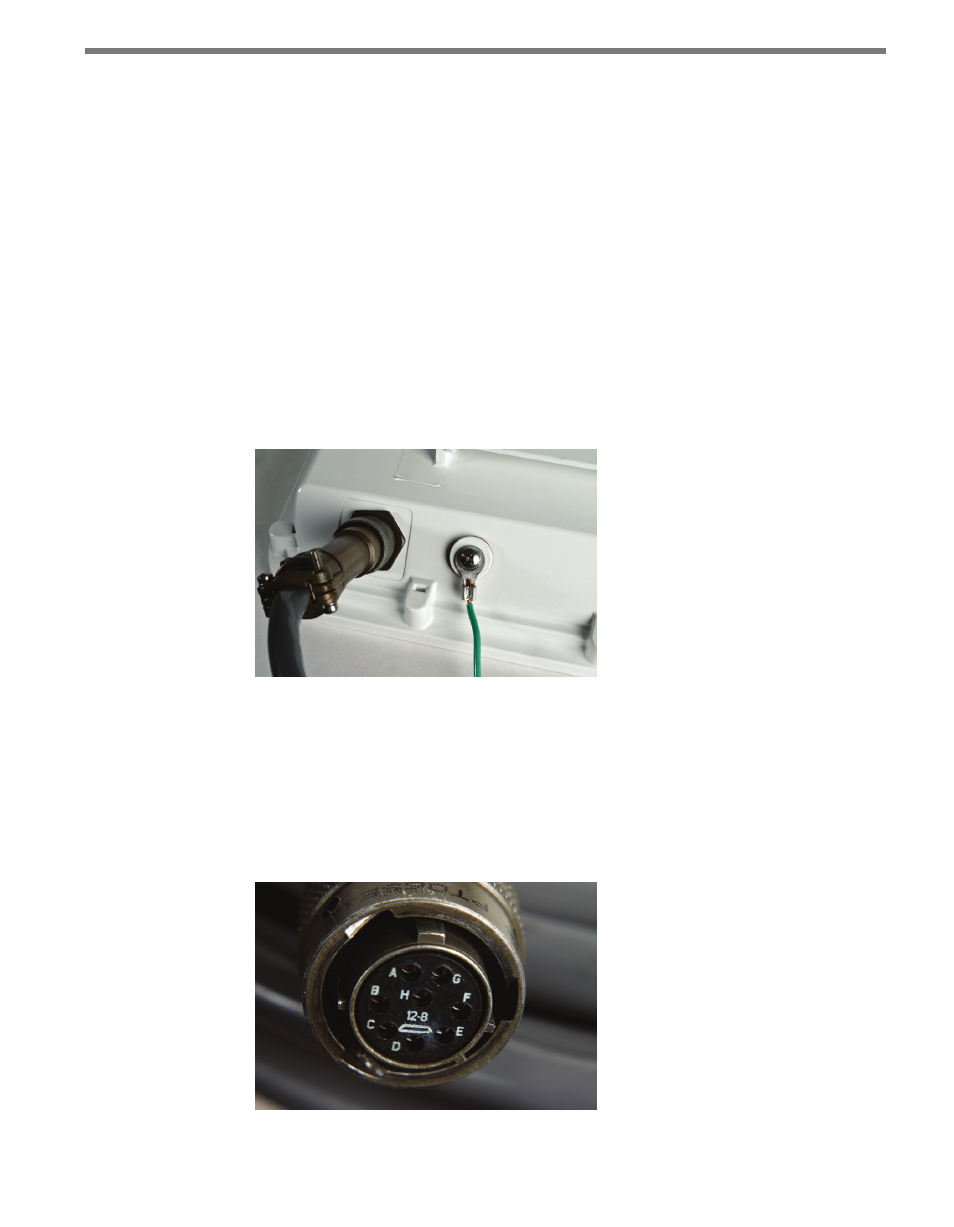
Connecting the SmartSensor 6-conductor Cable
The next step is to plug the SmartSensor 6-conductor cable into the connector. The sensor
connector is keyed to ensure proper connection (see Figure 1.18); simply twist the plug end
of the connector clockwise until you hear it click into place.
Figure 1.18 – Sensor 6-conductor Cable Connector