Mounting the backplate, Connecting ac power – Wavetronix SmartSensor Advance Extended Range (SS-200E) - User Guide User Manual
Page 29
28
CHAPTER 2 • CONNECTING POWER AND SURGE PROTECTION
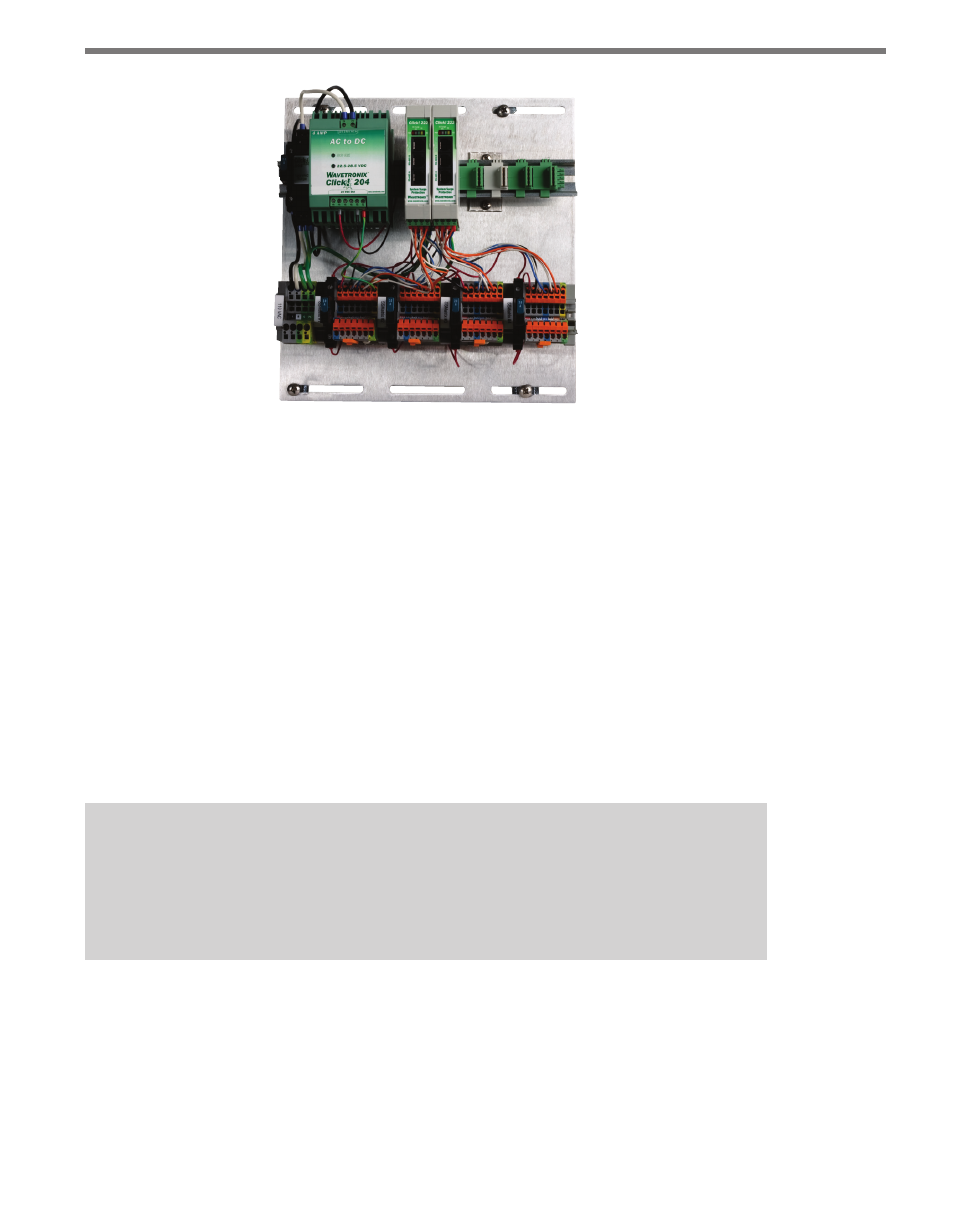
Figure 2.1 – Intersection Preassembled Backplate
Please refer to the Click quick-reference guides for more comprehensive product instruc-
tions. Chapter 12 contains information on how Click products make the sensor compatible
with all standard control cabinets.
A pinout diagram showing the sensor cable’s pin-out and appropriate connection points
can be found in Appendix A of this document.
Mounting the Backplate
Use the following steps to mount the backplate in the traffic cabinet:
1 Locate the area planned for mounting the backplate. The backplate can usually be
mounted on the side panel of a NEMA-style cabinet.
2 Attach the backplate with the U-channel mounting screws.
Note
If you have a 330 series (170/2070 style cabinet) with a 19-inch EIA rack, please con-
tact Wavetronix Technical Services for assistance. Wavetronix can provide modified
backplates that attach to a 19-inch rack.
Connecting AC Power
Since SmartSensor Advance operates on 10–28 VDC, the intersection preassembled back-
plates provide an AC power conversion option. The backplate includes an AC to DC power
converter, power surge and circuit breaker.