5. 2. dhcp client list, 6. usb settings, 6. 1. storage sharing – TP-Link TL-WR902AC AC750 Wireless Dual-Band Travel Router User Manual
Page 142
135
Chapter 7
Configure the Router in Client Mode
•
Default Domain (Optional)
- Input the domain name of your network.
•
Primary DNS (Optional)
- Input the DNS IP address provided by your ISP.
•
Secondary DNS (Optional)
- Input the IP address of another DNS server if your ISP
provides two DNS servers.
Note:
To use the DHCP server function of the router, you must configure all computers on the LAN as
Obtain an IP Address automatically
.
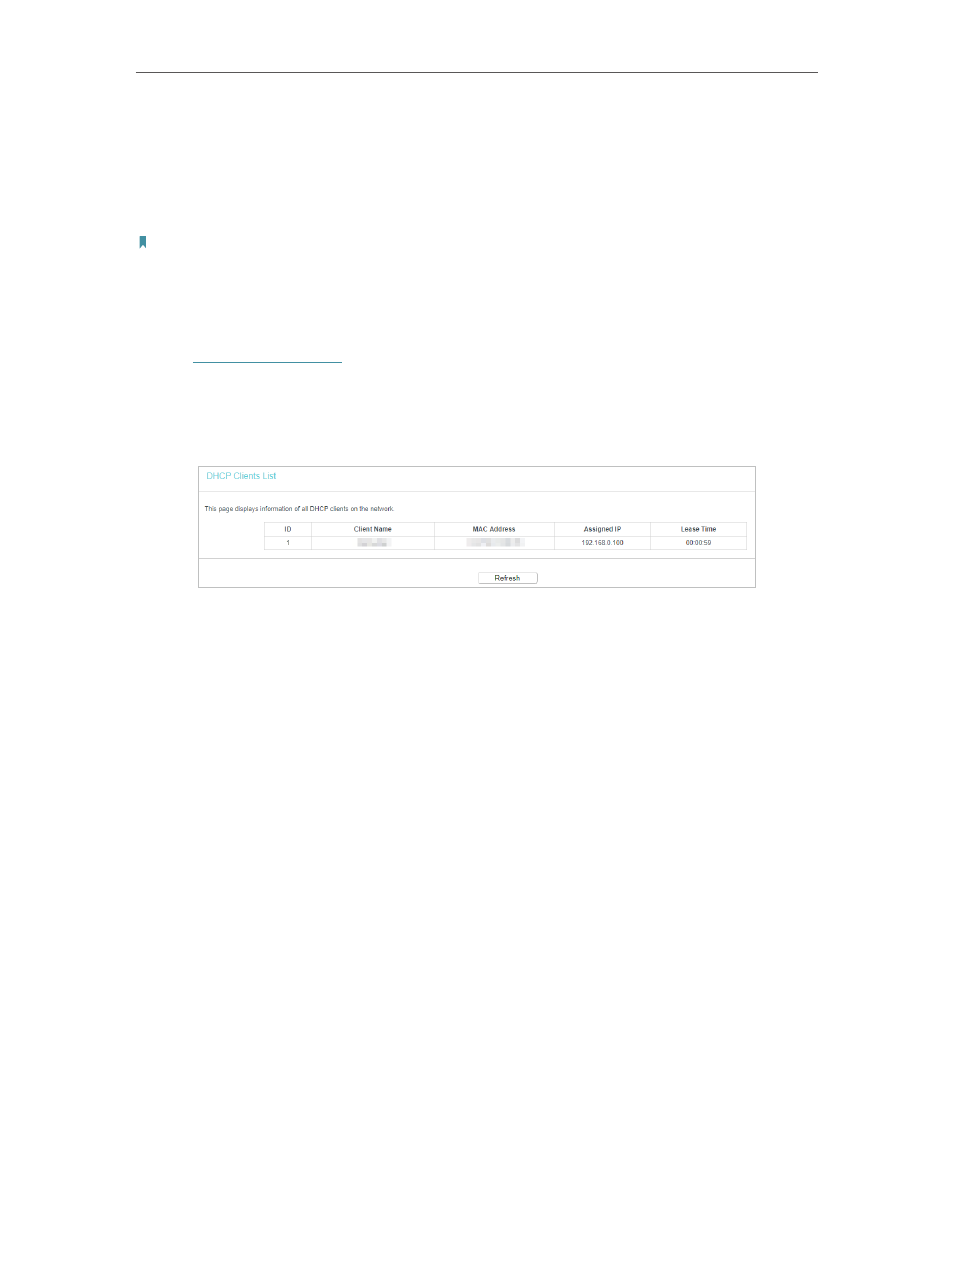
7. 5. 2. DHCP Client List
1. Visit
http://tplinkwifi.net
, and log in with the username and password you set for the
router.
2. Go to
DHCP
>
DHCP Client List
to view the information of the clients connected to
the router.
•
Client Name
- The name of the DHCP client.
•
MAC Address
- The MAC address of the DHCP client.
•
Assigned IP
- The IP address that the router has allocated to the DHCP client.
•
Lease Time
- The time of the DHCP client leased. After the dynamic IP address has
expired, a new dynamic IP address will be automatically assigned to the user.
You cannot change any of the values on this page. To update this page and show the
current attached devices, click
Refresh
.
7. 6. USB Settings
You can insert a USB drive to share files among users on the LAN, access the USB drive
remotely on the internet and enjoy videos and photos stored in the USB drive.
7. 6. 1. Storage Sharing
Share your USB storage device with different users on the network.
• To access the USB disk:
1. Connect Your USB Disk
Insert your USB storage device into the router’s USB port directly or using a USB cable.
Wait several seconds until the USB LED becomes solid on.