ATL Telecom R1-SW Ethernet Switch User Manual
Page 57
Installation
4-5
3. Make sure that the 19-inch rack is placed on a convenient location for the Corecess R1-
SW24L2B to be installed. And check to see if there is a 1U high space in the rack where the
Corecess R1-SW24L2B can be installed.
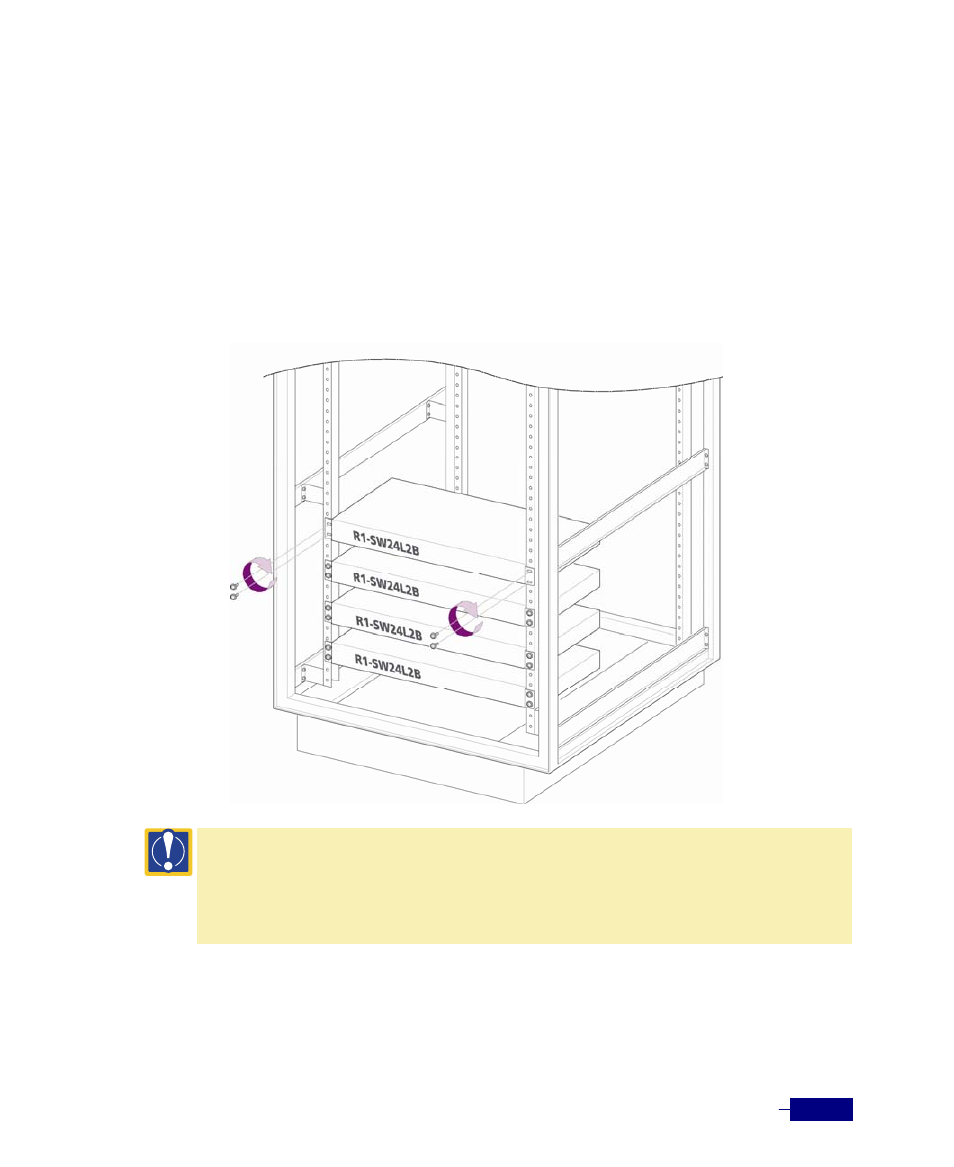
4. Lift up the Corecess R1-SW24L2B installed with rack brackets as high as the available space in
the 19-inch rack.
5. Place the rack brackets installed on the Corecess R1-SW24L2B to the holes of the 19-inch
rack. And fix the brackets using four binder-head screws.
Caution:
The following explanations should be noticed when installing the Corecess R1-SW24L2B into the 19-
inch rack:
y Locate the heavy things at the bottom of the rack. If there is another equipment already installed in the rack,
select the location for the Corecess R1-SW24L2B carefully considering the size of the Corecess R1-SW24L2B.
y If the rack is empty, you should install the Corecess R1-SW24L2B at the bottom of the rack.