Oki MC363dn User Manual
Page 111
6. Print Job Accounting Client Software
- 111 -
4
Specify the ID file created in
1
, and click
[Open].
Note
• If [Set fixed Job Account ID for all
users] is checked in the [Hide Mode]
menu, remove the check.
• If [Get user information from a file]
is checked in the [Hide Mode] menu,
remove the check.
5
Select [File] menu > [Close].
6
Print from the application.
Note
If printing is performed by a user who has
logged in to Windows with a login user
name that has not been registered by
importing an ID file, the user name is the
user name of the currently logged in user
and the user ID is 0 in the job log.
Memo
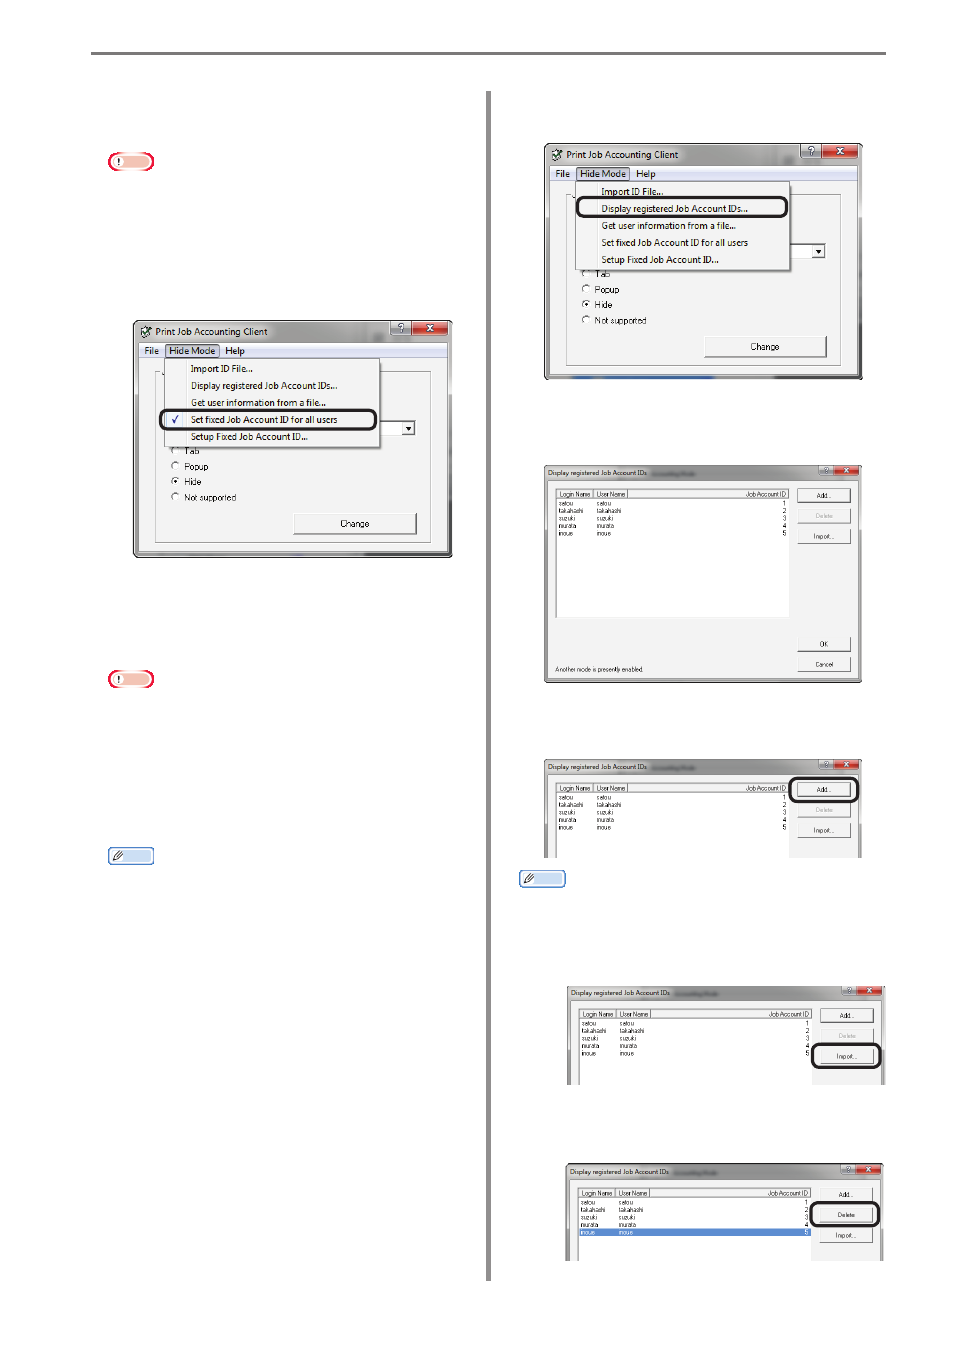
Select [Display registered Job Account
IDs] in the hide Mode menu, and you can
authenticate user IDs that have already
been registered, delete unneeded user IDs,
and import ID files.
Displaying and Editing Registered
User IDs
1
Follow the instructions in “Setting the
Job Account Mode” (P. 108) to switch to
hidden mode.
2
Select [Display registered Job Account
IDs] in the [Hide Mode] menu.
3
Information on registered users is
displayed.
4
To add a user ID, click [Add].
Memo
• To add IDs by importing the ID file
created in “Switching the User ID for
Each User” (P. 110), click [Import] and
specify a file in CSV format.
• To delete a registered user, select the
user to be deleted and click the [Delete]
button.