Installation – Areca ARC-8050T3U 6-Bay Thunder3 Desktop RAID Storage Array User Manual
Page 24
INSTALLATION
24
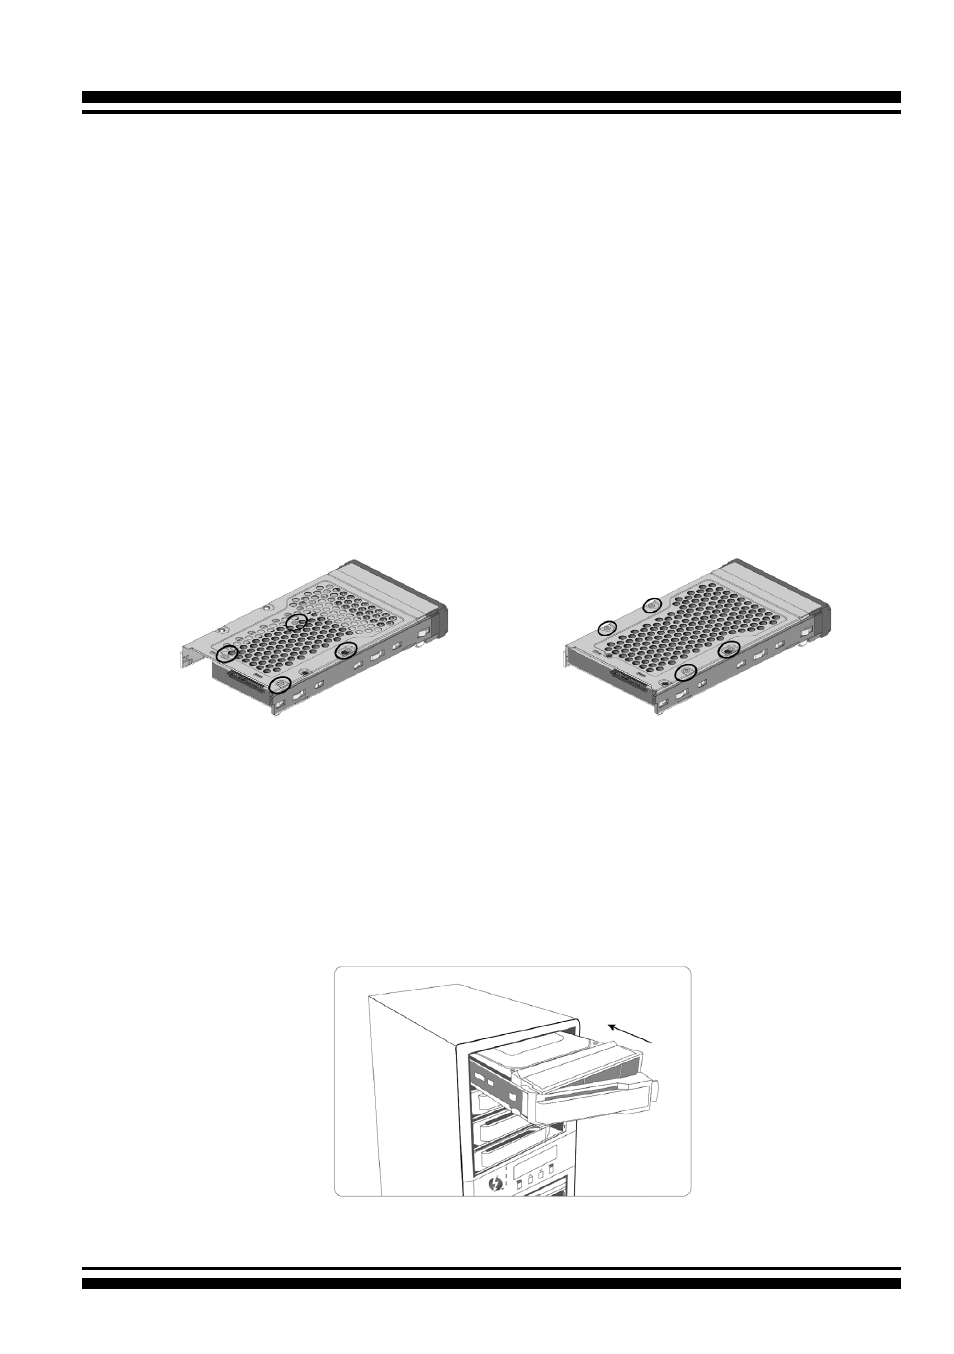
Figure 2-4-1. Installing 2.5-inch
SAS/SATA Drive
Figure 2-4-2. Installing 3.5-inch
SAS/SATA Drive
Step 1. Install the Drives in the ARC-8050T3U Storage
Your RAID storage supports up to 4/6/8/12 x 3.5-inch disk drives
or 4/6/8/12 x 2.5-inch SAS or SATA 6.0Gb/s drives, each one
contained in its individual hole on the disk carrier. Each drive is
hot-pluggable, allowing you to remove and insert drives without
shutting down your RAID storage. Installation in this section
describes how to install or remove 3.5 inch drives in your RAID
storage.
1. Gently slide the drive tray out from the ARC-8050T3U RAID
storage.
2. Install t
he drive into the drive tray and secure the drive to the
drive tray by four of the mounting screws.
Figure 2-5, Sliding Drive Tray into Enclosure
3. After all drives are in the drive tray, slide all of them back into
the ARC-8050T3U RAID storage and make sure you latch the
drive trays.