Part iv–mixer controls – Teac SX-1 Reference Manual User Manual
Page 58
Part IV–Mixer Controls
58
TASCAM SX-1
Reference Manual
Category
Selects between viewing the routings
for:
Analog Inputs
,
Outputs
,
Digital I/O
, and
Option Slots 1-3
.
Input User Name
Use this field to type in a cus-
tom name for the input. This feature is useful if you
leave the same device plugged into an input all the
time, or to remind yourself of devices that were con-
nected to the SX-1 when returning to a previous mix.
Destination
Selects the input’s routing
destination.
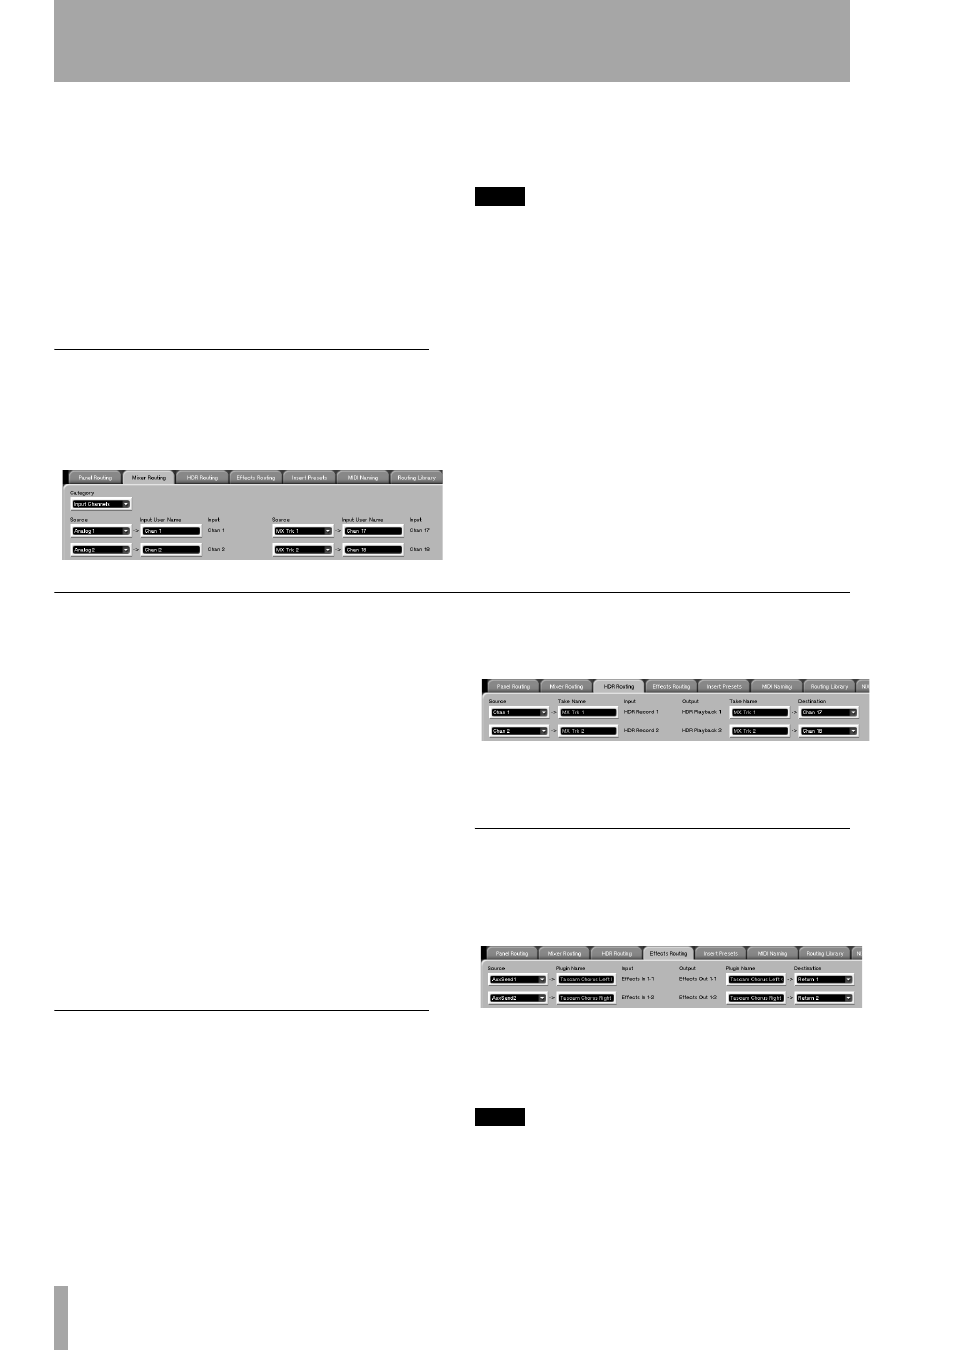
Mixer Routing
To reach this tab, press the
ROUTING
key in the
MAIN DISPLAY MODES
sec-
tion. Then click on the
Mixer Routing
tab. This is the
mixer patch bay. Use this tab to route sources to and
from the mixer’s channels.
Category
Selects between viewing the routings
for:
Input Channels
,
Aux Returns
,
Direct Outs
,
Bypass
,
Loopback
, and
Busses
.
TIP
The
Bypass
and Loopback categories allow you to route
16 channels each without actually using up a mixer
channel. Mixer Bypass routes 16 channels from the pre-
patchbay to the post- patchbay, and Mixer Loopback
routes 16 channels from the post-patchbay back to the
pre-patchbay—without using up a channel strip. For
example, use Bypass to go from an analog input directly
to an analog output. Or, use Loopback to go directly
out of a channel and back into a return, without using
up a mixer channel strip.
Source
Selects the input’s feed.
Before we continue, a word about mixer Bypass and Loopback
Sometimes it is desirable to route signals directly
from inputs to outputs, or directly from outputs to
inputs. Mixer Bypass and Loopback accomplish
these tasks, by providing audio streams outside of the
normal mixing console environment.
Mixer Bypass can send up to 16 channels directly
from an input to an output, without using up a mixer
channel – hence the name “Bypass”. Mixer Loop-
back can send up to 16 channels directly from an out-
put to an input (thus loopback), again eliminating the
need for a channel to do this. This might come in
handy if you were using all of the available channels
for inputs, but still needed to plug in a microphone
and send the signal to an external recorder. In that
case, you could use Bypass to route the signal
directly from the input to a specified output con-
nected to your external recorder.
HDR Routing
To reach this tab, press the
ROUTING
key in the MAIN
DISPLAY MODES
sec-
tion. Then click on the
HDR Routing
tab. This is where
the SX-1’s Hard Disk Recorder tracks are patched
and routed (along with the actual slots on the Track
screen). HDR Inputs and outputs are handled from
this tab.
Take Name
Displays the name of the HDR tracks’
currently loaded Take.
Effects Routing
To reach this tab, press the
ROUTING
key in the
MAIN DISPLAY MODES
sec-
tion. Then click on the
Effects Routing
tab. This tab (as
well as the VGA
Effects
screen) is where you route the
SX-1’s internal effects.
Plugin Name
Displays the name of the effect
plug-in that is selected for that quadrant on the
Effects
screen.
TIP
You must first assign an effect to one of the four effect
quadrants on the “Effects” screen before a plug-in will
appear on this tab.