2 step 2: configuring areas, 3 step 3: configuring readers – AGI Security GVASBOX-100 User Manual
Page 62
54
6.3.2 Step 2: Configuring Areas
This step is to define the Entry and Exit areas for each door/gate and name the areas
properly.
•
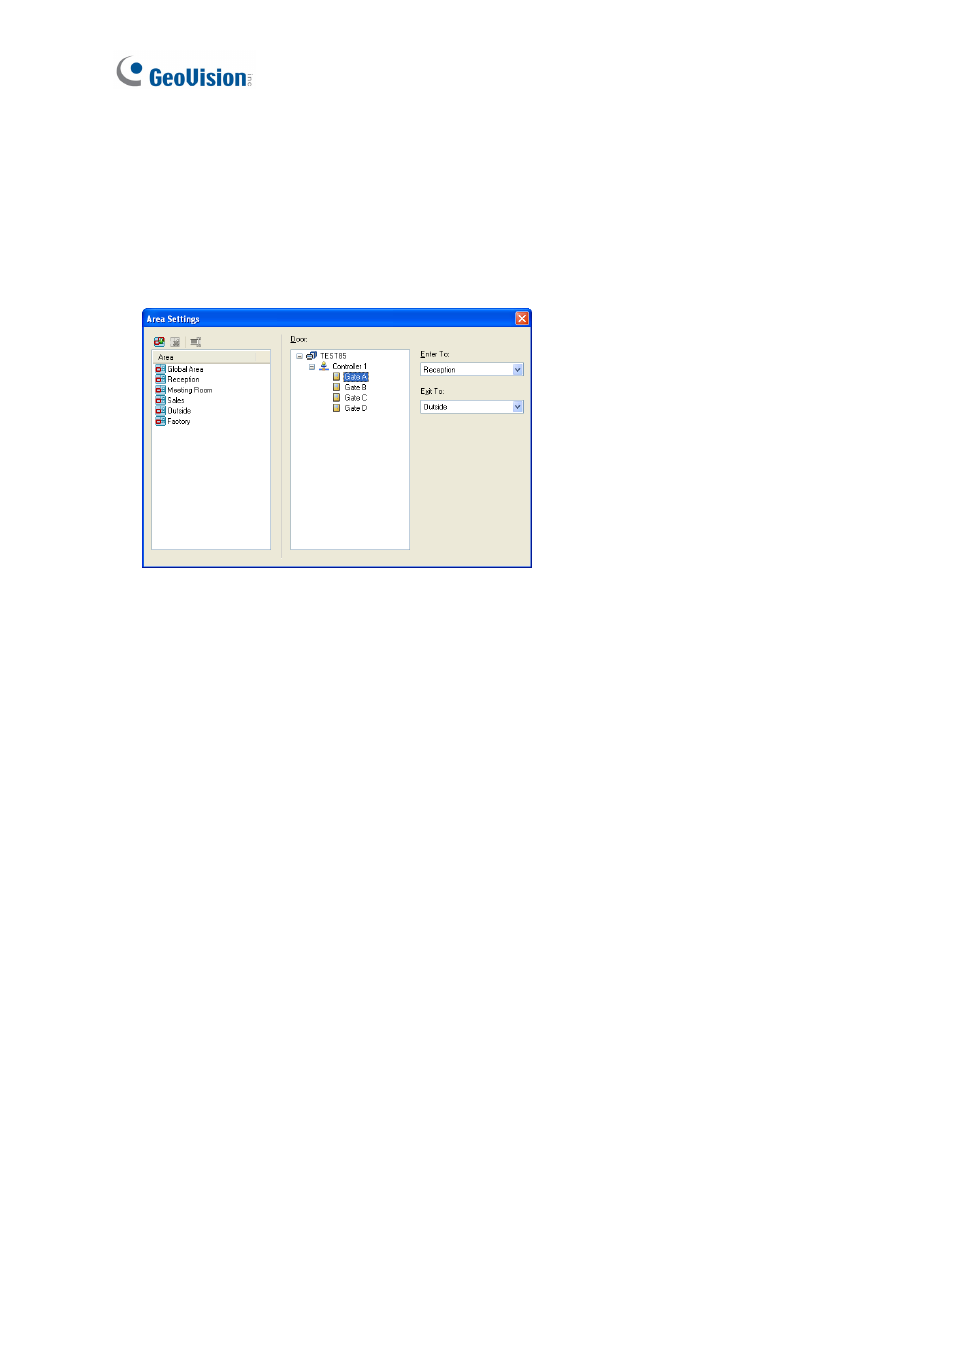
On the menu bar, click Setup and select Areas. This dialog box appears.
Figure 6-4
Enter to is the area where you enter by accessing the Entry reader. Exit to is the area where
you exit to by accessing the Exit reader. In this case, we set up like this:
Gate A: Enter to Reception; Exit to Outside
Gate B: Enter to Sales; Exit to Reception
Gate C: Enter to Meeting Room; Exit to Sales
Gate D: Enter to Factory; Exit to Sales
6.3.3 Step 3: Configuring Readers
This step is to define the Entry and Exit readers for each door/gate. The reader definition tells
the GV-ASManager which reader controls the access across the area boundaries.
When card holders access the unauthorized readers, the message Access Denied: APB
(Wrong Area) will be displayed and the door will remain locked. When card holders access
the same reader successively, the message Access Denied: APB (Double Entry) will be
displayed and the door will remain locked.