Rf channel scanning, Rf channel scan, Ed a – BrightSign BrightAuthor User Guide v.4.1.1 User Manual
Page 144: Channel scan
136
Chapter 9 – Customizing Presentations
Import/Export User Events
These actions allow you to transfer
between presentations. This is useful when creating multiple
presentations that use many of the same or similar events.
RF Channel Scanning
Before you can use the
state to display live video, you will first need to perform a channel scan. You can perform a
channel scan either as an independent action (similar to setting up a player) or as a state in an interactive presentation.
The user interface for the
Scan Setup window is the same for both methods. See
information about using channel scanning in an interactive presentation.
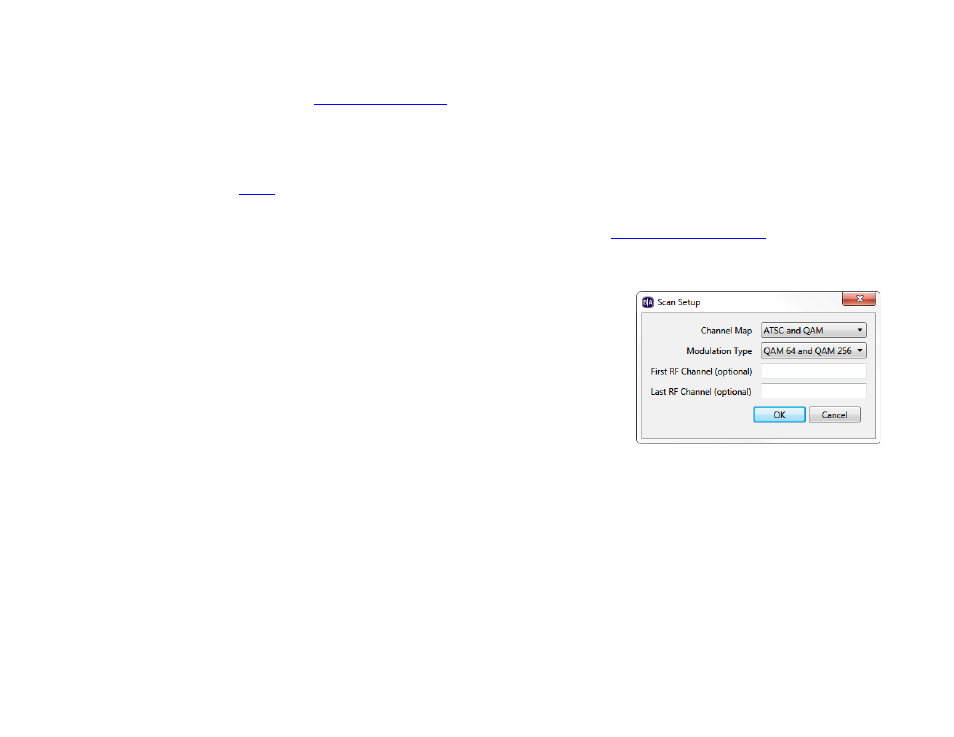
1. Navigate to
Tools > Setup RF Channel Scan.
a.
Channel Map: Select QAM, ATSC, or ATSC and QAM (consult your
service provider for details).
b.
Modulation Type: Select QAM 64, QAM 256, or QAM 64 and QAM
256 (consult your service provider for details).
c.
First RF Channel (optional): You can choose to limit the range of the
channel scan by selecting the first channel to scan.
d.
Last RF Channel (optional): You can choose to limit the range of the
channel scan by selecting the last channel to scan.
Note: Each channel takes approximately one second to scan. Specifying upper and lower limits will reduce the
amount of time it takes to perform the scan. You should only use these two options if you are familiar with the
channel map of the cable source.
2. Click
OK and write the channel scan settings to an SD card or USB drive.
3. Power off your BrightSign XD1230.
4. Insert the SD card or USB drive into the player and power it back on. The progress of the channel scan will be
displayed on screen.