BrightSign BrightAuthor User Guide v.4.1.1 User Manual
Page 175
167
Chapter 12 – Managing Your Network
•
Display status on screen during data capture: Displays the status on the display while the USB flash
drive is inside the BrightSign player.
3. Click
Setup drive and navigate to the location of the USB flash drive on your computer.
4. When the
Setup Complete window opens, click OK.
5. Remove the USB flash drive from your computer and insert it in the player.
6. If you are extracting data from the player, reinsert the USB flash drive into your computer to retrieve the data.
Note: You can retrieve data from multiple players using a single USB flash drive. The filename of each variable, media
counter, and log record will include the serial number of the applicable player, so the number of unique player records
you can put on a USB flash drive is limited only by storage space.
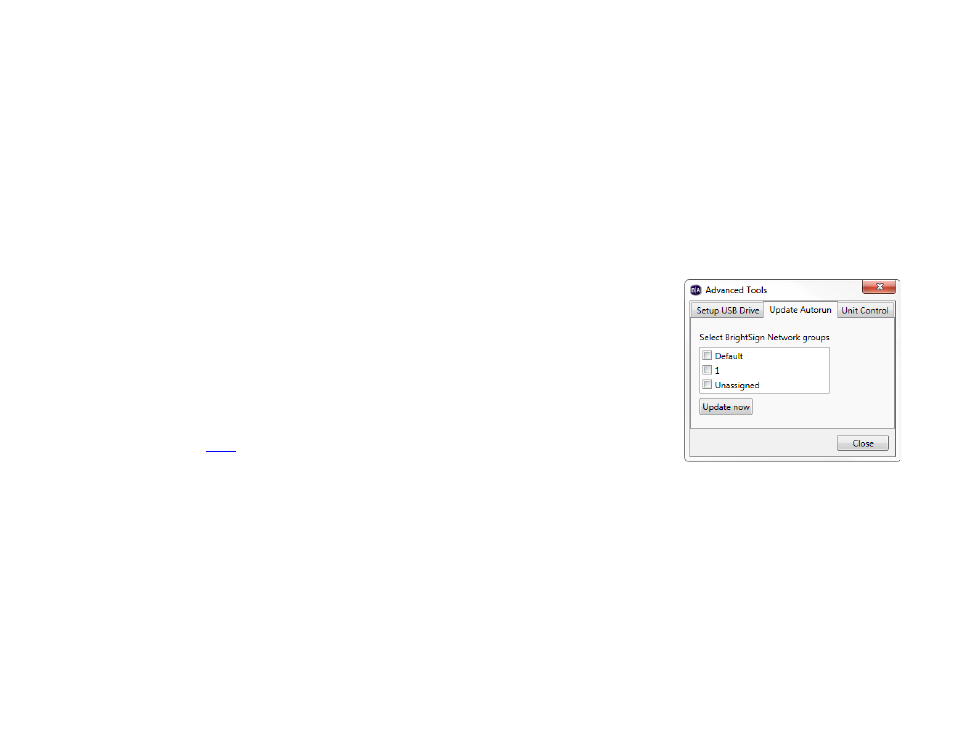
Complete the following steps to update the autorun on players linked to your BrightSign
Network account:
1. Sign in to BrightSign Network by clicking
Tools > Sign in to BrightSign Network.
2. Click
Tools > Advanced.
3. Click the
Update Autorun tab. A list of all your groups is displayed here. Check the
checkboxes and then click
Update now to update the Autorun version for those
groups.
Note: Visit this
to learn how to distribute custom autorun scripts using the
BrightSign Network.
Complete the following steps to remotely control players linked to your BrightSign Network account.
4. Click the
Unit Control tab.
5. In the
Serial Number field, type the serial number of the unit you want to control.
6. Click the
Action dropdown list to select the action you want to perform:
•
Reboot unit: Restarts the BrightSign.
•
Upload logs: Uploads log files based on the upload logs setting you selected when setting up the unit.
•
Recover – reformat: Puts the unit in recovery mode and reformats the unit’s storage card.