BrightSign BrightAuthor User Guide v.4.1.1 User Manual
Page 45
37
Chapter 3 – Creating Presentations
media files. In the Replace Media Files window, click Browse to select the folder that contains the
files you want to add. This can be the same folder used in your Media Library or a new folder. A list of
all files currently added to the playlist is displayed below
Presentation Media Files. For each file you
want to replace, select a new file using the dropdown lists beneath
Replacement Media File.
Note: Optionally, you can check the Preserve State Names box to preserve the names already given
to media states in an Interactive Playlist rather than having media states automatically take on the
names of the new media files.
5. To create interactive events, see
Chapter 4 – Making a Presentation Interactive
.
6. Repeat step 4 for each zone in the presentation.
7. Click the Layout tab to add new zones or adjust the position of your zones. To add a new zone, click the Add Zone
button. In the New Zone window, type a name for the zone in the
Zone name text field, and select a zone type.
Click
OK. To adjust the position and size of zones, drag and resize in the preview in the right portion of the screen.
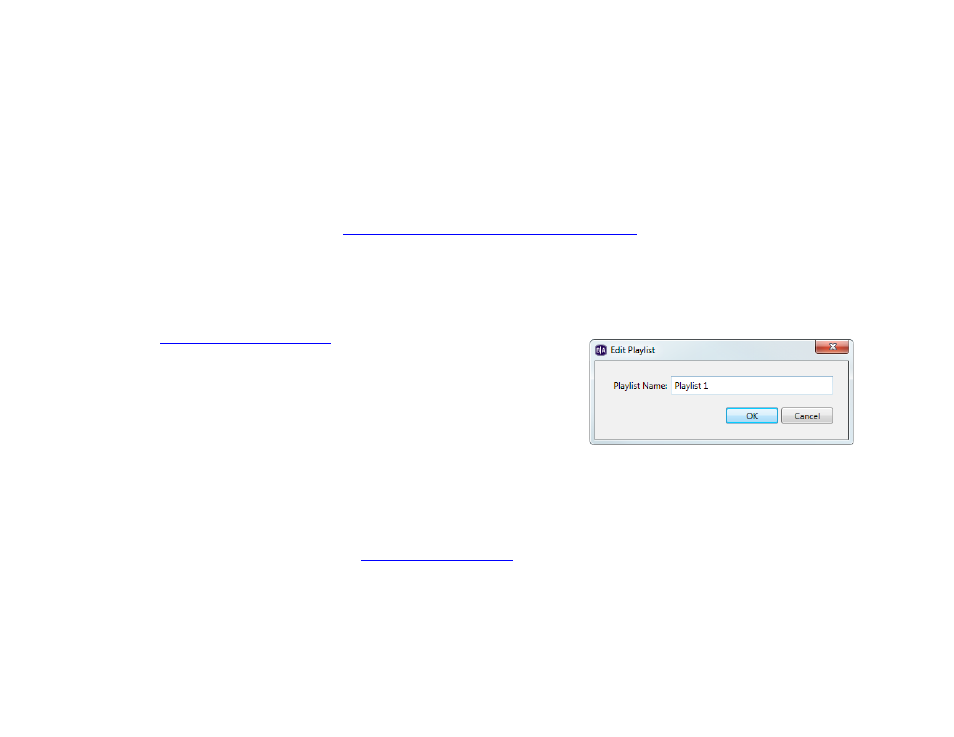
8. (Optional) Rename the playlist:
a. Click
Edit in the upper-right corner of the playlist area.
b. Enter a new name for the playlist.
c. Click
OK.
9. (Optional) Set playback options:
a. To edit settings for a single item, right-click the thumbnail in the playlist area, select
Edit, and then choose
the settings you want to apply to the selected item.
b. To edit settings for multiple items, press
Ctrl+Click to select the items in the playlist area. On the menu bar,
click
Edit >Selected Items, and then choose the settings you want to apply to the selected items.
10. (Optional) Set zone properties. See
11. On the menu bar, click
File > Save… to store your presentation.
Note: Make sure you have the Edit tab selected in the upper-left portion of the screen. To save the presentation with a
different name or in a different folder, select
File > Save… As. To export the presentation and associated content,
select
File > Export….