Customizing the interactive playlist – BrightSign BrightAuthor User Guide v.4.1.1 User Manual
Page 62

54
Chapter 4 – Making a Presentation Interactive
b. Click (and hold) the file name below the thumbnail image of the current state. This media file is what the
user sees before performing the interactive event you are about to define.
Note: The first interactive event must begin with the Home Screen.
c. Drag the hand pointer to the thumbnail image of the media file you want to play next (the next state).
d. Repeat steps a – c to define the remaining interactive events.
Subsequent interactive events can start with any item and correspond to any other item in the playlist. For example, you
can set the first interaction to display an image when the user presses button 1 from the Home screen. By defining a new
event with the same event icon, you can set a second interaction to display another media file when the user presses
button 1 again.
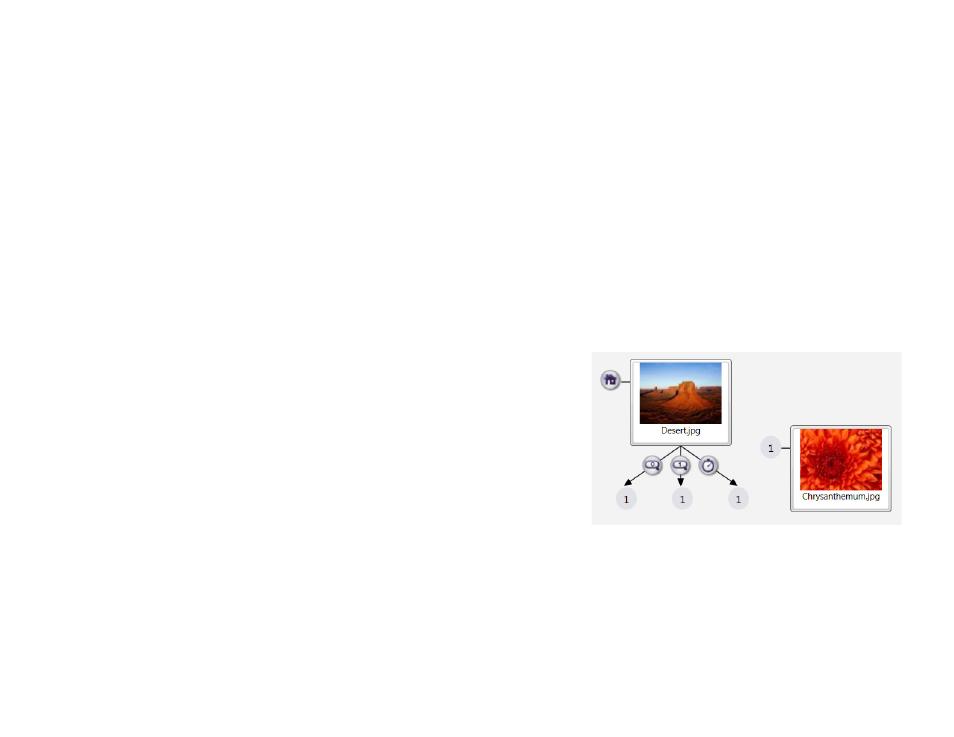
Note: Make sure your defined events work in a loop. In the above screenshot, a user can transition from the Home
Screen to the other images by pressing button 1 or button 2. After a set period of time (indicated by the timeout events),
the presentation will return to the Home Screen.
You can utilize multiple interactive events to transition from state to state.
You can also apply events to multiple items. Right-click and drag the cursor
within the playlist area to create a selection box. Define the interactive event
from one media file, and it will then be created for all selected files. To select
non-consecutive files, press and hold
Ctrl while clicking items.
Customizing the Interactive Playlist
In the upper-right portion of the screen, you can use the
Zoom control to adjust your view of the playlist area. When you
switch between multiple interactive zones, BrightAuthor will remember the zoom setting last used for each zone.