Set up scan to fax, Step one: access the hp embedded web server, Step two: set up scan to fax – HP Digital Sender Flow 8500 fn2 Document Capture Workstation User Manual
Page 42
15.
On the Summary and Test dialog, enter a valid email address in the Send a test email to: field, and then click
Test.
16.
Verify that all of the settings are correct, and then click Finish to complete the outgoing email server set up.
Set up Scan to Fax
Step one: Access the HP Embedded Web Server
1.
From the Home screen on the product control panel, select the Information icon, and then select the
Network
icon to display the IP address or host name.
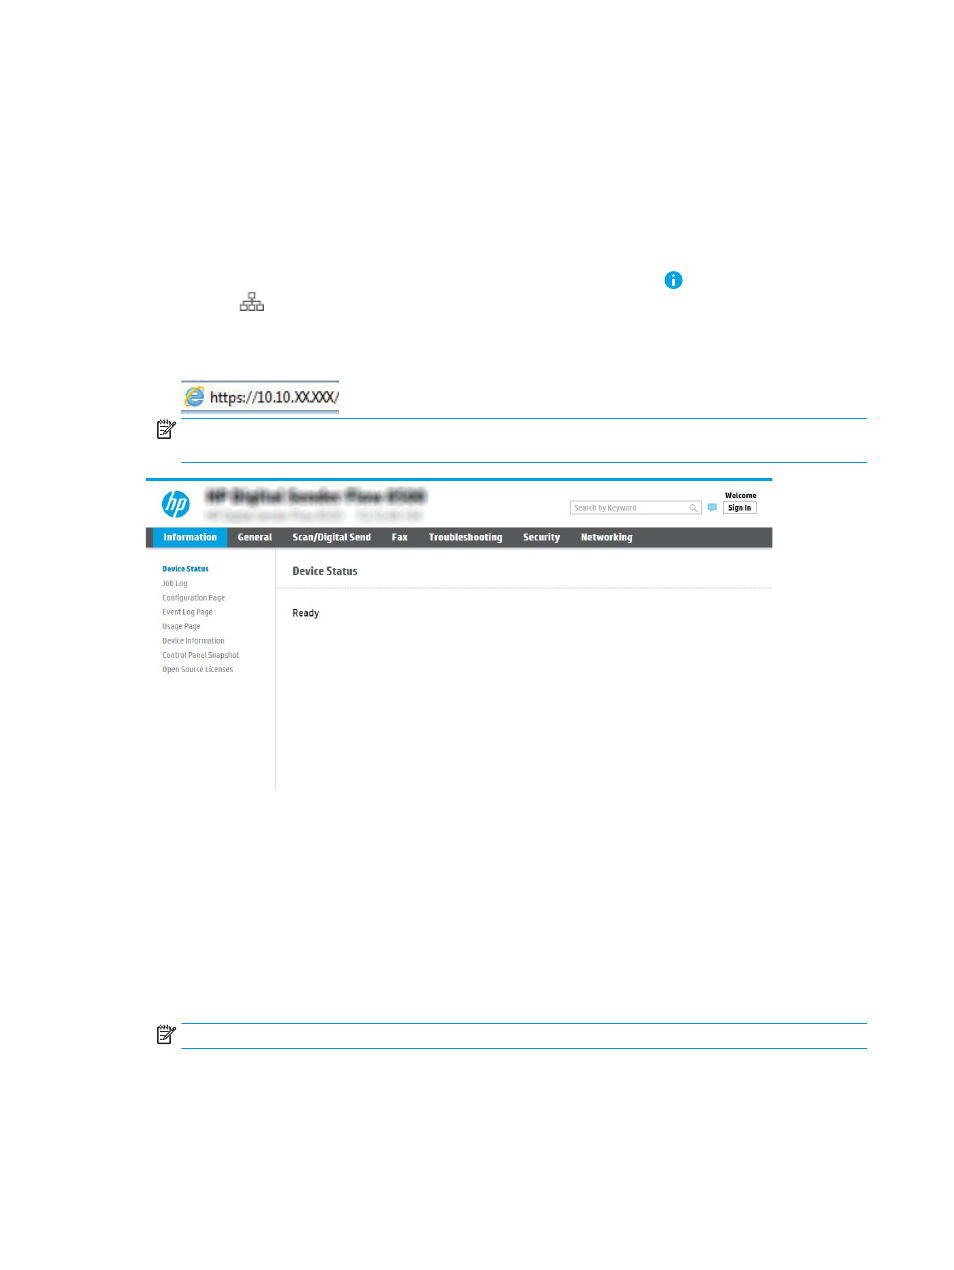
2.
Open a web browser, and in the address line, type the IP address or host name exactly as it displays on the
product control panel. Press the
Enter
key on the computer keyboard. The EWS opens.
NOTE:
If the web browser displays a message indicating that accessing the website might not be safe,
select the option to continue to the website. Accessing this website will not harm the computer.
Step two: Set up Scan to Fax
Method one: LAN Fax Setup
1.
Using the EWS top navigation tabs, click the Fax tab.
2.
Navigate to LAN Fax Setup.
3.
Select the Enable Fax Send checkbox.
4.
Fill out appropriate Folder Settings information.
NOTE:
You may need to set up the network share folder prior to LAN fax set up.
Method two: Internet Fax Setup
1.
Using the EWS top navigation tabs, click the Fax tab.
2.
Navigate to Internet Fax Setup.
32
Chapter 2 Use the scanner
ENWW