HP Digital Sender Flow 8500 fn2 Document Capture Workstation User Manual
Page 48
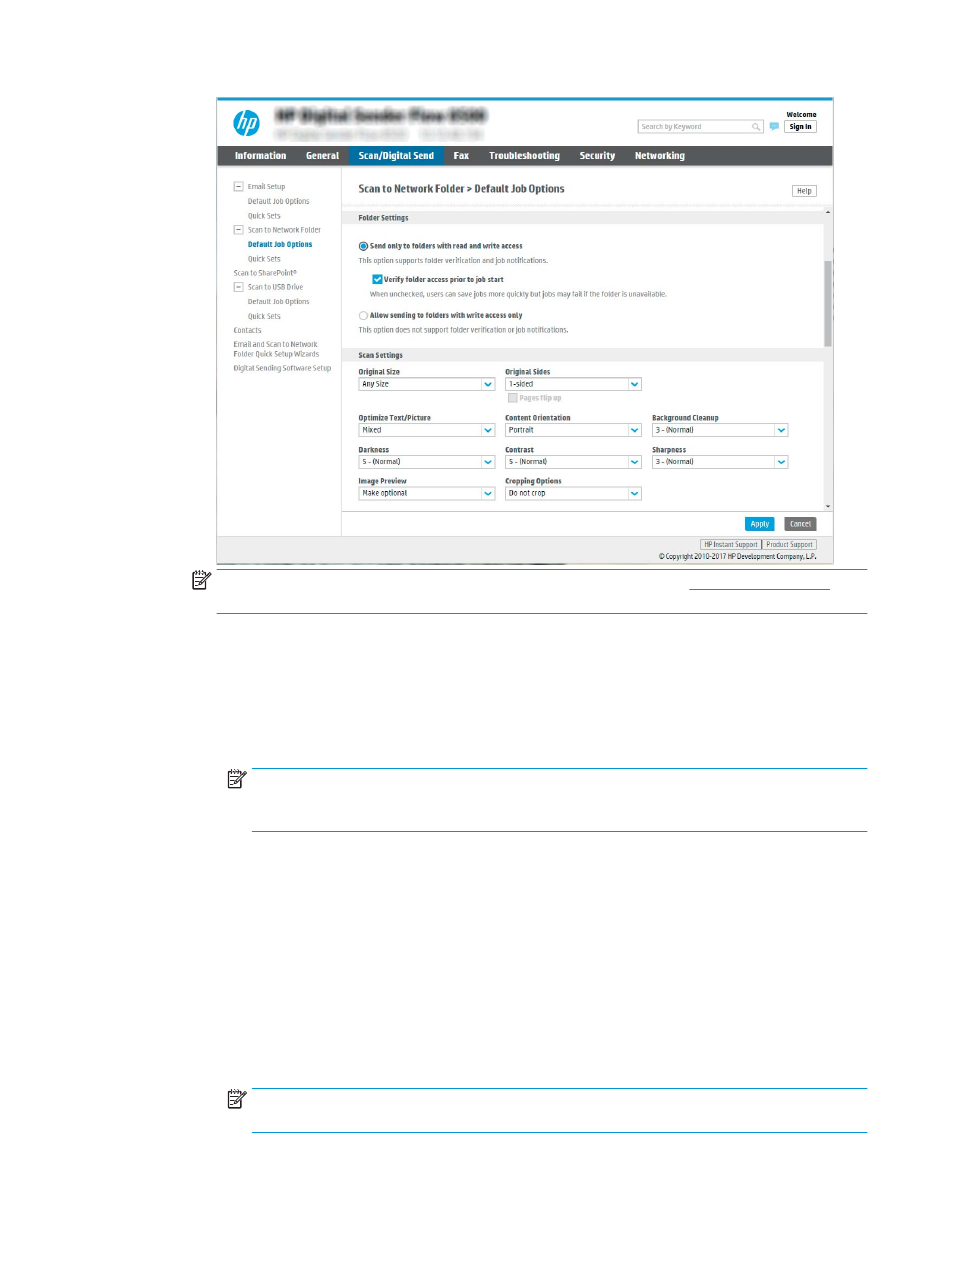
NOTE:
For more information about creating shared network fol
(c04431534).
1.
If it is not already selected, select Save to a standard shared network folder.
2.
In the UNC Folder Path field, type a folder path.
The folder path can either be the fully-qualified domain name (FQDN) (e.g., \
\servername.us.companyname.net\scans) or the IP address of the server (e.g., \
\16.88.20.20\scans). Be sure that the folder path (e.g., \scans) follows the FQDN or IP address.
NOTE:
The FQDN can be more reliable than the IP address. If the server gets its IP address via
DHCP, the IP address can change. However, the connection with an IP address might be faster
because the product does not need to use DNS to find the destination server.
3.
To automatically create a subfolder for scanned documents in the destination folder, select a
format for the subfolder name from the Custom Subfolder list.
To restrict the subfolder access to the user who creates the scan job, select Restrict subfolder
access to user.
4.
To view the complete folder path for scanned documents, click Update Preview.
5.
From the Authentication Settings list, select one of the following options:
○
Use credentials of user to connect after Sign In at the control panel
○
Always use these credentials
NOTE:
If Always use these credentials is selected, a user name and password must be entered
in the corresponding fields.
38
Chapter 2 Use the scanner
ENWW