Step two: enable scan to usb drive, Step three: configure the quick sets (optional) – HP Digital Sender Flow 8500 fn2 Document Capture Workstation User Manual
Page 54

2.
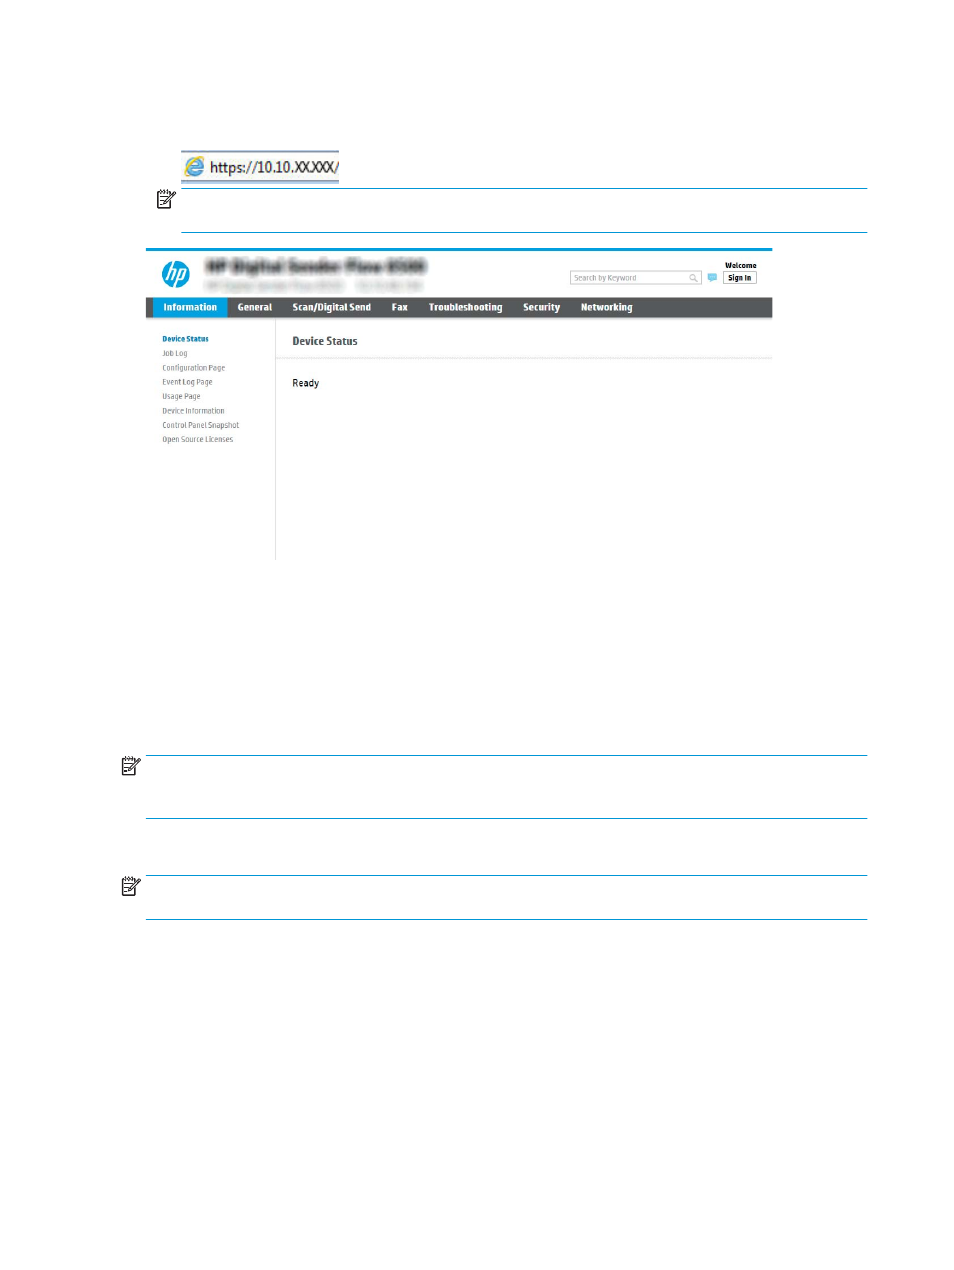
Open a web browser, and in the address line, type the IP address or host name exactly as it displays on the
product control panel. Press the
Enter
key on the computer keyboard. The EWS opens.
NOTE:
If the web browser displays a message indicating that accessing the website might not be safe,
select the option to continue to the website. Accessing this website will not harm the computer.
Step two: Enable Scan to USB Drive
1.
Select the Security tab.
2.
Scroll to Hardware Ports and make sure that Enable Host USB plug and play is enabled.
3.
Select the Scan/Digital Send tab and the select Default Job Options from the left menu.
4.
Select the Enable Scan to USB check box.
NOTE:
Most devices ship with Hard disk drives (HDDs) already installed. In some cases, additional storage
devices can be added via USB. Verify whether the Save to USB feature needs to be expanded to USB and Hard
drive
Step three: Configure the Quick Sets (optional)
NOTE:
Quick Sets are short-cut jobs that can be accessed on the product Home screen or within the Quick Sets
application.
1.
In the Scan to USB Drive area of the left navigation pane, click Quick Sets.
2.
Select one of the following options:
●
Select an existing Quick Set under Quick Sets Application in the table.
-OR-
●
Click Add to start the Quick Set Wizard.
3.
If you selected Add, the Quick Sets Setup page opens. Complete the following information:
44
Chapter 2 Use the scanner
ENWW