Adjusting the tabber to accommodate the media – Rena T-650 User Manual
Page 17
MECHANICAL SETUP
Adjusting the Tabber to Accommodate the Media
Once you have determined the tab/stamp locations, you are ready to setup the T-650 for handling
the media and the placement of the tabs/stamps.
IMPORTANT: To permit proper feeding through the tabber; the media you plan to tab/stamp
must have square, tight folds, and be nearly uniformly thick. If the media does not feed properly,
it will not be tabbed/stamped properly.
1. Turn OFF the T-650, using the main power switch and turn OFF the feeder.
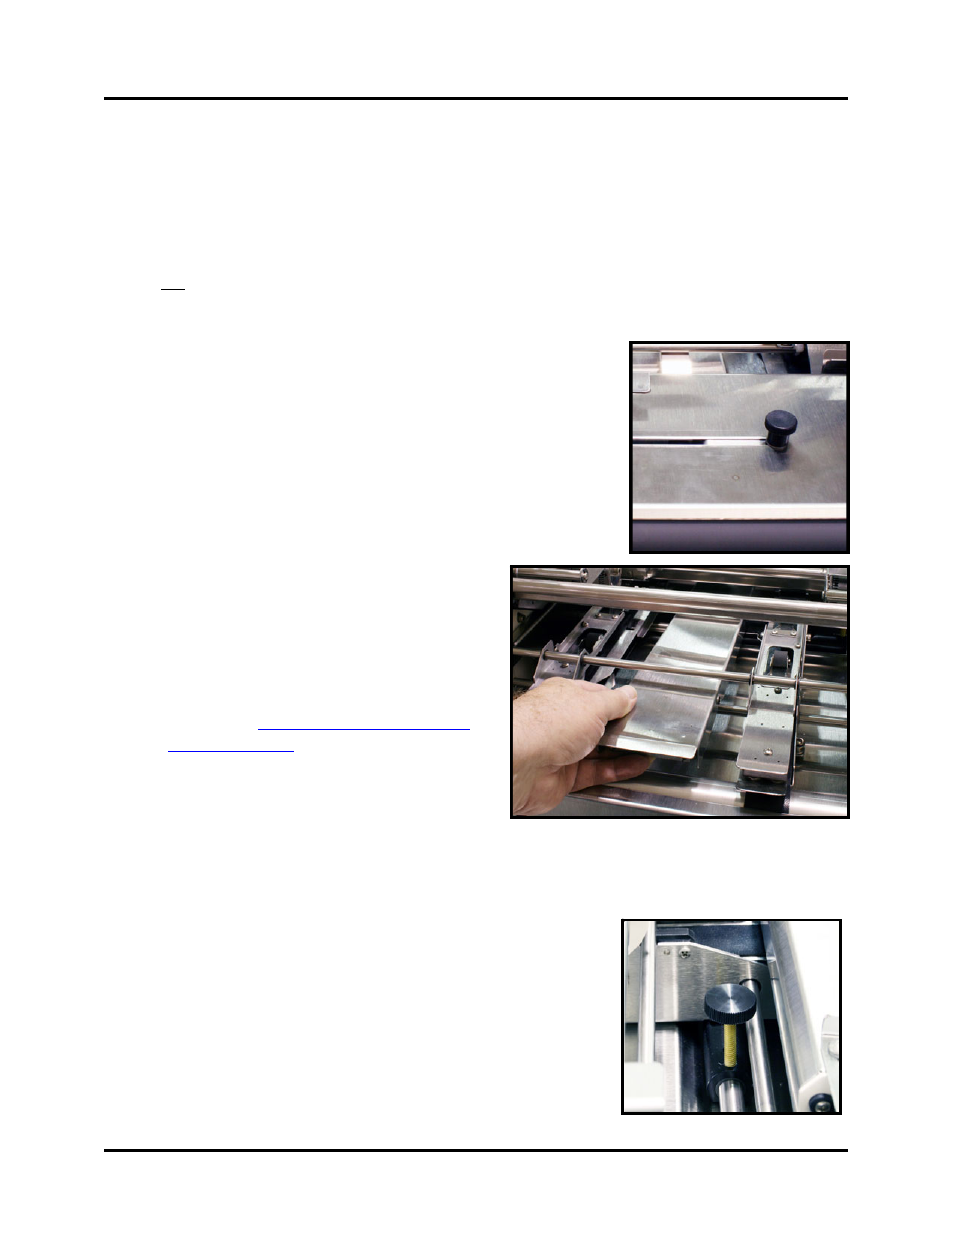
2. Loosen the Exit Foot Knob, located on top of the exit roller
assembly, and move it toward the back of the tabber
(toward Head 2), as shown.
3. Measure the width of the piece using the
scale on the tabber.
If the media width is less than 6.5 inches;
in some cases the Center Support Plate
must be removed from the tabber. This is
done to allow the Right Media Guide to be
positioned closer to the Left Media Guide.
Please see “
” for additional setup
instructions.
To remove the Center Support Plate; first
remove the Hold-down Guide, then lift up
on the Center Support Plate to remove it, as
shown.
IMPORTANT! The Center Support Plate and Hold-down Guide must be installed when
using media that measures 6.5 inches or wider.
4. Loosen the securing knob for the Right Media Guide.
NOTE: The right media guide is movable. The left media
guide is fixed.
5. Turn ON the T-650’s main power switch.
Verify that the Exit Roller Assembly is closed and secured
(lock the latches).
Verify that the Emergency Stop Button has been released.
Press the green Transport Power Button.
T-650 Operations REV. 8/25/2010
17