Rena T-650 User Manual
Page 31
MECHANICAL SETUP
13. Set the feeder speed to zero and then turn the Feeder ON.
Using the feeder’s jog button, feed two pieces of media into the tabber.
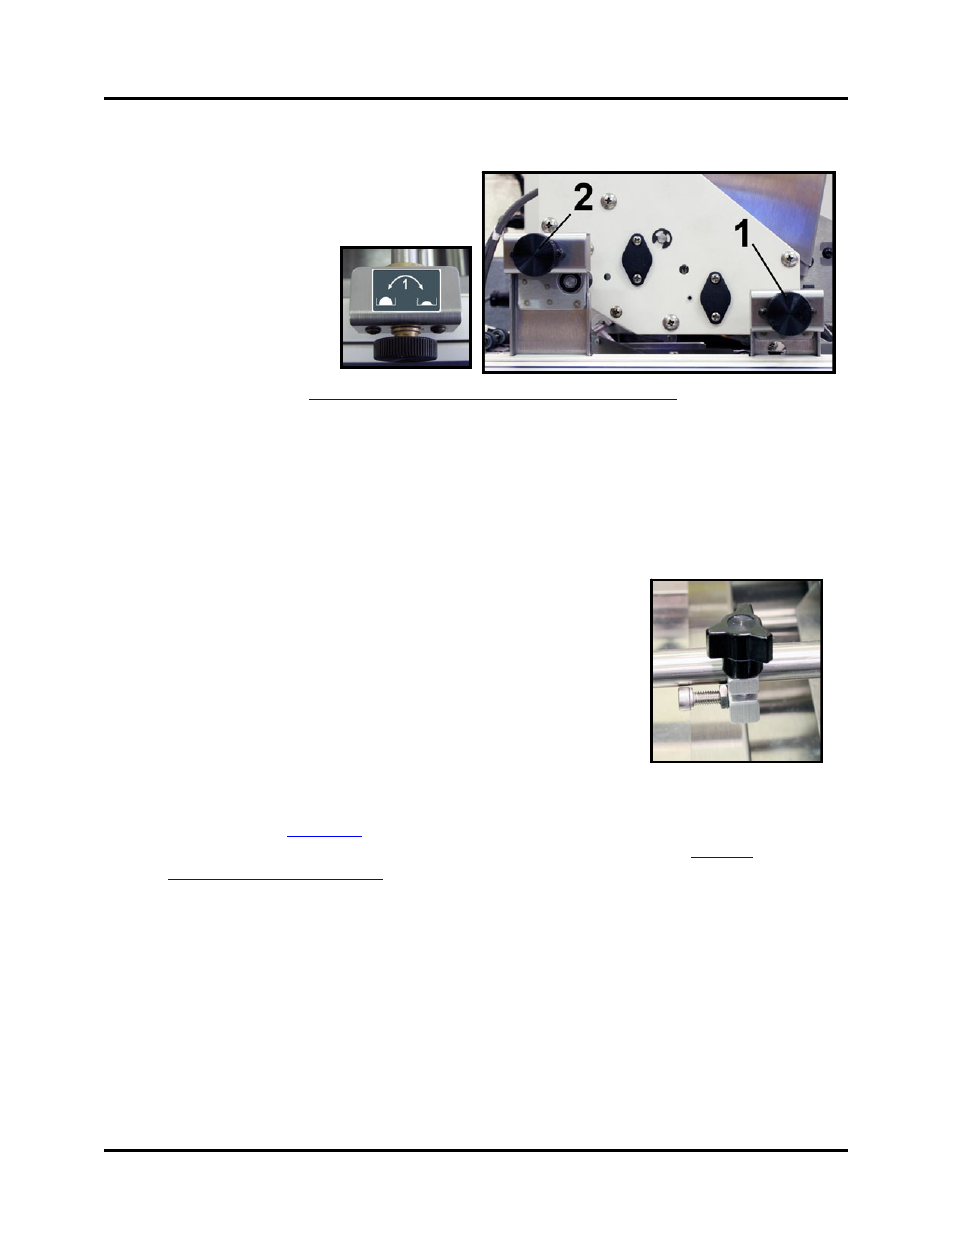
14. Check the positioning of the stamp or
stamps on the second piece.
The Head 1 Fine Adjustment Knob (1)
can be used to make
small corrections to
the vertical position
of the stamps being
applied by Head 1.
See section titled “
Tab Positioning Adjustments (Fine Adjustments)
15. When you are satisfied with stamp position; set the tabber transport for the desired speed,
using the Speed Control Dial. Then set the speed of the feeder so that there is about a 2
inch gap between pieces; as they feed through the tabber.
Tip: If you want to test piece transport without applying stamps, you can press the STOP
button on the tabber, then press the soft key labeled “Pass-thru” to set the tabber in the
Pass-Thru mode. Press RUN to test the system without applying stamps.
16. Adjust the Head Position Minder against Head 1 and tighten
the knob. This device will mark the location of Head 1 to
make the process of loading a new stamp roll easier. When
loading a new roll of stamps onto the Head 1, it is more
convenient if you slide Head 1 close to the operator side of
the unit; providing more room between the heads.
After loading a new stamp roll; you can simply slide Head 1
back, until it meets the Head Position Minder. Head 1 has
now been returned to its original location and you are ready to
continue applying stamps.
17. Head 1 setup is complete. If you will only be applying stamps with Head 1 you should
” section. NOTE: Please be sure you have disabled Head 2.
If you will be applying tabs with Head 2, proceed to the section titled
T-650 Operations REV. 8/25/2010
31