Lower the pressure roller release latch – Rena T-650 User Manual
Page 27
MECHANICAL SETUP
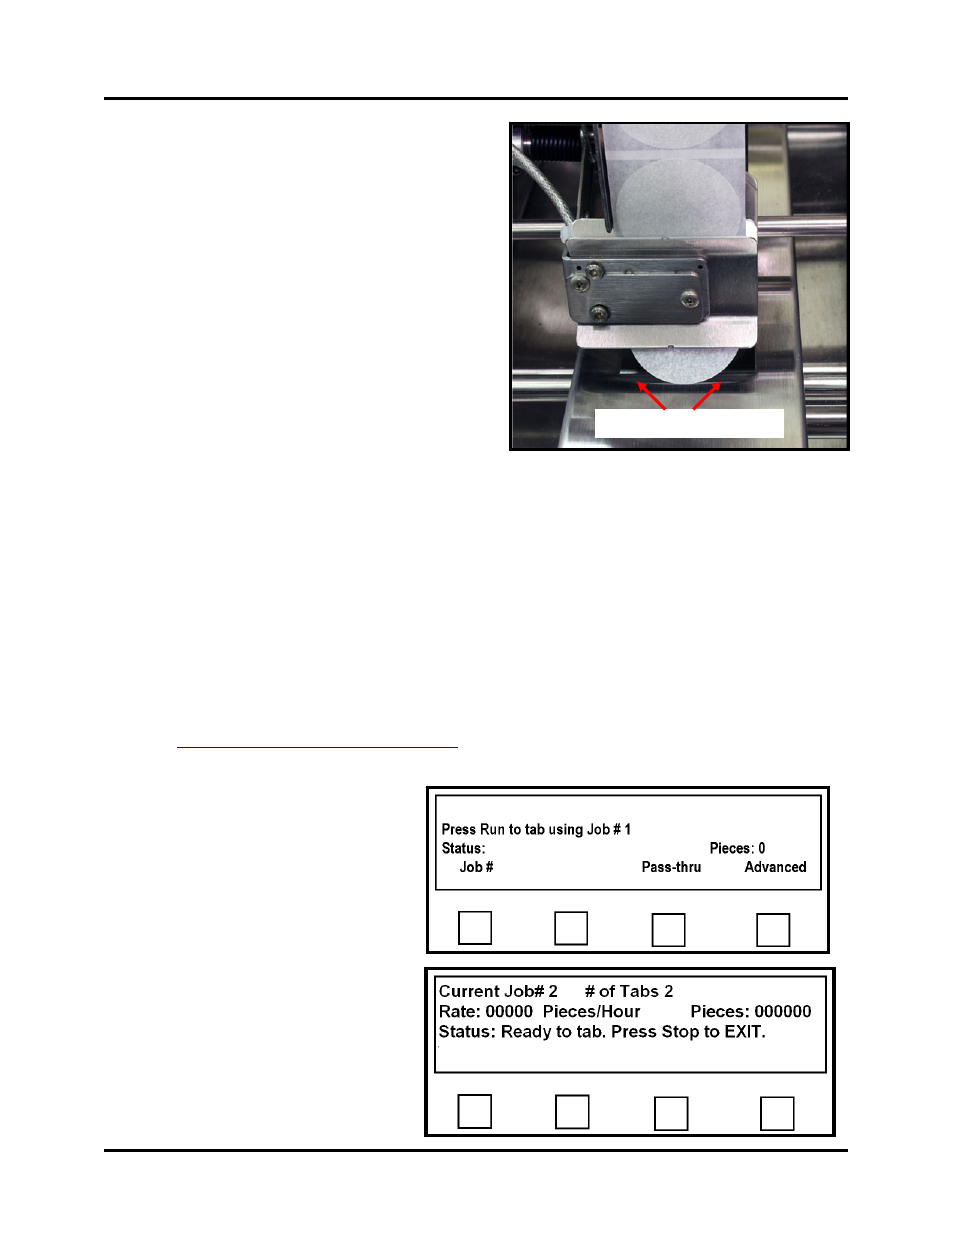
4. Pull on the backing untill a tab is starting to
protrude from the appllicator (peel point).
5. Lower the Pressure Roller Release Latch.
6. Loosen the Head Position Minder so it
does not hinder you from repositioning
Slot in Center Support Plate
Head 1.
Loosen the Head 1 Securing Knob.
Slide Head 1 into position, so it is directly
over the slot in the Center Support Pl
T
TIP: If the Center Support Plate is not
located at the position you would like th
front tab applied to the media; slide the
Center Support Plate to the positio
w
NOTE: For better picture clarity; the tab in this image is protruding further than
necessary. When initially adju
7.
ate.
ighten the Head 1 Securing Knob.
e
n you
ould like the front tab applied.
sting the tab starting point, the tab should just starts to
9.
he tabber and feeder. Verify
10.
ures and Job Programming
protrude from the applicator.
8. Close the Exit Roller Assembly and lock the two latches to secure it.
Release the Emergency Stop Button. Turn ON the Tabber’s main power switch. Press
the green Transport Power button. Verify that the feeder is still turned OFF at this time.
Verify that the feeder interface cable is attached between t
that the feeder has been aligned properly with the tabber.
If you have not programmed the tabber for the tabbing job, please refer to the section
“
”, for instructions. Once complete, return to this
11.
ode as shown to the right.
12.
bber
e tabber,
s shown to the right.
procedure.
Press the soft key labeled
“Operate” to put the tabber in
the operate mode. The screen
will change to the operating
m
Press the “Run” key on the
Control Panel to start the ta
transport. The screen will
display the status of th
a
T-650 Operations REV. 8/25/2010
27